Quick Answer
- To install new speakers in a car, disconnect the battery’s negative cable, remove the door panel, unscrew the factory speaker, connect the new one with a wiring harness adapter, mount it, test it, and refit the panel.
- A plug-in harness adapter and a mounting bracket made for your vehicle mean no cutting or drilling in most cars (Sonic Electronix, 2026).
- Polarity matters: the speaker’s positive terminal is the larger of the two and is usually marked with a plus sign or a colored dot (Crutchfield, 2026).
- Test before you refit the panel. Reconnect the battery, play music at a moderate volume and check each speaker with the balance control (AutoZone, 2026).
- Run the window fully up and down before you close the door up, to make sure nothing touches the new speaker’s magnet (Rockford Fosgate, 2012).
To install new speakers in a car, remove the door panel or grille, take out the factory speaker, connect the new speaker with a harness adapter so positive meets positive, screw it to the factory mount or an adapter bracket, and test it before you put the panel back. Crutchfield calls a new pair of speakers about the easiest car audio component to install (Crutchfield, 2026), and most door speakers need only basic hand tools.
Tools and Parts You Need to Install Car Speakers
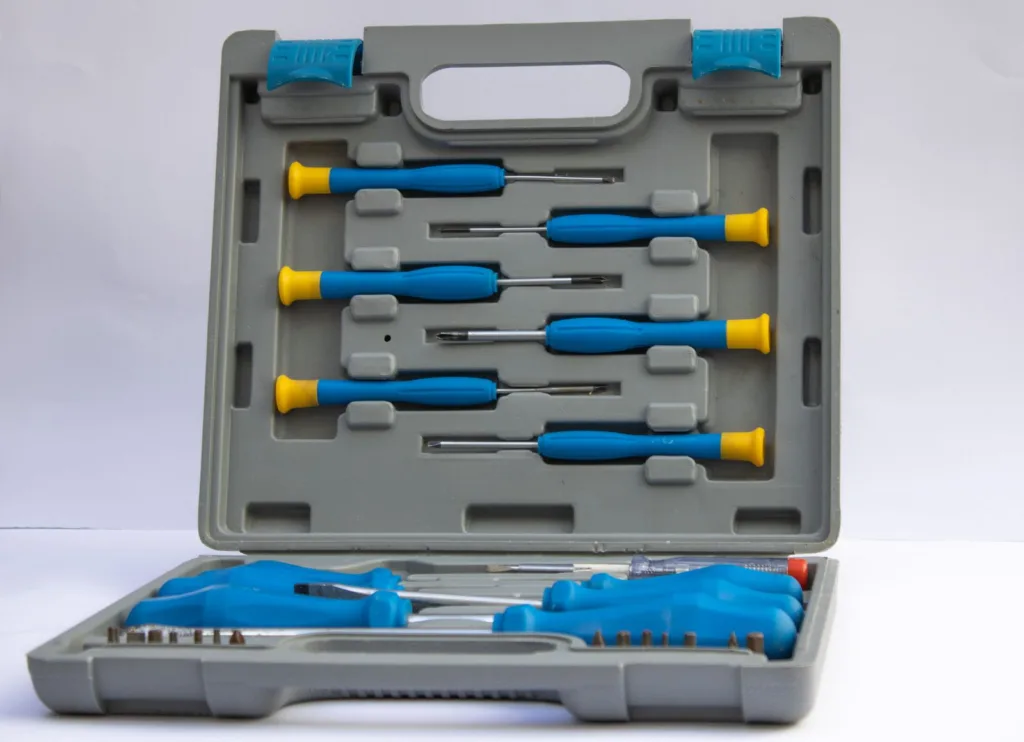
You need a panel removal tool, Phillips and flat screwdrivers, a socket set and a wire stripper and crimper. Crutchfield’s tool list adds Torx drivers, Allen wrenches and a drill for some vehicles, and notes that you probably will not need every tool for one job (Crutchfield, 2026). The full list is in Crutchfield’s car speaker installation guide.
| Part | Why you need it |
|---|---|
| Wiring harness adapters | Plug the new speaker into the factory connector without cutting |
| Mounting brackets | Fit a standard round speaker to a factory-shaped opening |
| Foam baffles or rings | Seal the speaker to the door and shield it from moisture |
| Crimp or Posi-Products connectors | Join wires where no adapter exists |
Have the right speakers in hand first. If you are still choosing, our guide on how to upgrade car speakers covers size, sensitivity and power, and measuring your car speakers confirms diameter and mounting depth before you order.
Step 1: Disconnect the Battery
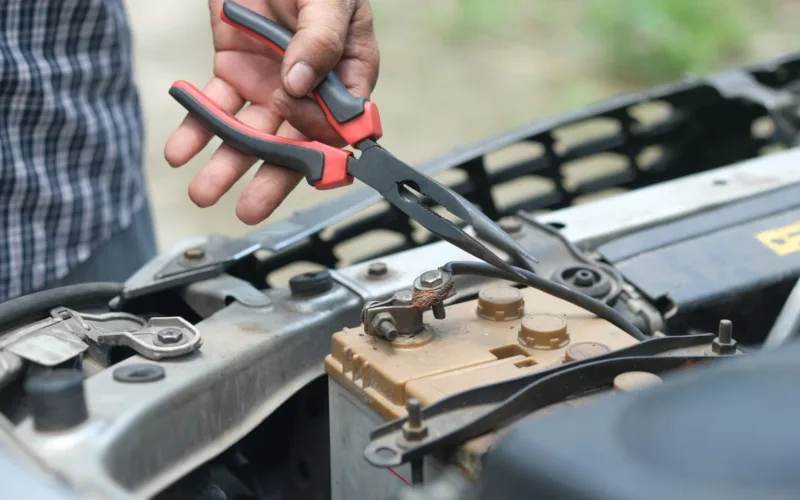
Disconnect the negative cable on your battery before doing anything else (Crutchfield, 2026). Sonic Electronix gives the reason: it prevents shorts, blown fuses and personal injury (Sonic Electronix, 2026). Rockford Fosgate’s speaker manual gives the same instruction (Rockford Fosgate, 2012).
This matters most in doors that contain side airbags or airbag sensors. AutoZone advises that if removing panels risks damaging airbags, it pays to have a professional do the work (AutoZone, 2026). Wait a few minutes after disconnecting the battery before you unplug anything in the door.
Step 2: Remove the Door Panel or Speaker Grille
Some speakers sit behind a grille that pries off on its own, but most door speakers need the whole panel removed. Find and remove every screw first: they hide behind the door pull, under the armrest, behind small trim caps and around the door handle.
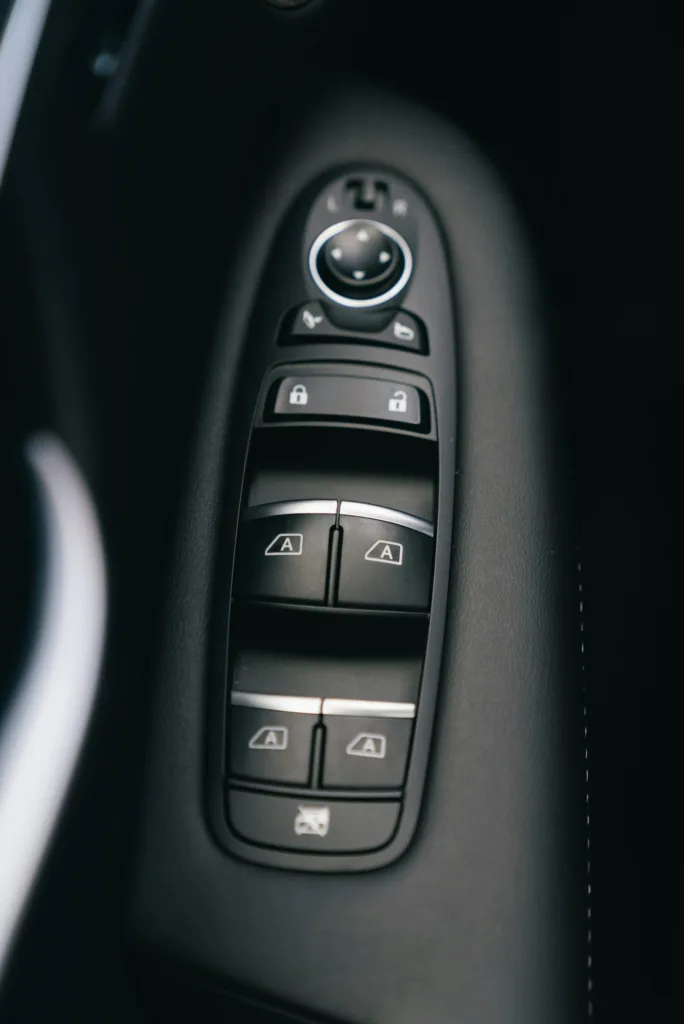
Then release the clips. Crutchfield’s method is to start at a bottom corner, pull the panel corner straight out, and use a panel tool around the fittings to pry out the panel (Crutchfield, 2026). Sonic Electronix notes that all door panels are held in with plastic clips and recommends panel removal tools (Sonic Electronix, 2026). A screwdriver can mark or crack the trim.
Lift the panel up off the window ledge, then unplug the window switch, lock switch and door light connectors and unhook the handle cable. Set the panel somewhere it will not get scratched.
Step 3: Remove the Factory Speaker
Most factory door speakers can be removed with a Phillips screwdriver (Crutchfield, 2026). Remove the screws, pull the speaker forward and unplug its connector.
Some manufacturers rivet speakers in place. Crutchfield’s vehicle guides describe drilling out the rivets with a 3/16″ bit, working carefully and wearing eye protection (Crutchfield, 2026). Afterwards, check the inside of the door for leftover nuts, rivets or plastic pieces (Sonic Electronix, 2026), because anything left inside will rattle later.
Peel back the plastic moisture barrier only as far as you need to, and press it back in place afterwards. It keeps water that runs down the window away from the cabin and the new speaker.
Step 4: Connect the New Speaker
Use a wiring harness adapter if one exists for your car. It plugs into the factory connector on one end and slides onto the speaker terminals on the other. Sonic Electronix describes a plug-and-play adapter as what makes the installation simple (Sonic Electronix, 2026).
Match polarity on every speaker. The positive terminal is the larger of the two and is usually marked with a plus sign or a colored dot (Crutchfield, 2026). A speaker wired backwards still plays, but its cone moves opposite to the others and the bass thins out.
If there is no adapter, Crutchfield suggests splicing, soldering or, more easily, using Posi-Products speaker connectors (Crutchfield, 2026). Avoid electrical tape for joins, because the temperature extremes in a car cause it to deteriorate (Crutchfield, 2026). Factory speaker wire is fine when the speakers run from a factory or aftermarket stereo (Crutchfield, 2026).
Step 5: Mount the Speaker
Screw the speaker to the factory mounting holes, or to an adapter bracket if the shapes differ. A spacer may also be needed if there is not enough depth behind the speaker in the door (Sonic Electronix, 2026). BestCarAudio warns that wood spacers do not last because they absorb moisture, and recommends plastic materials such as ABS or PVC instead (BestCarAudio, 2021).
Fit a foam baffle or foam ring at this stage if you bought one. Crutchfield notes that speakers may benefit from foam baffles and sound-deadening material in the doors (Crutchfield, 2026). The foam seals the speaker to the panel so sound from the back of the cone does not cancel the front.
Tighten the screws evenly and firmly, but do not overtighten into plastic. A speaker that is not seated flat will buzz. If a new install buzzes anyway, our guide on how to fix rattling car speakers covers the common causes.
Step 6: Install Component Tweeters and Crossovers
Component sets add two parts: separate tweeters and crossovers. Crutchfield describes three tweeter mounting methods: flush mounting, which needs a hole cut in the panel, surface mounting, which needs the least work, and angle mounts that let you aim the tweeters (Crutchfield, 2026). Many cars have factory tweeter locations in the door sail panel or dash that accept an aftermarket tweeter with a bracket.
Mount the crossover where it stays dry and secure. Inside the door, Crutchfield says it must stay out of the window’s path, stay dry and be mounted securely; otherwise it recommends placing crossovers behind the stereo or under the dash (Crutchfield, 2026). Our guide on installing a crossover in car audio covers the wiring order for woofer, tweeter and input.
Protect any wire that passes through metal with a rubber grommet, and make sure the wire cannot be pinched by the door hinges (Crutchfield, 2026).
Step 7: Test the Speakers Before Reassembly
Test before the panel goes back on. Reconnect the battery, turn on the stereo and play music at a moderate volume to confirm the speaker works (AutoZone, 2026). Use the balance and fader to hear each speaker alone.
Then run the window all the way down and up. Rockford Fosgate’s manual says to operate windows and locks through their entire range to make sure nothing is obstructed (Rockford Fosgate, 2012). A window that touches the speaker magnet means you need a shallower speaker or a spacer.
If a speaker is silent or the bass is weak, check the plug and polarity now. Our guide on how to test car speakers shows the multimeter and battery checks that find a wiring fault in a few minutes.
Step 8: Refit the Door Panel
Reconnect the switch plugs and the handle cable, hang the panel on the window ledge, and line up the clips with their holes. Press around the edge with the heel of your hand until each clip snaps in, then refit the screws and trim caps.
Replace any clip that broke on the way out. Broken or missing clips let the panel vibrate against the door when the speaker plays bass. Check that the window, locks and mirror switches all work before you move to the next door.
Common Mistakes When Installing New Car Speakers
Most installation problems come from five avoidable mistakes. Check each one before you close the door up.
| Mistake | What happens | How to avoid it |
|---|---|---|
| Reversed polarity | Weak bass and a vague center | Match the large terminal to positive |
| Speaker too deep | Window hits the magnet | Check mounting depth and test the window |
| Loose mounting screws | Buzz or rattle on bass notes | Tighten evenly; use a bracket that fits |
| Tape instead of connectors | Joins fail in heat and cold | Use harness adapters or crimp connectors |
| Pinched or loose wires | Crackling, or no sound | Route wires clear of the window and hinges |
Give new speakers moderate volume at first. AutoZone suggests running them at moderate volume for the first 20 to 30 hours (AutoZone, 2026).
Frequently Asked Questions About Installing Car Speakers
Can I install car speakers myself?
Yes. Crutchfield describes a pair of speakers as about the easiest car audio component to install (Crutchfield, 2026). With harness adapters and brackets made for your car, most door speakers need only a panel tool and screwdrivers.
How long does it take to install new speakers in a car?
Plan on about an hour for a pair of coaxial speakers in doors with simple panels, and two hours or more for a component set with separate tweeters and crossovers. Riveted factory speakers and complex door panels add time.
Do I need to disconnect the battery to change car speakers?
Yes. Crutchfield, Sonic Electronix and Rockford Fosgate all say to disconnect the negative battery cable first. It prevents short circuits and blown fuses, and it is essential in doors with airbags.
Do I need a wiring harness to install new speakers?
You do not have to use one, but it is the easiest route. A harness adapter plugs into the factory connector, so you do not cut the car’s wiring and you can refit the original speakers later.
Which speaker terminal is positive?
The larger terminal is positive, and it is usually marked with a plus sign or a colored dot (Crutchfield, 2026). On a harness adapter, the wide and narrow connectors only fit the matching terminals.
Do I need new speaker wire for aftermarket speakers?
Not usually. Crutchfield says factory speaker wire is fine when the speakers are powered by a factory or aftermarket stereo (Crutchfield, 2026). Heavier wire is worth running only when you add an external amplifier.
Summary: How to Install New Speakers in Car Doors
- Disconnect the battery’s negative cable, then remove the screws and clips holding the door panel.
- Unscrew the factory speaker and connect the new one with a harness adapter, positive to positive.
- Mount the speaker on the factory holes or a bracket, with a foam baffle if you have one.
- Test the sound and the window travel before you refit the panel.