Quick Answer
- Car speaker sizes are nominal: a “6.5-inch” speaker is not exactly 6.5 inches across, and actual dimensions vary by brand (Crutchfield, 2026), so measure the frame, not the cone.
- Take five measurements: frame diameter (or length and width for ovals), screw-hole spacing, cutout diameter, mounting depth and top-mount height.
- Mounting depth is the one that most often causes problems in doors, because the window glass needs room to slide down behind the speaker.
- 6.5-inch and 6.75-inch speakers look similar but often use different screw patterns, so record the bolt spacing before you buy.
- Check the owner’s manual, the factory speaker’s label or a vehicle fit lookup first; it can save you removing a door panel.
To measure car speakers, remove the grille or door panel, then measure the speaker frame across its center, the distance between opposite screw holes, the diameter of the hole it sits in, and the depth from the mounting surface to the back of the magnet. For oval speakers, measure the long and short sides. Those numbers, plus the space behind the mount, tell you which replacement speakers will fit without cutting.
What Car Speaker Sizes Actually Mean
Car speaker sizes are nominal categories, not exact measurements. As Crutchfield’s guide to car speaker fit puts it, a 6-1/2-inch speaker is not actually 6-1/2 inches in diameter, and dimensions within one size category vary by manufacturer (Crutchfield, 2026). The size names the category a replacement must match.
| Common size | Shape | Where you usually find it |
|---|---|---|
| 3.5 inch | Round | Dashboard corners and center dash |
| 4 inch | Round | Dash, rear decks and older doors |
| 5.25 inch | Round | Doors in compact cars |
| 6.5 inch | Round | Front and rear doors in most cars |
| 6.75 inch | Round | Doors in many Japanese-brand cars |
| 4 x 6 inch | Oval | Dash and doors of older cars |
| 5 x 7 or 6 x 8 inch | Oval | Doors in many Ford and Mazda models |
| 6 x 9 inch | Oval | Rear decks and larger doors |
Factory speakers often do not follow aftermarket sizing exactly. A factory speaker may sit on a plastic adapter ring or use a molded frame shape, which is why measuring each location is safer than assuming.
Check the Size Without Removing Anything First
Before reaching for tools, try the quick routes. The owner’s manual sometimes lists speaker sizes, and a vehicle fit lookup, such as the one Crutchfield runs, lists speaker sizes and depths by make, model and year. For two popular trucks, we have already done that lookup in our guides to the best speakers for Toyota Tacoma and the best speakers for Ford F150.
If you can see the factory speaker through the grille, its label or part number may state the size. A quick search for the part number often returns the full dimensions. These shortcuts are reliable for common vehicles, but measure anyway if the car has an unusual trim level or a premium sound package, since those often use different speakers.
What You Need to Measure Car Speakers
You need a tape measure or ruler with 1/16-inch markings, a straight edge, a plastic trim removal tool, the right screwdrivers or sockets, and a phone to photograph each location. A set of digital calipers makes depth readings easier but is optional.
Work on one location at a time and write every measurement down with its position, such as “front left door,” because front and rear speakers are often different sizes.
Step 1: Remove the Grille or Door Panel
Remove the speaker grille, or the whole door panel if the speaker sits behind it. Door panels are held with a few screws, often hidden behind the handle and armrest, plus plastic clips around the edge. Pry the clips with a trim tool rather than a screwdriver to avoid cracking them.
Disconnect the window and lock switches before pulling the panel away. Unscrew the speaker, photograph the wiring, and unplug it so you can measure it on a bench.
Step 2: Measure the Speaker Diameter
Measure a round speaker’s frame from one outer edge to the opposite outer edge, passing through the center of the cone. Round the result to the nearest standard size to find its category; a frame measuring about 6.6 inches is almost certainly a 6.5-inch speaker.
Do not measure the cone. The moving cone is always smaller than the frame, so measuring it makes a speaker look one size smaller than it is. Also note the frame’s shape: some factory speakers have tabs or flat sides that an aftermarket round frame will not match.
How to measure oval speakers
For oval speakers, measure the frame’s long side and short side through the center. A 6 x 9 speaker typically measures a little over 6 inches by a little over 9 inches. Measure the screw-hole spacing along both axes too, because 5 x 7 and 6 x 8 speakers often share one pattern while 6 x 9 uses another.
Step 3: Record the Screw Pattern and Cutout
Measure from the center of one screw hole to the center of the screw hole directly opposite, and count the holes. Then measure the hole in the door or deck that the speaker drops into, edge to edge through the center.
The screw pattern tells you whether a new speaker bolts straight in. Crutchfield notes that 6-1/2-inch and 6-3/4-inch speakers often differ in their hole alignment and screw patterns (Crutchfield, 2026), which is the most common reason a replacement “almost” fits. The cutout tells you whether the new speaker’s basket will pass through the hole.
Step 4: Measure the Mounting Depth
Mounting depth is the distance from the back of the speaker’s mounting flange to the deepest point behind it, usually the magnet. Measure it on the old speaker, then measure the space available behind the mount in the car, which matters more.
In doors, the space behind the speaker is limited by the window glass when it is lowered, plus the window track and any wiring. Lower the window fully, then measure from the mounting surface to the nearest obstruction behind it. Leave some clearance: a speaker magnet touching the glass will stop the window or crack it.
| Measurement | Where to measure | Why it matters |
|---|---|---|
| Frame diameter | Outer frame edge to opposite edge | Sets the size category |
| Screw pattern | Screw hole center to opposite hole center | Decides whether it bolts in |
| Cutout | Mounting hole edge to edge | Decides whether the basket fits through |
| Mounting depth | Back of flange to back of magnet | Must clear the window glass |
| Top-mount height | Mounting surface to front of tweeter or cone | Must clear the grille |
Step 5: Measure the Top-Mount Height
Top-mount height is how far the speaker sticks out in front of its mounting surface, including a coaxial tweeter mounted on a post in front of the woofer. Measure from the mounting surface to the highest point of the speaker, then measure the space between the mount and the back of the grille.
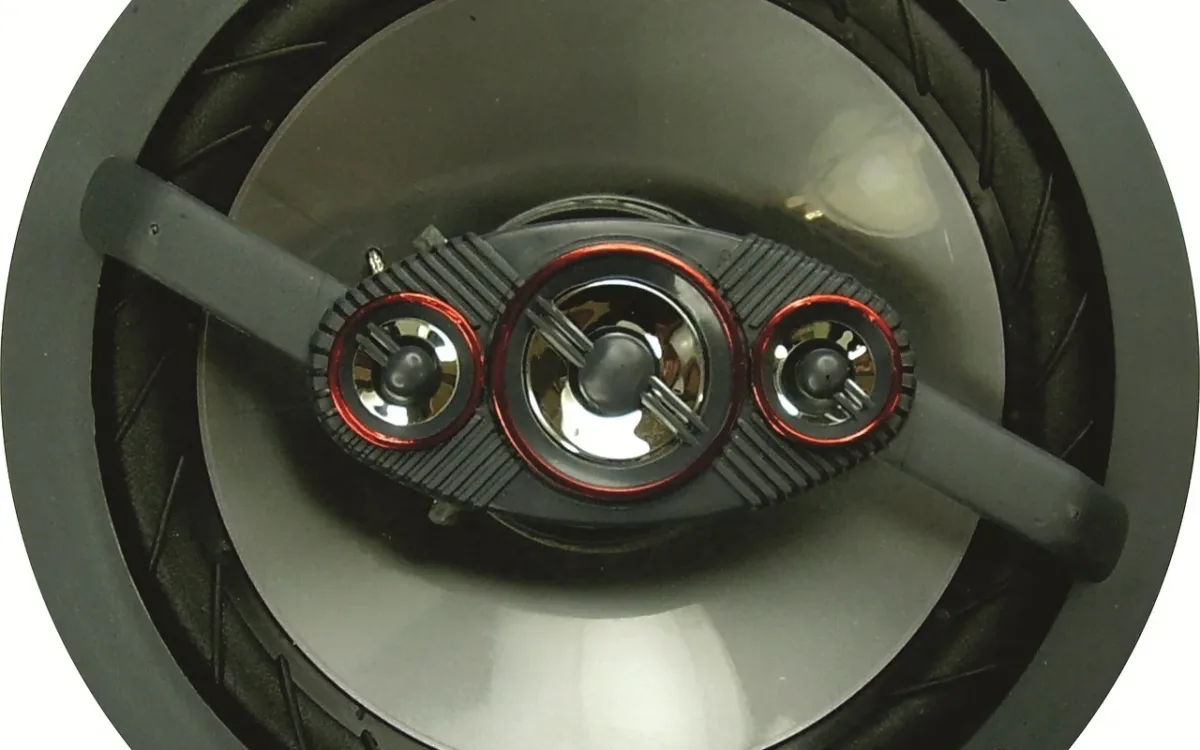
Crutchfield lists tweeter protrusion among the dimensions that affect fit (Crutchfield, 2026). A coaxial tweeter that sticks out too far will press against the grille, which causes buzzing or stops the grille from closing. Many aftermarket coaxial speakers use flush or swivel tweeters for this reason.
How to Measure Car Tweeters
Measure a tweeter’s outer diameter, its mounting depth and how it attaches: surface mount, flush mount in a cutout, or a factory bracket in a door sail panel or pillar. Factory tweeter locations are small, so depth and mounting style decide fit more than size does.
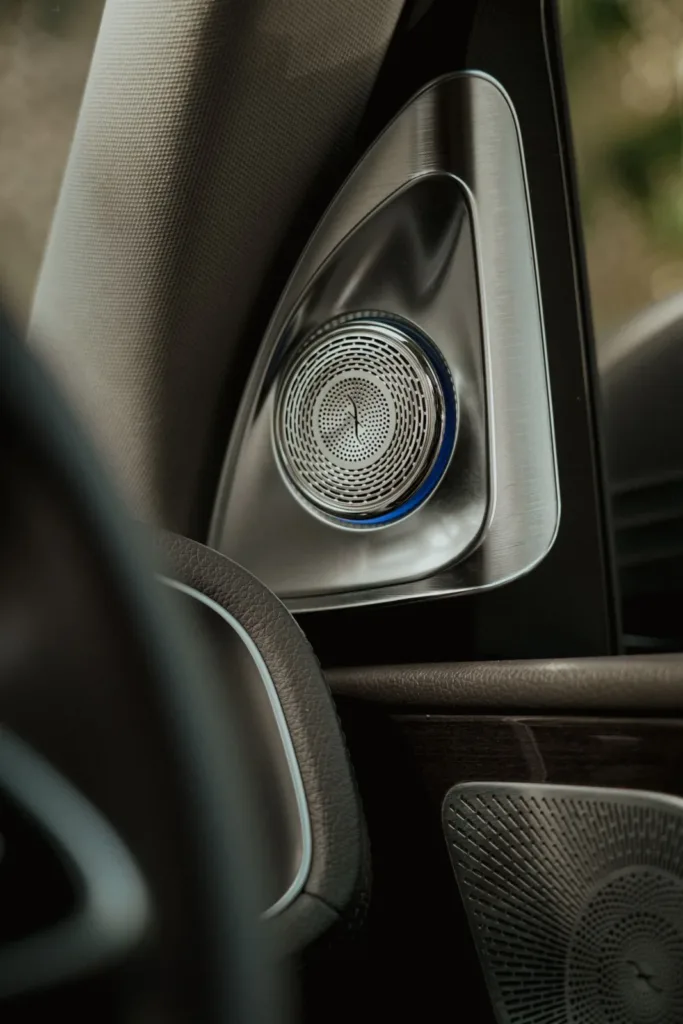
Most aftermarket component tweeters include several mounting cups. Compare their dimensions with the factory location before buying, and check whether the factory tweeter connects to its own crossover, which you will bypass or replace when upgrading.
What to Do When New Speakers Do Not Fit
When a replacement is close but not exact, vehicle-specific adapter brackets solve most problems. They adapt factory screw patterns and shapes to standard aftermarket sizes, and many add spacing that gains extra mounting depth.
For depth problems, a spacer ring moves the speaker outward, as long as the grille still closes. Cutting sheet metal or enlarging a cutout is a last resort and cannot be undone. Our guide on how to upgrade car audio system explains which speakers to replace first when you plan a larger upgrade.
Common Mistakes When Measuring Car Speakers
The most common mistake is measuring the cone instead of the frame, which makes the speaker look smaller than its size category.
- Assuming front and rear speakers are the same size.
- Measuring mounting depth without lowering the window first.
- Ignoring the screw pattern, especially between 6.5-inch and 6.75-inch speakers.
- Forgetting tweeter protrusion behind a shallow grille.
- Not checking whether a factory adapter ring sits between the speaker and the door.
If you are replacing a speaker because it sounds distorted, test it first; our guide on how to fix blown car speakers shows how to confirm it is actually damaged.
Frequently Asked Questions About Measuring Car Speakers
How do you measure car speakers?
Remove the grille or panel, then measure the frame across its center, the spacing of opposite screw holes, the cutout, the mounting depth and the top-mount height. For oval speakers, measure the long and short sides. Round the frame measurement to the nearest standard size.
Do you measure a car speaker from the cone or the frame?
Measure the frame. The cone is always smaller than the frame, so measuring it understates the size. Car speaker sizes are nominal categories based on the frame, and actual dimensions vary by brand (Crutchfield, 2026).
How do I know what size speakers are in my car?
Check the owner’s manual, the label on the factory speaker, or a vehicle fit lookup by make, model and year. If none of those gives an answer, remove the grille or panel and measure the frame diameter and screw spacing.
Will 6.75-inch speakers fit a 6.5-inch location?
Sometimes, but not always. The frames are similar in size, but the screw patterns often differ (Crutchfield, 2026). Many aftermarket speakers include multi-fit frames or adapter brackets that accept both. Check the screw spacing and cutout before buying.
What is speaker mounting depth?
Mounting depth is the distance from the back of the speaker’s mounting flange to the deepest point behind it, usually the magnet. In doors, the space behind the speaker must clear the window glass when it is fully lowered.
Can I put bigger speakers in my car?
You can with adapters or custom panels, but cutting metal is permanent and larger speakers need more mounting depth. For more volume from the existing size, higher-sensitivity speakers are the easier route; our guide on how to make car speakers louder without amp covers the options.
Summary: How to Measure Car Speakers
- Check the manual, the speaker label or a fit lookup before removing panels.
- Measure the frame, screw pattern, cutout, mounting depth and top-mount height at each location.
- Lower the window before measuring door depth, and check tweeter clearance behind the grille.
- Use adapter brackets or spacer rings rather than cutting metal.