Quick Answer
- To install a subwoofer in a car, mount the subwoofer in its enclosure, wire the voice coils to an impedance the amplifier can drive, secure the box, connect the amplifier’s power, ground and signal, then set the gain and low-pass filter.
- You need six things: a subwoofer, an enclosure, an amplifier, an amplifier wiring kit, speaker wire and a signal source, which is RCA cables or a line output converter.
- A dual 4-ohm subwoofer wires to 2 ohms in parallel or 8 ohms in series (Crutchfield, 2026). Check the amplifier’s minimum impedance before you choose.
- Use 12 to 16 gauge speaker wire between the amplifier and the subwoofer (Crutchfield, 2026).
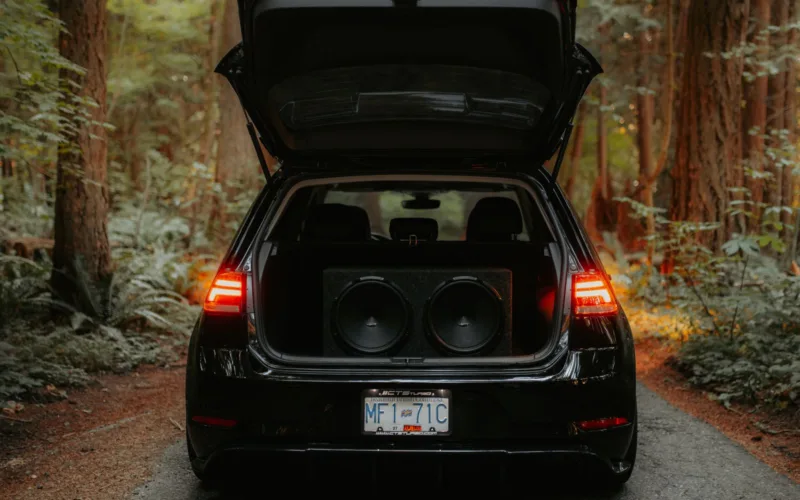
- Strap or bracket the enclosure down. In a hatchback or SUV, a loose subwoofer could become airborne and injure someone in a sudden stop (Crutchfield, 2026).
To install a subwoofer in a car, you do three jobs in order: build the bass unit by fitting the subwoofer into its enclosure and wiring its voice coils, place and secure that enclosure in the vehicle, and connect an amplifier to power it. The stereo’s signal reaches the amplifier through RCA cables, or through the factory speaker wires if you are keeping the factory radio. Finish by setting the amplifier’s gain and low-pass filter.
What You Need to Install a Subwoofer in a Car
A subwoofer is one part of a small system, and it cannot run from the stereo directly. Crutchfield’s guide sorts the options into three types (Crutchfield, 2026):
| Type | What it includes | What you still need |
|---|---|---|
| Component subwoofer | The driver only | Enclosure, amplifier, wiring |
| Enclosed subwoofer | Driver mounted in a box | Amplifier, wiring |
| Powered subwoofer | Driver, box and built-in amplifier | Power and signal wiring |
For a component setup, gather the subwoofer, the enclosure, an amplifier, an amplifier wiring kit, speaker wire, and RCA cables or a line output converter. For tools, you need a drill, screwdrivers, wire strippers and crimpers, a socket set and a multimeter.
If you have not bought the subwoofer yet, our guide on how to choose a subwoofer for your car covers size, power and enclosure type.
Step 1: Match the Subwoofer, Enclosure and Amplifier
Check three numbers before you start: enclosure volume, RMS power and impedance.
Every subwoofer has specific enclosure requirements (BestCarAudio, 2021). Kicker’s 10-inch CompRT, for example, wants a sealed box of 0.4 to 2.0 cubic feet or a ported box of 1.25 to 1.75 cubic feet (Kicker, 2026). A box outside the maker’s range will not sound right however well you install it.
For power, Crutchfield’s rule is that the amplifier should supply no more than the subwoofer system’s total RMS rating (Crutchfield, 2023). Two 300-watt subwoofers, for example, need up to 600 watts RMS.
Step 2: Mount the Subwoofer in the Enclosure
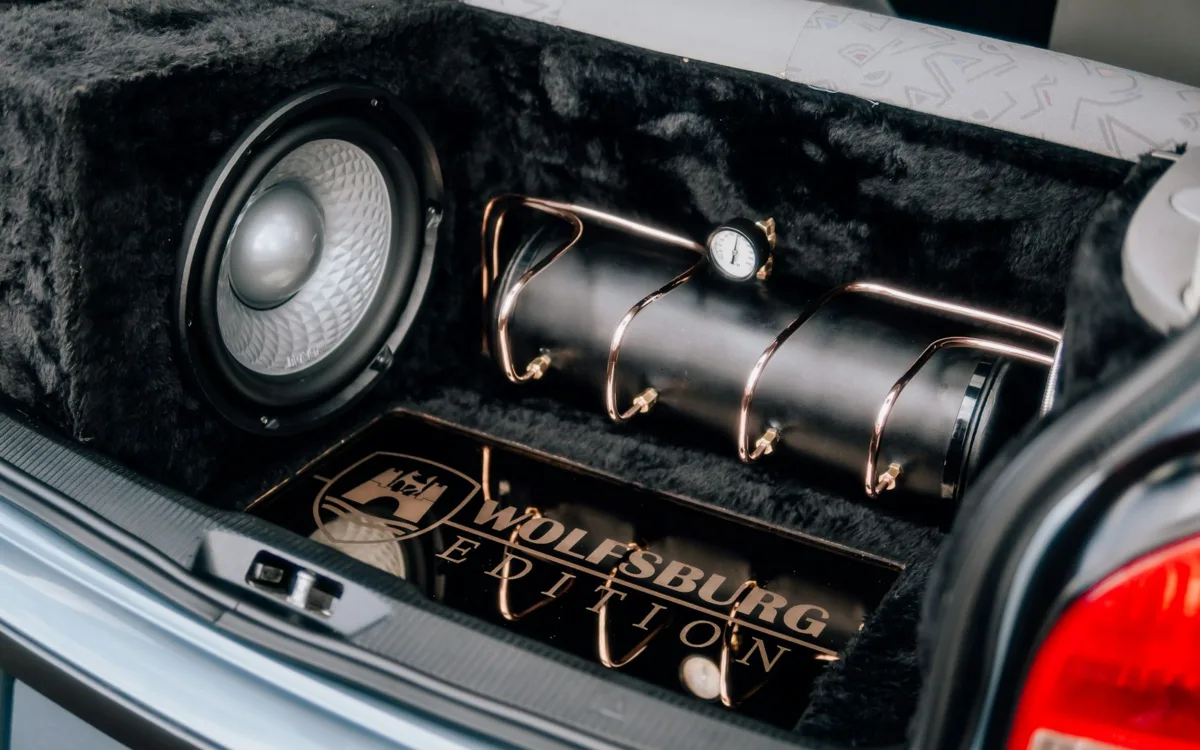
A prefabricated box needs only the subwoofer fitted. Crutchfield notes that connecting the leads to the terminal cup and screwing the subwoofer down should not take more than a few minutes (Crutchfield, 2026).
- Run speaker wire from the terminal cup inside the box to the subwoofer’s terminals, positive to positive.
- Lower the subwoofer into the cutout with its gasket in place.
- Mark and pre-drill the screw holes. Crutchfield pre-drills because MDF can be prone to splitting (Crutchfield, 2026).
- Tighten the screws evenly in a cross pattern until the gasket is compressed.
The box must be airtight. Rockford Fosgate’s enclosure guide says to seal every joint and to keep enclosures airtight, even in the case of a vented system (Rockford Fosgate, 2002). If the box is carpeted, Kicker says to cut the carpet away under the mounting flange so the gasket seals (Kicker, 2002).
If you are building your own box, our guide on how to measure sub size shows how to check cutout diameter, mounting depth and box volume.
Step 3: Wire the Voice Coils for the Right Impedance
The way you wire the voice coils sets the load the amplifier sees, and that load decides how much power it delivers. A dual voice coil subwoofer has two separate coils on one cone, each with its own terminals (Crutchfield, 2026).

| Subwoofer setup | Parallel | Series |
|---|---|---|
| One dual 4-ohm subwoofer | 2 ohms | 8 ohms |
| One dual 2-ohm subwoofer | 1 ohm | 4 ohms |
| Two dual 4-ohm subwoofers | 1 ohm | 4 ohms (coils in series, subwoofers in parallel) |
The single-subwoofer values are from Crutchfield, and the two-subwoofer values are from the12volt.com’s wiring diagrams (Crutchfield, 2026; the12volt.com, 2026).
Kicker gives the formulas: in series, the resistances add, and in parallel, the total is the product of the two divided by their sum (Kicker, 2026). Kicker also says to check the amplifier’s manual for its minimum impedance.
That limit matters. Crutchfield notes that most car amplifiers are stable down to 2 ohms in normal operation and 4 ohms in bridged mode (Crutchfield, 2026). Confirm your wiring with a multimeter across the box’s terminal cup before you connect the amplifier. Crutchfield’s subwoofer wiring diagrams show every common combination.
Step 4: Choose the Position and Direction
Placement changes how much bass reaches the cabin. Rockford Fosgate’s advice by vehicle type is the usual starting point (Rockford Fosgate, 2024):
| Vehicle | Starting position |
|---|---|
| Sedan with a trunk | Subwoofer facing the rear, within one foot of the back of the trunk |
| Hatchback or SUV | Subwoofer up, port back, 2 to 3 inches from the hatch |
| Pickup truck | Behind or under the rear seat |
Measurements back this up, with one refinement. In BestCarAudio’s test of a sedan trunk, the best result came from a corner with the subwoofer aimed at the fender, and the worst at 90 Hz was the box flat on the floor firing up, which was more than 20 dB down (BestCarAudio, 2024). Below 40 Hz, position made only about 2 dB of difference.
Sonic Electronix adds that there is no single best direction (Sonic Electronix, 2026). Try two or three positions with the box unsecured before you commit, and keep any port a few inches clear of the panels.
Step 5: Secure the Enclosure
Fasten the box down. Crutchfield’s instruction is to secure the enclosure with straps or brackets, and to make sure you are not blocking access to the spare tire (Crutchfield, 2026).
The reason is safety. A subwoofer box is heavy, and Crutchfield warns that in a hatchback or SUV it could become airborne and injure someone if you stop suddenly (Crutchfield, 2026).
Common methods are metal L-brackets screwed to the box and bolted to the floor, or a nylon strap through the cargo tie-down points.
If you drill into the floor, Crutchfield’s caution applies: be sure you are not cutting through the gas tank or a brake line (Crutchfield, 2026).
Step 6: Install the Amplifier and Run the Power Wire
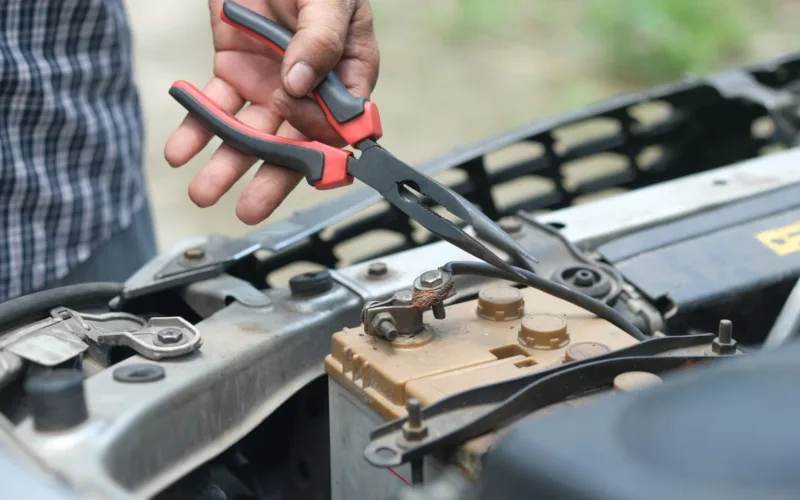
The amplifier needs a fused power wire from the battery, a short ground and a turn-on signal. The rules are the same for any amplifier.
- Fuse the power wire within 18 inches of the battery (MTX Audio, 2026).
- Ground the amplifier to bare metal with wire of the same gauge as the power cable, as short as possible (MTX Audio, 2026).
- Run the RCA cables on the opposite side of the car from the power cable (Crutchfield, 2026).
Crutchfield calls improper or loose grounding the number one cause of amplifier problems (Crutchfield, 2026). Our step-by-step guide on how to install an amplifier in a car covers wire gauge, the firewall and mounting, and grounding an amplifier has its own guide.
Step 7: Connect the Signal From the Stereo
How the signal reaches the amplifier depends on the stereo.
With an aftermarket stereo, connect RCA cables from its subwoofer or rear preamp outputs to the amplifier, and connect the remote turn-on wire, which is typically blue (Crutchfield, 2026).
With a factory stereo, there are no RCA outputs. Tap the rear speaker wires and feed them to the amplifier’s speaker-level inputs or to a line output converter, which converts a speaker-level signal into an RCA preamp-level signal (Crutchfield, 2026). Many amplifiers and converters switch on by sensing that signal, so no remote wire is needed.
Factory systems often reduce bass on purpose. BestCarAudio measured one Kia that cut the subwoofer signal just above 45 Hz (BestCarAudio, 2024). Converters such as the AudioControl LC2i include a circuit to correct bass roll-off (AudioControl, 2026).
Step 8: Connect the Subwoofer to the Amplifier
Run speaker wire from the amplifier’s output terminals to the terminal cup on the enclosure. Crutchfield recommends wires of 12 to 16 gauge (Crutchfield, 2026), with 16 gauge suiting most installations and 12 gauge for systems above 1,000 watts RMS.
Keep positive and negative consistent from the amplifier to the terminal cup to the subwoofer. Check that no stray strands bridge the terminals at either end.
Step 9: Power Up and Set the Controls
Set the amplifier before you play anything: gain at minimum, bass boost off, and the low-pass crossover settings at about 80 Hz. Kicker’s Hideaway manual calls 80 Hz a good place to start (Kicker, 2020).
Then reconnect the battery, play music you know, and raise the gain slowly until the bass balances with the speakers. Try the phase switch at 0 and 180 degrees and keep the setting with more bass (Crutchfield, 2026).
Go easy at first. Crutchfield advises playing a new subwoofer at low volume for approximately 20 hours (Crutchfield, 2026). For the complete method, see our guide on how to tune your car amplifier. If panels buzz once the bass is playing, stopping subwoofer vibration in your car covers the fixes.
How Installing a Powered Subwoofer Differs
A powered subwoofer combines the driver, box and amplifier, so Steps 2, 3 and 8 disappear. You run power, ground and signal to one unit.
The wiring is lighter. Kicker’s Hideaway HS10 uses a 15-amp fuse, placed within 18 inches of the battery, and accepts either speaker-level or RCA inputs (Kicker, 2020). With a factory radio, Kicker says to set the auto turn-on switch to DC so the unit wakes when it senses the speaker signal (Kicker, 2026).
Mounting is simpler too. Compact units fit under a seat and are held with supplied brackets, screws or hook-and-loop straps.
Frequently Asked Questions About Installing a Car Subwoofer
What do I need to install a subwoofer in my car?
A subwoofer, an enclosure, an amplifier, an amplifier wiring kit, speaker wire, and RCA cables or a line output converter. A powered subwoofer combines the first three.
Can I add a subwoofer to a factory stereo?
Yes. Tap the rear speaker wires into a line output converter or the amplifier’s speaker-level inputs (Crutchfield, 2026). The factory speakers keep playing.
What gauge speaker wire do I need for a subwoofer?
12 to 16 gauge (Crutchfield, 2026). Use 16 gauge for most systems and 12 gauge above 1,000 watts RMS.
What impedance does a dual 4-ohm subwoofer wire to?
2 ohms with the coils in parallel, or 8 ohms in series (Crutchfield, 2026). Two dual 4-ohm subwoofers can be wired to 1 ohm or 4 ohms.
Which way should a subwoofer face in the trunk?
Rear-facing near the back of the trunk is the usual start (Rockford Fosgate, 2024). In one measured test, a corner position aimed at the fender did best (BestCarAudio, 2024).
How much does it cost to have a subwoofer installed?
Best Buy lists $29.99 for the subwoofer and $199.99 for a mono amplifier, before parts (Best Buy, 2026).
Summary: How to Install Subwoofer in Car Audio Systems
- Match the subwoofer to its enclosure and amplifier, then mount it in an airtight box.
- Wire the voice coils to an impedance the amplifier is rated for, and confirm it with a multimeter.
- Place the box, secure it with straps or brackets, and wire the amplifier with a fused power lead and a short ground.
- Take the signal from RCA outputs or a line output converter, then set gain, low-pass and phase.