Quick Answer
- To install an amplifier in a car, disconnect the battery, run a fused power wire from the battery through the firewall, mount the amplifier, ground it, connect the remote, signal and speaker wires, then set the gain.
- Put the fuse close to the battery. Rockford Fosgate and MTX say within 18 inches, and Crutchfield says less than 6 inches is best.
- Choose the wire gauge by current and length. As a guide, 8 AWG copper carries up to 50 amps, 4 AWG up to 100 amps and 1/0 AWG up to 250 amps over 20 feet (KnuKonceptz, 2026).
- Run the RCA cables down the opposite side of the car from the power wire to keep noise out (Crutchfield, 2026).
- A factory stereo needs a line output converter or an amplifier with speaker-level inputs (Crutchfield, 2026).
To install an amplifier in a car, you make five connections: power from the battery, ground to the chassis, a remote turn-on lead, a signal from the stereo and speaker wires out to the speakers. Mount the amplifier where it gets air, fuse the power wire at the battery, and set all the controls to minimum before the first power-up. A shop takes about two and a half hours for a single amplifier (Best Buy, 2026), so allow an afternoon for a first installation.
Tools and Parts You Need to Install a Car Amplifier
You need an amplifier wiring kit and basic hand tools. Crutchfield points out that car amplifiers do not come with the wiring needed to hook them up (Crutchfield, 2026), so the kit is a separate purchase.
MTX lists what a full kit includes: power cable, ground cable, remote turn-on wire, RCA cables, speaker wire, a fuse and a fuse holder (MTX Audio, 2026). Some kits contain only the power parts, in which case the RCA cables and speaker wire are bought separately (Crutchfield, 2026).
| Tool | Used for |
|---|---|
| Panel removal tool | Lifting trim and door sill plates |
| Wire stripper and crimper | Terminals and connectors |
| Socket set and screwdrivers | Battery terminal, ground bolt, mounting |
| Drill | Mounting holes and a ground bolt hole |
| Digital multimeter | Checking voltage and the ground |
| Zip ties and a rubber grommet | Securing and protecting the wire |
If you have not bought the amplifier yet, our guide on how to choose an amplifier for car speakers covers channels, power and impedance.
One warning before you start: Crutchfield advises against installing an aftermarket amplifier in an electric vehicle (Crutchfield, 2026).
Step 1: Choose the Right Wire Gauge
Wire gauge depends on how much current the amplifier draws and how long the run is. Crutchfield’s formula divides the total RMS watts by 13.8 volts and then by the amplifier’s efficiency, using 50% for Class AB and 75% for Class D (Crutchfield, 2026).
A 500-watt Class D amplifier works out to about 48 amps: 500 divided by 13.8 is 36.2, and 36.2 divided by 0.75 is 48.3. KnuKonceptz rates its cable for these maximum loads over a 20-foot run (KnuKonceptz, 2026):
| Wire gauge | Copper | Copper-clad aluminum (CCA) |
|---|---|---|
| 8 AWG | 50 amps | 40 amps |
| 4 AWG | 100 amps | 60 amps |
| 1/0 AWG | 250 amps | 200 amps |
Copper carries more because aluminum is only 61% as conductive (BestCarAudio, 2020). Crutchfield does not recommend CCA wire for anything in car audio (Crutchfield, 2026). If you do use it, go up a size.
Why the wire has to be this thick is explained in our article on how a car amplifier works.
Step 2: Disconnect the Battery
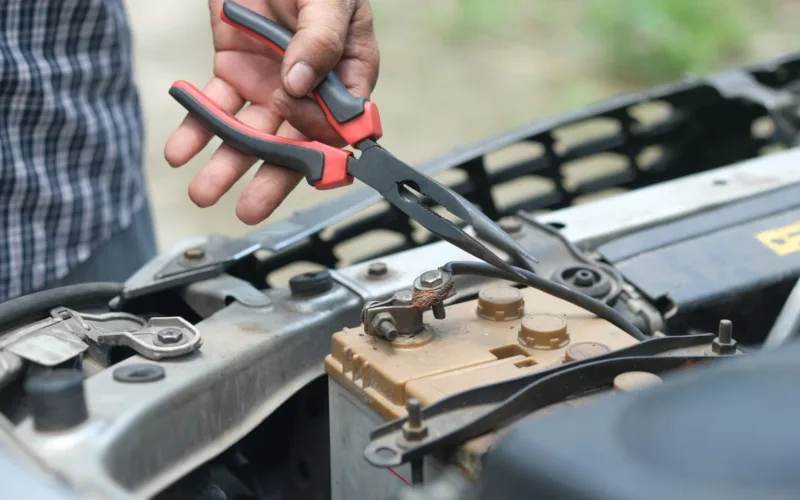
Set the parking brake and disconnect the negative terminal from your battery (Crutchfield, 2026). Rockford Fosgate’s manual gives the reason: it prevents damage to the unit, fire and possible injury (Rockford Fosgate, 2013).
Tuck the cable away from the terminal so it cannot spring back. Leave it off until every other connection is finished.
Step 3: Run the Power Wire Through the Firewall
The power wire runs from the battery, through the firewall and along one side of the cabin to the amplifier. Crutchfield’s advice is to find an existing grommet in the firewall, and if you have to drill a hole, to use a grommet to protect the wire from fraying and shorting (Crutchfield, 2026).
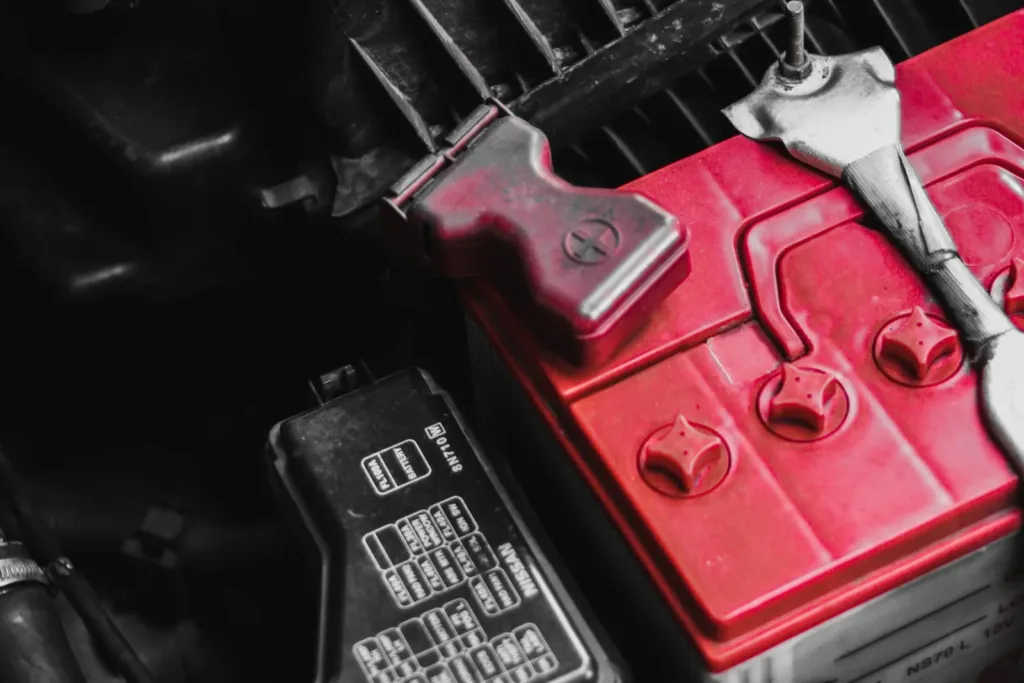
Route the wire away from hot or moving parts in the engine bay and secure it with zip ties. Inside the car, lift the door sill plates and lay the wire under the carpet edge, along one side only.
Do not connect the wire to the battery yet.
Step 4: Install the Fuse Near the Battery
The fuse protects the wire and the car, so it belongs at the battery end. Crutchfield explains that you need a fuse at the battery to protect the power wiring, your car and yourself against fire (Crutchfield, 2026).
Manufacturers agree on the distance. Rockford Fosgate says the power cable must be fused 18 inches or less from the battery (Rockford Fosgate, 2013), and MTX says to install a fuse or circuit breaker within 18 inches of the battery (MTX Audio, 2026). Crutchfield is stricter: less than 6 inches is best (Crutchfield, 2026).
Size the fuse to the wire, not above it, and leave the fuse out of the holder until the end. If your amplifier has no onboard fuses, Crutchfield says it needs an additional in-line fuse near the amplifier or distribution block (Crutchfield, 2026).
Step 5: Mount the Amplifier
Mount the amplifier where air can move around it and where it cannot get wet. Common locations are the trunk floor, under a rear seat and the cargo area (MTX Audio, 2026).
- Leave a few inches of air space around the amplifier (Crutchfield, 2026). Rockford Fosgate specifies at least 1 inch around the heatsink (Rockford Fosgate, 2013).
- Never mount an amplifier upside down (Crutchfield, 2026).
- Avoid fully enclosed spaces and mounting directly against carpet (MTX Audio, 2026).
- Keep it at least three feet from the stereo to avoid noise (Crutchfield, 2026).
- Do not bolt it directly to the car’s metal chassis, which invites noise. Crutchfield suggests rubber grommets on the screws (Crutchfield, 2026).
Screw the amplifier to a board or a solid panel. Crutchfield warns that a loose amplifier could break free in an accident and injure someone (Crutchfield, 2026). Check what is behind the panel before you drill.
Step 6: Connect the Ground Wire
Bolt the ground wire to bare metal on the car’s body, close to the amplifier. Scrape away the paint so the connection is bare metal to bare metal (Crutchfield, 2026), and use ground wire of the same gauge as the power cable (MTX Audio, 2026).
Keep it short. Kicker’s limit is 24 inches or less (Kicker, 2019), and Rockford Fosgate’s is always less than 30 inches (Rockford Fosgate, 2013).
This one connection causes more faults than any other, so it has its own guide: how to ground an amplifier in a car, including where not to ground and how to test the result.
Step 7: Run the Remote Turn-On and RCA Cables
The remote turn-on lead switches the amplifier on with the stereo. Behind an aftermarket stereo it is usually a blue and white wire (Crutchfield, 2026). Rockford Fosgate describes the alternative as a switched 12-volt positive source (Rockford Fosgate, 2013).
Route the RCA patch cables to the opposite side of the vehicle from the power cable (Crutchfield, 2026). Power wire carries heavy current, and signal cables laid beside it can pick up noise.
A factory stereo usually has no RCA outputs. Crutchfield gives two options: a line output converter, or an amplifier with speaker-level inputs (Crutchfield, 2026). A line output converter turns a speaker-level signal into an RCA preamp-level signal (Crutchfield, 2026).
Step 8: Connect the Speaker Wires
Run speaker wire from the amplifier’s outputs to each speaker or subwoofer. Crutchfield recommends 14 or 16 gauge wire for speakers and 12 or 14 gauge for subwoofers (Crutchfield, 2026).
Match positive to positive at both ends, and check that no stray strands bridge two terminals. Confirm the final impedance is one the amplifier is rated for before you connect a subwoofer with more than one voice coil. For the speaker end of the job, see our guide on installing new speakers in car doors.
Step 9: Connect the Power, Check and Power Up
Connect the power wire to the amplifier, then to the battery, then fit the fuse and reconnect the battery’s negative terminal. Before you switch on, Crutchfield says to set all the amplifier’s gains to minimum and turn off all the filters and any bass boost (Crutchfield, 2026).
Power up with the volume set low (MTX Audio, 2026). The amplifier’s power light should come on with the stereo. If it stays off, Crutchfield lists the usual causes in order: a bad ground connection, which is the most common, then a missing fuse, then the remote lead (Crutchfield, 2026).
Our guide on testing a car amplifier with a multimeter shows how to check each of those terminals.
Step 10: Set the Gain
Set the gain last, with music playing. Crutchfield’s method is to turn the stereo up to about three-quarters volume, raise the amplifier’s gain until the music distorts, then turn it down until it plays clean again (Crutchfield, 2026).
MTX gives the order for the other controls: gain first, then crossover and filter settings, then bass boost and the subsonic filter last (MTX Audio, 2026). The full procedure is in our guide on how to tune your car amplifier. Crutchfield’s amplifier installation guide has photos of each wiring stage.
How Much Does It Cost to Have an Amplifier Installed?
Professional installation of a single amplifier costs about $200 in labor. Best Buy lists 2-channel or mono amplifier installation at $199.99 and about 150 minutes, with hardware not included (Best Buy, 2026).
Doing it yourself costs the price of the wiring kit and your time. The kit is not the place to save money: undersized or aluminum wire limits what the amplifier can deliver.
Frequently Asked Questions About Installing a Car Amplifier
How close should the fuse be to the battery?
Within 18 inches, according to Rockford Fosgate and MTX. Crutchfield says less than 6 inches is best (Crutchfield, 2026). The fuse protects the wire, so the less unfused wire, the better.
What gauge wire do I need for my amplifier?
Work out the current: total RMS watts divided by 13.8, then divided by the efficiency, 0.5 for Class AB or 0.75 for Class D (Crutchfield, 2026). Then pick copper wire rated above that figure for the length of the run.
Can I use CCA wire instead of copper?
You can, but size up. Aluminum is 61% as conductive as copper (BestCarAudio, 2020), and Crutchfield does not recommend CCA wire for car audio at all (Crutchfield, 2026).
Where is the best place to mount a car amplifier?
The trunk floor or under a seat, with a few inches of air around it. Do not mount it upside down, against carpet or bolted straight to bare metal (Crutchfield, 2026).
Can I install an amplifier with a factory stereo?
Yes. Use a line output converter, or choose an amplifier with speaker-level inputs (Crutchfield, 2026). Either one takes the signal from the factory speaker wires.
Where does the remote turn-on wire go?
To the stereo’s remote output, usually a blue and white wire on aftermarket stereos (Crutchfield, 2026), or to another switched 12-volt source.
How long does it take to install a car amplifier?
Best Buy quotes about 150 minutes for a mono or 2-channel amplifier (Best Buy, 2026). A first-time installer should allow longer, mostly for routing the power wire and removing trim.
Summary: How to Install an Amplifier in a Car
- Disconnect the battery, then run a correctly sized power wire through a firewall grommet with a fuse near the battery.
- Mount the amplifier with air space around it and ground it to bare metal with a short wire.
- Keep RCA cables on the opposite side of the car from the power wire.
- Power up with the gain at minimum, then set the gain and filters.