Quick Answer
- To install a crossover in car audio, first pick the type. A passive crossover wires between the amplifier and the speakers and needs no power. An active crossover sits between the head unit and the amplifiers and needs 12-volt power, ground, remote turn-on and RCA cables (Crutchfield, 2026).
- For a passive crossover, run the amplifier’s speaker wire to the crossover input, then wire the tweeter and woofer outputs to each speaker, and mount the box somewhere dry, usually in the door or kick panel (Crutchfield, 2025).
- For an active crossover, mount it near the amplifiers but not directly on bare metal, power it with wire as thin as 18 gauge, and ground it at the same point as the amplifier (Crutchfield, 2026).
- Disconnect the battery before you start, and keep RCA cables away from power wires to avoid engine whine.
- Set the tweeter high-pass before you play any music through a new active setup, so the tweeters are never exposed to bass.
How to install crossover car audio parts depends on which crossover you have. A passive crossover takes about as much work as a speaker swap: two wires in, four wires out, and a secure mounting spot. An active crossover is wired like a small amplifier, with power, ground, a remote turn-on lead and RCA signal cables. This guide covers both, step by step.
What You Need Before You Start
You need basic hand tools, the right wire and the crossover’s manual before you begin. Gather everything first, because you will have door panels or trim off while you work.
- Panel removal tools, screwdrivers and a socket set to remove door panels and trim.
- Wire strippers, crimp connectors or a soldering iron, and heat-shrink tubing.
- 16-gauge or thicker speaker wire for passive crossover runs.
- For an active crossover: 18-gauge or thicker power and ground wire, a remote turn-on lead, RCA cables and a distribution block if you share the amplifier’s power cable (Crutchfield, 2026).
- Screws, double-sided foam tape or zip ties to secure the crossover.
- A multimeter to check polarity and voltage, and a marker to label wires.
Step 1: Choose Passive or Active and Plan the Signal Path
Start by deciding where the crossover sits in your system, because that decides every wire you run. A passive crossover goes after the amplifier. An active crossover goes before it (Crutchfield, 2025).
- Passive path: head unit or amplifier, then passive crossover, then tweeter and woofer.
- Active path: head unit, then active crossover, then one amplifier channel for each speaker group.
Use one crossover for each speaker band. If you install an active crossover or a digital signal processor (DSP) to split the tweeter and woofer, remove the passive crossover from those speakers and wire each speaker straight to its own amplifier channel (Crutchfield, 2023). If you are not sure which type suits your system, read our guide on how a crossover works in car audio first. If a DSP will split the signal instead, follow our guide to installing DSP in car audio, and to compare hardware, see our roundup of the best car audio crossover options.
How to Install a Passive Crossover (Steps 2 to 5)
A passive crossover is the easier install. It needs no power connection, no turn-on lead and no ground, and it connects with speaker wire only (Crutchfield, 2026).
Step 2: Disconnect the Battery and Remove the Door Panel
Disconnect the negative battery terminal so you cannot short a speaker wire or set off an airbag warning. Then remove the door panel with trim tools, unplug the window and lock switches, and set the panel somewhere safe.
Step 3: Pick a Dry, Secure Mounting Spot
Mount the crossover close to the woofer, where there is usually more room. Crutchfield says most installers mount passive crossovers inside the door or dash, nearer the woofer, and that mounting them next to the amplifier works equally well (Crutchfield, 2025).
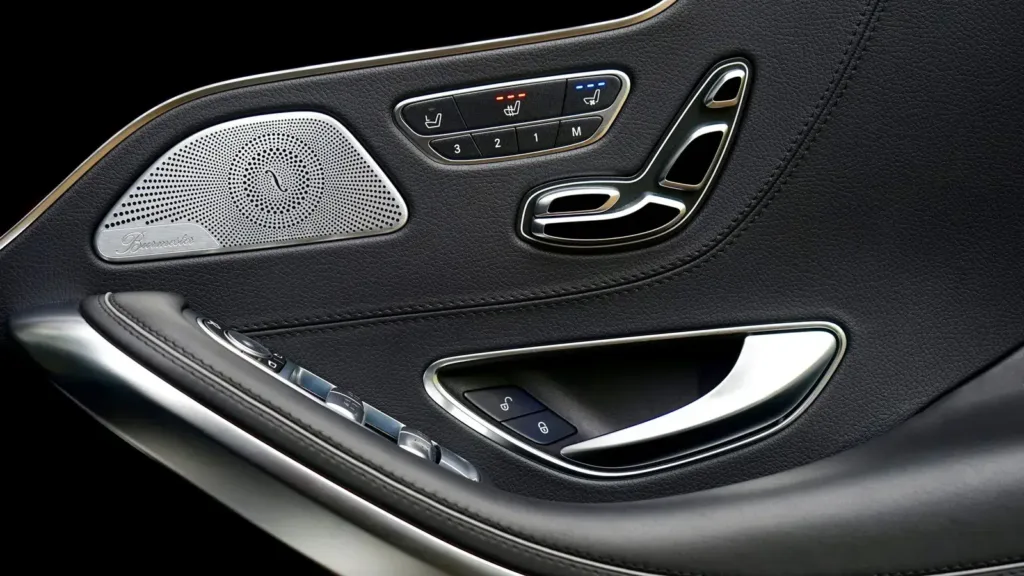
In a door, choose a spot on the inner door skin behind the trim panel, not inside the wet outer cavity where rain runs down behind the window. Keep it away from the window glass, the regulator and the lock rods, then roll the window up and down to check clearance. A kick panel or the area under the dash also works, but you will need extra wire runs through the door boot to reach the tweeter.
Secure the crossover with screws through its mounting tabs, strong double-sided foam tape or zip ties. It should not rattle or slide when you close the door.
Step 4: Wire the Input and Outputs
Connect the wires in this order, checking polarity at every terminal:
- Run the speaker wire from the amplifier channel, or the factory speaker wire, to the crossover’s input terminals.
- Wire the crossover’s tweeter output to the tweeter.
- Wire the crossover’s woofer output to the door speaker.
Crutchfield’s install guide describes the same three connections: amplifier to input, tweeter to tweeter output, woofer to woofer output (Crutchfield, 2026). Match positive to positive and negative to negative on each speaker. If you use the factory wiring, take the front speaker wires for front speakers and the rear wires for rear speakers (Crutchfield, 2021).
Step 5: Set the Tweeter Level Switch
Start the tweeter level switch at 0 dB, where the tweeter plays at the same level as the woofer. If the highs sound sharp after a few days of listening, move it to -3 dB (Crutchfield, 2025). Some crossovers also offer -6 dB or +3 dB.
How to Install an Active Crossover (Steps 6 to 10)
An active crossover needs the same kind of wiring as an amplifier: power, ground, a remote turn-on lead and signal cables (Crutchfield, 2026). The job takes longer, but it gives you adjustable crossover points and a level control for each speaker group.
Step 6: Mount the Crossover Near the Amplifiers
Mount the active crossover near the amplifiers, where you can still reach its controls for tuning. Do not bolt it directly to bare metal, because that invites ground loops that cause hum or buzz. Use rubber grommets around the screws, or mount it on a wooden board fixed to the car body (Crutchfield, 2026).
Secure it firmly. A loose crossover can become a projectile in a crash (Crutchfield, 2026).
Step 7: Run Power and Ground
Power the crossover from the battery, the same way you power an amplifier. The crossover draws little current, so wire as thin as 18 gauge is enough, and a distribution block lets it share the amplifier’s main power cable (Crutchfield, 2026).
Ground the crossover at the same point as the amplifier. Sand away paint and dirt so the ground terminal touches bare metal, then tighten it firmly (Crutchfield, 2026). Separate ground points at different spots on the chassis are a common cause of alternator whine.
Step 8: Connect the Remote Turn-On Lead
Connect the crossover’s remote terminal to the same turn-on lead as your amplifiers, so everything switches on with the head unit. A head unit’s turn-on circuit has a limited capacity, and with three or more devices on it, Crutchfield recommends a relay powered from another 12-volt source, such as the fuse box (Crutchfield, 2026).
Step 9: Run the Signal Cables
Run RCA cables from the head unit’s preamp outputs to the crossover input, then from each crossover output to its amplifier: highs to the tweeter amplifier, mids to the door speaker amplifier and bass to the subwoofer amplifier (Crutchfield, 2026).
If your head unit has no RCA outputs, use a crossover that accepts speaker-level inputs or add a line output converter (Crutchfield, 2026). Route the RCA cables along the opposite side of the car from the power cable, and keep them away from brake light and rear defroster wires.
Step 10: Wire the Speakers Directly to Their Amplifier Channels
With an active crossover, each speaker connects straight to its own amplifier channel, with no passive crossover in between. An active crossover divides the full-range signal before the amplifiers, so the passive crossovers from the component set are no longer needed (Crutchfield, 2021).
Before you connect the tweeters, set the tweeter output’s high-pass filter to at least 3,000 Hz. A tweeter that receives full-range music, even for a moment, can be damaged.
Step 11: Power Up and Test Each Speaker
Reconnect the battery, turn every amplifier gain and crossover level down, and set the head unit’s EQ and bass boost to flat. Then play a familiar track at low volume and check each speaker one at a time.
Each tweeter should play only highs, each door speaker should play mids with no deep bass, and the subwoofer should play only bass. If a speaker plays the wrong range, check which crossover output feeds which amplifier input. If bass sounds thin with both front speakers playing, one of them may have reversed polarity.
Once everything works, set the starting frequencies. Our guide to the best crossover settings lists values by speaker size, and the guide on how to set crossover frequency for a car audio system walks through tuning by ear. For the full list of controls, see how to use a crossover in car audio. Then set your amplifier gains with our guide to testing a car amplifier with a multimeter. The Crutchfield crossover install guide has more photos of mounted units.
Common Crossover Installation Problems and Fixes
Most problems after a crossover install come from grounding, wiring order or a missed setting. This table covers the ones installers see most.
| Problem | Likely cause | Fix |
|---|---|---|
| Whine that rises with engine speed | Ground loop or RCA cables near power wires | Ground at the amplifier’s ground point, reroute RCAs, isolate the case from metal |
| Crossover does not turn on | Remote lead overloaded or loose | Add a relay for three or more devices and check the connection |
| No sound from tweeters | Wired to the wrong output or level switch set low | Check the tweeter output wiring and set the switch to 0 dB |
| Tweeters sound harsh | High-pass too low or tweeter level too high | Raise the high-pass or set the level switch to -3 dB |
| Weak bass from front speakers | One speaker wired with reversed polarity | Swap positive and negative on one speaker |
| Door rattles or buzzes | Crossover loose or door speaker playing deep bass | Secure the crossover and set an 80 Hz high-pass |
Frequently Asked Questions About Installing a Crossover
Where should a passive crossover be mounted in a car?
Mount it close to the woofer, usually on the inner door skin behind the door panel or in the kick panel. Keep it away from the window track and anywhere water can drip, and secure it so it cannot rattle.
Does an active crossover need its own power wire?
Yes. An active crossover needs 12-volt power, a ground and a remote turn-on lead. It draws little current, so 18-gauge wire is enough, and you can take power from the amplifier’s distribution block (Crutchfield, 2026).
Can I install a crossover without an amplifier?
You can install a passive crossover between a head unit and component speakers, because it needs no power and works on the speaker wire. An active crossover needs an amplifier channel for each speaker group, so it only works with external amplifiers.
Do I keep the passive crossover if I use an active crossover or DSP?
No. If the active crossover or DSP splits the tweeter and woofer, remove the passive crossover and wire each speaker to its own amplifier channel. Using both puts two filters on the same speaker (Crutchfield, 2023).
What gauge wire should I use for a crossover?
Use 16-gauge or thicker speaker wire for passive crossovers so they get the amplifier’s full power. For an active crossover’s power and ground, 18-gauge wire is enough (Crutchfield, 2026).
Why does my crossover make a whining noise?
Whine that follows engine speed is usually a ground loop or RCA cables running next to power wires. Ground the crossover at the amplifier’s ground point, isolate its case from bare metal and reroute the RCA cables.
Summary: How to Install Crossover Car Audio
- Decide between passive and active, and plan one crossover per speaker band.
- Passive: amplifier to input, tweeter and woofer to their outputs, mounted dry and secure near the woofer.
- Active: mount near the amplifiers on an isolated surface, run power, ground and remote, then RCA cables to each amplifier.
- Set the tweeter high-pass before you play music, then test each speaker one at a time.