Quick Answer
- Clean car speakers dry first: loosen dust with a soft detailing brush, then vacuum with a brush attachment on low suction without pressing on the grille.
- Wipe plastic and metal grilles with a barely damp microfiber cloth, spraying any cleaner onto the cloth, never onto the grille, so liquid cannot reach the speaker behind it.
- Remove fabric grilles when you can and clean them with a lint roller or a soapy sponge off the car, letting them dry fully before refitting (Yamaha, 2026).
- Do not touch speaker cones or tweeter domes; if a cone is exposed, use a soft brush or compressed air from a few inches away only (Tom’s Guide, 2025).
- Cleaning removes dust and grime; it will not fix distortion, rattles or static, which point to damage or wiring faults.
To clean car speakers, brush the dust out of the grille with a soft detailing brush, vacuum it on low suction with a brush attachment, then wipe it with a barely damp microfiber cloth. Keep liquids off the speaker behind the grille and never press on the cone or tweeter. Removable grilles can be cleaned off the car, which is safer and more thorough.
Why Clean Your Car Speakers?
Cleaning keeps grilles looking like new and removes the dust, lint and sticky residue that build up in perforations, especially on lower door speakers near shoes and cup holders. It is also a good moment to spot problems, such as a loose grille or debris that has fallen behind it and rattles when the bass plays.
Dust on a grille rarely changes the sound much, because the openings still pass sound easily. Heavy grime, spilled drinks or debris resting against the cone are different, and they are worth clearing before they cause buzzing or damage.
What You Need to Clean Car Speakers
You need a soft detailing brush or a clean soft-bristle toothbrush, a vacuum with a brush attachment, two or three microfiber cloths, mild soapy water or an interior cleaner safe for your trim, and cotton swabs. A can of compressed air and a plastic trim tool are useful but optional.
Avoid anything abrasive. Stiff brushes scratch metal grilles and pull threads from fabric, and paper towels leave lint in perforations.
Step 1: Identify Your Grille Type
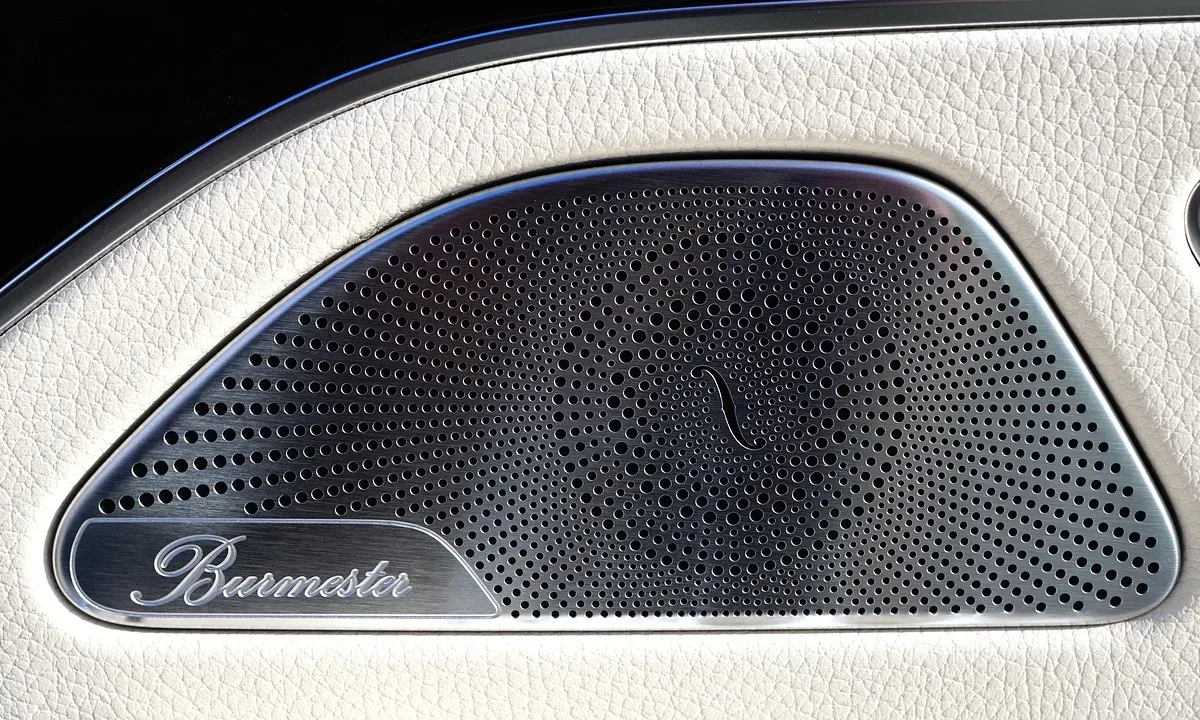
Identify what the grille is made of before choosing a method, because perforated metal, plastic mesh and fabric need different care. Premium systems often use metal grilles, many cars use molded plastic, and older or rear-deck speakers sometimes use fabric.
| Grille type | Best cleaning method | Avoid |
|---|---|---|
| Perforated metal | Soft brush, vacuum, barely damp microfiber | Abrasive pads, harsh solvents |
| Plastic mesh | Soft brush, vacuum, damp microfiber, cotton swabs | Soaking, ammonia glass cleaners |
| Fabric or cloth | Lint roller, gentle vacuum, spot clean off the car | Scrubbing, stretching the fabric |
| Leather or soft-touch trim | Dry brush, trim-safe cleaner on a cloth | Alcohol, all-purpose sprays |
Step 2: Brush Out Loose Dust
Brush the grille lightly with a soft detailing brush, working in one direction so dust falls out of the perforations rather than deeper in. Tilt the brush so the bristle tips do the work, and keep the pressure light enough that the grille does not flex.
Brush before using anything damp. Wetting dust turns it into a paste that sticks inside the holes and is much harder to remove.
Step 3: Vacuum on Low Suction
Vacuum the grille with a brush attachment on the lowest suction setting, holding the nozzle just above the surface rather than pressing it against the grille. Strong suction through a thin grille can pull on the speaker cone behind it.
Go over each speaker once with the brush attachment, brush again to loosen what is left, and repeat. Fabric grilles need an even lighter touch; a lint roller often works better than a vacuum on cloth.
Step 4: Wipe With a Barely Damp Microfiber Cloth
Wipe plastic and metal grilles with a microfiber cloth that is barely damp, lightly wrung out in water with a drop of mild soap or sprayed with an interior cleaner. Spray the cloth, never the grille, so no liquid runs through the openings onto the speaker.
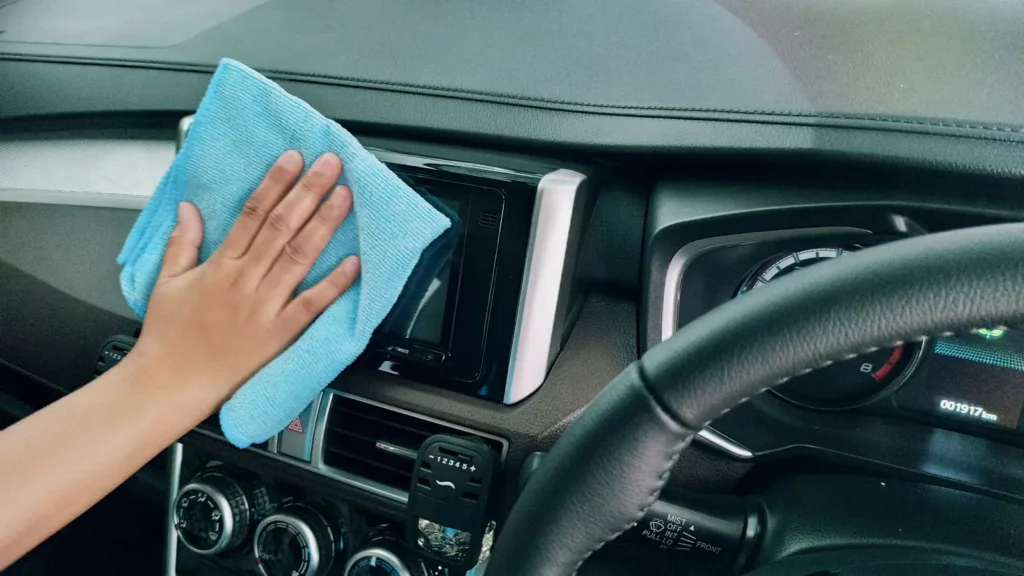
Follow with a dry microfiber cloth to pick up moisture and any remaining residue. On leather or soft-touch trim around the speaker, use a cleaner made for that material and skip alcohol-based products, which can dry or discolor the surface.
Step 5: Clear Clogged Perforations
For dirt stuck in individual holes, use a soft toothbrush with a gentle circular motion, or a cotton swab for grime around the grille edge. Work lightly; pushing hard can dent a metal grille or force dirt through onto the cone.
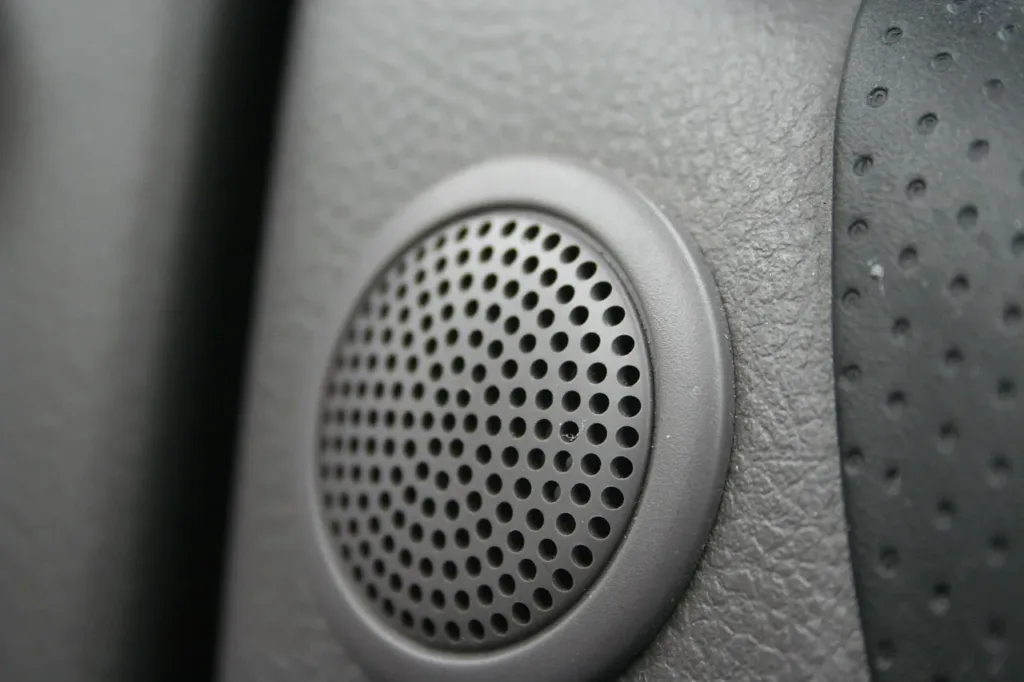
Cleaning gels made for car interiors can lift dust from grilles, but press them on gently and lift straight off, and test on a small area first, since some leave residue in tight holes. Do not poke sharp objects through the perforations.
Step 6: Clean Removable Grilles Off the Car
If a grille pops or unscrews off, clean it away from the car. Yamaha recommends cleaning removable grilles with a soapy sponge, rinsing with a second sponge holding clean water and drying with a soft cotton towel, taking care not to stretch fabric (Yamaha, 2026).
Let the grille dry completely before refitting it, because trapped moisture can reach the speaker. Check the clips as you refit it; a grille that sits loose is a common source of buzzing.
Many door speakers sit behind a grille molded into the door panel. Do not remove a panel just to clean a speaker; clean it in place with the dry and damp steps above.
How to Clean the Speaker Cone Itself
Clean an exposed speaker cone only with air or a very soft brush. Tom’s Guide recommends compressed air from a few inches away to blow off loose particles, then light brushing, and warns to avoid touching paper cones and tweeters, which are especially fragile (Tom’s Guide, 2025).
In a car, aim compressed air at an angle so dust blows out of the door or panel rather than deeper inside it, and hold the can upright so no propellant liquid sprays out. Never use water or cleaner on a paper cone, since it can soften or warp. A dented tweeter dome cannot be pushed back safely, so keep brushes and fingers away from it.
For more cleaning methods for home and portable speakers, Tom’s Guide’s guide to cleaning your speakers and Yamaha’s guide to dusting audio gear cover the same principles.
What Not to Use on Car Speakers
Avoid products that leave residue, soften materials or put liquid behind the grille. Most damage from cleaning comes from spraying too much product or pressing too hard.
| Avoid | Why |
|---|---|
| Spraying cleaner directly on the grille | Liquid runs through onto the speaker |
| Ammonia glass cleaner | Can cloud plastic and damage trim |
| Alcohol on leather or soft-touch trim | Can dry out or discolor the surface |
| Silicone or shine dressings | Leave residue that collects more dust |
| Stiff brushes or abrasive pads | Scratch metal and snag fabric |
| Pressure washers or steam cleaners | Force water into the speaker and door |
How Often to Clean Car Speakers
Clean car speaker grilles every few months, or whenever you clean the rest of the interior. Tom’s Guide suggests cleaning speakers every few months to prevent heavy buildup (Tom’s Guide, 2025). Lower door grilles and those near the footwells usually need attention more often.
A quick dry brush during each interior clean keeps dust from packing into the perforations, which makes the occasional deeper clean faster.
When Cleaning Will Not Fix the Sound
Cleaning will not fix distortion, rattling or missing sound, because those come from damage or wiring rather than dust. If a speaker sounds fuzzy after cleaning, or one side is quieter than the other, the speaker may be damaged; our guide on how to fix blown car speakers shows how to test it.
Hiss or whine that changes with engine speed is electrical noise, not dirt. If the speakers crackle instead, see our guide on how to fix car speakers crackling. If the speakers are clean and healthy but you want more volume, our guide on how to make car speakers louder without amp covers the next steps.
Frequently Asked Questions About Cleaning Car Speakers
How do you clean car speaker grilles?
Brush the grille lightly with a soft detailing brush, vacuum on low suction with a brush attachment held just above the surface, then wipe plastic or metal grilles with a barely damp microfiber cloth. Spray cleaner onto the cloth, never onto the grille.
Can I use water to clean car speakers?
Only a small amount on a well-wrung cloth for plastic or metal grilles, or on a removable grille cleaned off the car. Never let water reach the speaker cone, especially a paper cone, which can soften or warp.
Is compressed air safe for car speakers?
Yes, used gently. Spray from a few inches away (Tom’s Guide, 2025), hold the can upright, and aim at an angle so dust blows out of the door or panel rather than into it. Do not blast tweeters at close range.
How do I clean fabric car speaker covers?
Use a lint roller or a gentle vacuum first. If the cover is removable, clean it off the car with a soapy sponge, rinse with a clean damp sponge and dry it with a soft towel, taking care not to stretch the fabric (Yamaha, 2026).
Does dust affect car speaker sound?
Light dust on a grille rarely changes the sound noticeably. Heavy grime, spilled liquid or debris resting against the cone can cause buzzing or muffled sound, and cleaning those away is worthwhile.
Should I remove the door panel to clean car speakers?
Usually not. Most door speakers can be cleaned in place through the grille. Remove a panel only when you already need access, such as when replacing a speaker or fixing a rattle.
Summary: How to Clean Car Speakers
- Brush first, then vacuum on low suction with a brush attachment held above the grille.
- Wipe with a barely damp microfiber cloth, spraying cleaner onto the cloth only.
- Clean removable grilles off the car and let them dry fully before refitting.
- Keep liquids and fingers off cones and tweeters, and clean every few months.