Quick Answer
- To test car speakers, start with a listening test: use the balance and fader to play one speaker at a time and compare left with right.
- A multimeter gives the clearest answer. A healthy 4-ohm speaker reads a little below its rating, such as 3.3 ohms on the Kicker CSC65 (Kicker, 2026), while OL means an open circuit (Crutchfield, 2026).
- A 1.5-volt AA battery touched briefly to the terminals makes a working woofer pop and move, and the cone moving outward shows which wire is positive (Audio University, 2026).
- Speakers wired out of phase still play, but the most common symptom is a loss of bass (MTX Audio, 2026).
- Test the wiring too: there should be no continuity between the two speaker wires or from either wire to the car’s body (ImproveCarAudio, 2026).
To test car speakers, listen to each one alone with the balance and fader, then confirm what you hear with a multimeter set to ohms: a working 4-ohm speaker reads roughly 3 to 4 ohms. A battery pop test, a polarity check and a wiring continuity test cover the rest. Together these five tests tell you whether the speaker, its wiring or the stereo is at fault before you spend money on parts.
What You Need to Test Car Speakers
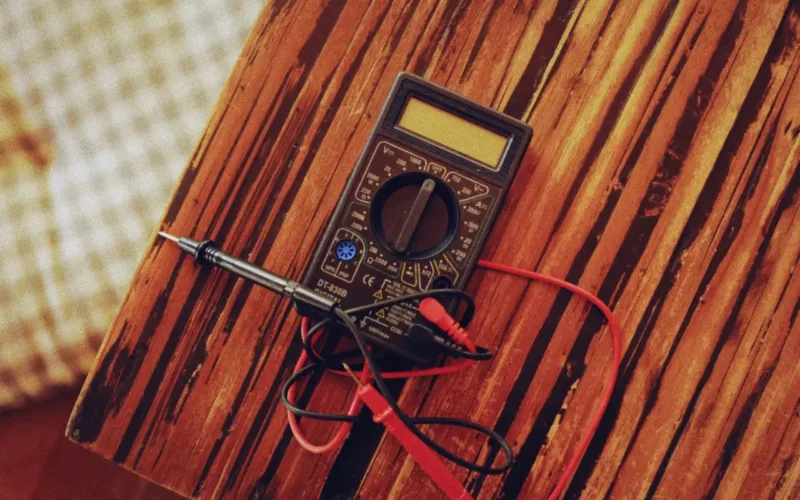
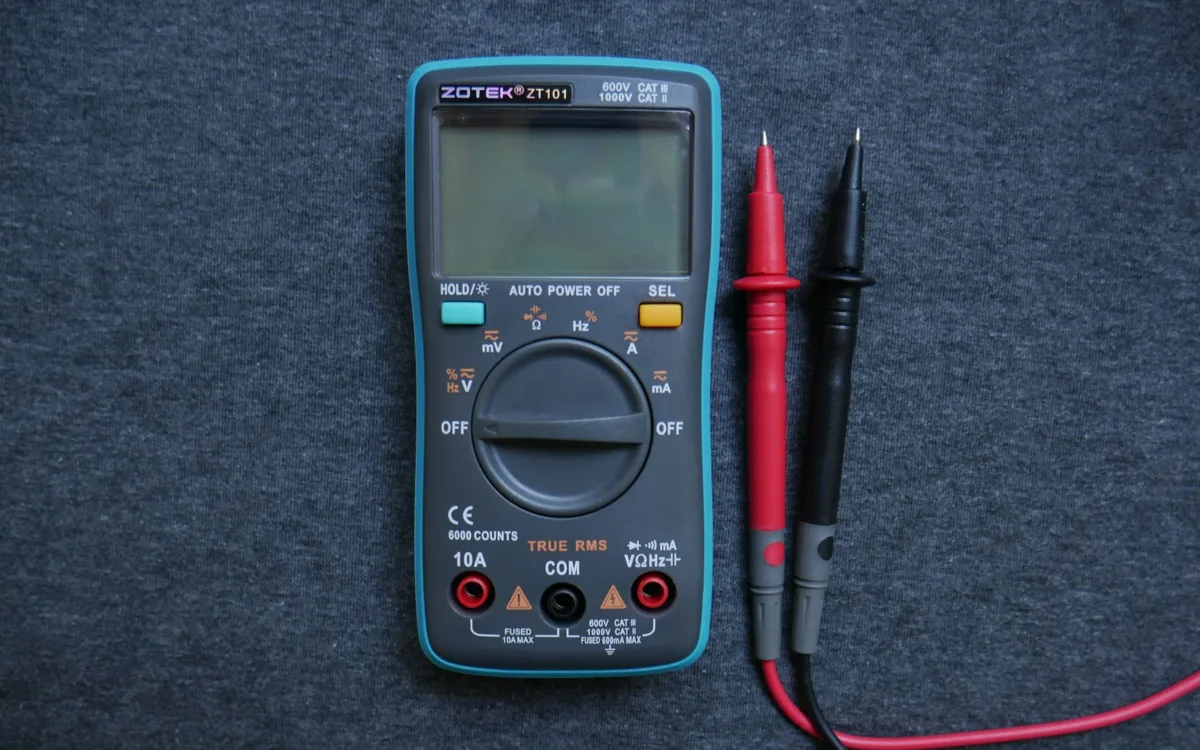
You need a digital multimeter, a 1.5-volt AA battery, two short test leads and a panel tool or screwdriver to reach the speaker terminals. A phone with a test-tone track helps with the listening tests, and none of these tools cost much.
| Test | What it tells you | Tools |
|---|---|---|
| Listening test | Which speaker has the problem | Stereo balance and fader |
| Multimeter test | Whether the voice coil is intact | Digital multimeter |
| Battery pop test | Whether the cone moves, and polarity | AA battery, two leads |
| Polarity check | Whether speakers are in phase | Phone and a polarity track |
| Wiring test | Whether the wire is broken or shorted | Digital multimeter |
Turn the stereo off before you touch any speaker wiring. If you are checking speakers you just fitted, our guide on how to install new speakers in car doors covers the wiring you are about to test.
Step 1: Do a Listening Test With Balance and Fader
Start by isolating each speaker. Move the balance fully left, then fully right, and use the fader to separate front from rear, so only one corner plays at a time (TheFixCar, 2026). Play a song with a full range of bass, vocals and treble.
Listen for four things at each corner: no sound at all, much lower volume than the opposite side, missing treble or bass, and distortion at a moderate volume. Comparing left with right is the fastest way to hear what normal should sound like in your car.
Press gently on the grille or door panel while the speaker plays. If the sound changes, the noise is a loose speaker or panel instead of a damaged cone (TheFixCar, 2026).
Step 2: Test the Speaker With a Multimeter
A multimeter resistance test shows whether the voice coil is intact. Unplug the speaker, set the meter to ohms, and touch the red probe to the positive terminal and the black probe to the negative terminal (Crutchfield, 2026).
Crutchfield notes that the measured resistance will be a little lower than the speaker’s rated impedance (Crutchfield, 2026). Kicker’s own spec sheets show the pattern: the 4-ohm CSC65 and CSC67 both list a DC resistance of 3.3 ohms, and the CSC35 lists 3.2 ohms (Kicker, 2026).
| Reading on a 4-ohm speaker | What it means |
|---|---|
| About 3 to 4 ohms | Voice coil is intact |
| OL | Open circuit: broken coil or lead wire |
| Close to 0 ohms | Shorted coil or shorted wiring |
| Number jumps as you press the cone | Failing lead wire |
Two details keep the reading honest. Fluke notes that test leads add about 0.2 to 0.5 ohms of their own, and that a part should be removed from the circuit because other components in parallel can change the reading (Fluke, 2026). So always unplug the speaker first.
Do not rely on the continuity beep. Fluke says a meter typically beeps at 40 ohms or less (Fluke, 2026), which means a beep cannot tell a healthy 3.3-ohm speaker from a damaged one. Read the number instead.
Check the label before you judge a low reading. Crutchfield points out that some cars use low-impedance factory speakers, including 2-ohm units in premium systems (Crutchfield, 2026), and those read a little below 2 ohms when healthy.
Step 3: Try the Battery Pop Test
The battery test shows whether the cone moves. Disconnect the speaker from the car’s wiring and briefly touch a 1.5-volt AA battery across the terminals. A working speaker produces a soft pop and visible cone movement (ImproveCarAudio, 2026).
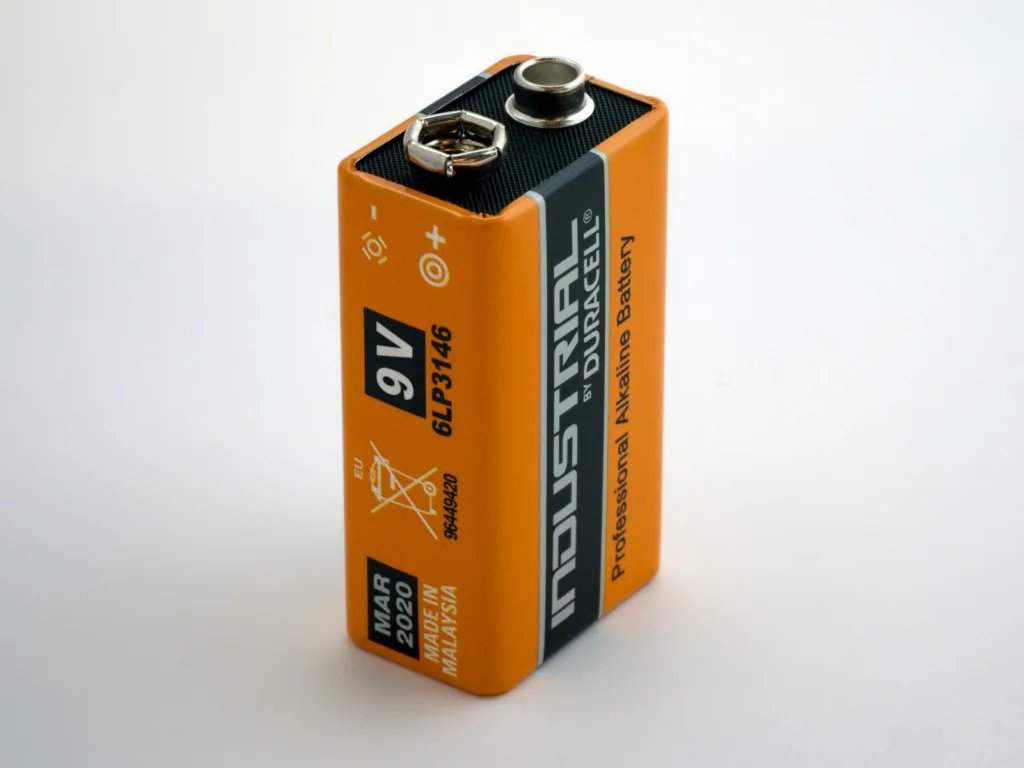
Crutchfield describes the same test on the speaker wires with a battery of 9 volts or less: if the wires and speaker are good, you hear the speaker click (Crutchfield, 2026). iFixit warns not to hold a 9-volt battery on a speaker for an extended period because it can cause damage (iFixit, 2016), so tap it for a moment and use the AA when you can.
Avoid the battery test on tweeters and on any wires still connected to the stereo or amplifier (ImproveCarAudio, 2026). Tweeters are too small to show movement and are easily damaged by direct current.
Step 4: Check Speaker Polarity and Phase
The battery test also shows polarity. If the cone moves outward, the wire on the battery’s positive terminal is the speaker’s positive wire (Audio University, 2026). MTX describes the same rule: the cone jumps forward when the positive terminal is connected correctly (MTX Audio, 2026).
Polarity matters because speakers work as a team. When one is wired backwards, its cone moves in while the other moves out, and AudioCheck notes that this cancellation is stronger at lower frequencies and results in a loss of bass (AudioCheck, 2026). In a car, BestCarAudio describes the result as bass that is strong in one seat and missing in another, and vocals that sound hollow (BestCarAudio, 2026).
You can check phase without removing anything. Play a polarity test track, such as the free one at AudioCheck, and listen from the driver’s seat. The in-phase sample should sound centered and full, and the out-of-phase sample should sound thin and hard to place. If your system does the opposite, one speaker is wired backwards.
On aftermarket speakers, the terminals are keyed. JL Audio’s C1-650x manual states that the larger connector is positive and the smaller is negative (JL Audio, 2026).
Step 5: Test the Speaker Wiring
If the speaker passes but still does not play, test the wire. Disconnect the pair at both ends, at the stereo or amplifier and at the speaker, and test each conductor separately (ImproveCarAudio, 2026).
- Touch one probe to each end of the same wire. A low reading means the wire is unbroken; OL means it is open.
- Touch the probes to the two wires of the pair. There should be no continuity between them.
- Touch one probe to each wire and the other to bare metal on the car’s body. Neither wire should show continuity to the body.
Crutchfield warns that no part of the speaker wiring should touch the vehicle’s metal body, because that short circuit can damage the amp and speakers (Crutchfield, 2026). Door wiring fails most often in the rubber boot at the hinge, where it bends every time the door opens.
How to Test Car Speakers Without Removing Them
You can test most speakers from behind the stereo. Crutchfield notes that all of a car’s speaker connections are accessible in one place at the stereo harness (Crutchfield, 2026). Unplug the harness, find the speaker pair for each corner in a wiring diagram, and measure across each pair with the multimeter.
A normal reading there confirms both the speaker and its wire in one step. An OL reading means either one has failed, so you then test at the speaker to find out which.
Cars with a factory amplifier are the exception. The stereo’s harness feeds the amplifier, not the speakers, so measure at the amplifier’s output plug instead. Our guide on how to test a car stereo covers checks on the head unit side.
Use Test Tones to Find Distortion and Rattles
A sine sweep reveals problems music can hide. AudioCheck’s 20 Hz to 20 kHz sweep runs for 20 seconds and is useful for finding resonant frequencies (AudioCheck, 2026). Play it at a low to moderate volume, because a steady tone works a speaker harder than music does.
Listen for a buzz at one frequency, which points to a loose panel or a torn surround, and for treble that drops out early, which points to a dead tweeter. If the sweep sounds clean on one speaker and rough on its partner, you have found the faulty side.
A swap test confirms it. Turn the system off, move the suspect speaker’s wires to a channel you know works, and play it again. If the problem follows the speaker, the speaker is at fault; if it stays with the channel, check the electronics with our guide on testing a car amplifier with a multimeter.
What to Do After the Tests
Match the result to the next step. A failed coil or a scraping cone means repair or replacement, which our guide on how to fix blown car speakers covers. A good speaker that still makes noise on bumps or at high volume usually has a wiring or clipping problem; see fixing crackling car speakers for that.
| Test result | Likely fault | Next step |
|---|---|---|
| OL at the speaker | Open voice coil | Replace the speaker |
| Normal at speaker, OL at harness | Broken wire | Repair the wiring |
| Normal reading, no sound | Stereo or amplifier channel | Test the electronics |
| Weak bass, vague center | Reversed polarity | Swap the wires on one speaker |
Frequently Asked Questions About Testing Car Speakers
How do I test car speakers with a multimeter?
Unplug the speaker, set the multimeter to ohms and touch one probe to each terminal. A healthy 4-ohm speaker reads roughly 3 to 4 ohms. OL means an open circuit, and a reading near zero means a short (Crutchfield, 2026).
What should a 4-ohm car speaker read on a multimeter?
A little below 4 ohms. Kicker lists 3.3 ohms of DC resistance for its 4-ohm CSC65 (Kicker, 2026). Your leads add 0.2 to 0.5 ohms, so a reading between about 3 and 4 ohms is normal.
Can I test a car speaker with a 9V battery?
Yes, with a brief tap only. Crutchfield says a battery of 9 volts or less will make a good speaker click (Crutchfield, 2026). A 1.5-volt AA is gentler and works just as well. Do not use a battery on tweeters.
How can I test car speakers without removing them?
Unplug the harness behind the stereo and measure across each speaker pair with a multimeter. A normal reading confirms the speaker and its wire. In cars with a factory amplifier, measure at the amplifier’s output instead.
How do I know if my car speakers are out of phase?
The bass sounds weak and voices are hard to place in the center. Play a polarity test track, or use the battery test: the cone should move outward when the battery’s positive terminal touches the speaker’s positive terminal.
What does OL mean when testing a speaker?
OL means the circuit is open, so no current can flow. On a speaker it points to a broken voice coil or lead wire. On a wire, it means the wire is broken somewhere along its length.
Summary: How to Test Car Speakers
- Isolate each speaker with the balance and fader and compare left with right.
- Measure resistance with the speaker unplugged: about 3 to 4 ohms is healthy for a 4-ohm speaker.
- Use a quick AA battery tap to confirm cone movement and polarity.
- Test the wiring for breaks and shorts before you replace anything.