Quick Answer
- To test a car stereo, work from the simple checks to the electrical ones: settings and sources first, then fuses, then power and ground with a multimeter, then the speakers and wiring.
- A healthy car battery reads about 12.6 volts with the engine off, and the stereo’s constant power wire (yellow) should read close to that even with the key out (AutoZone, 2026).
- The switched power wire (red) should read about 12 volts only with the key in accessory or on, and the ground (black) should read close to 0 ohms to bare metal.
- A working 4-ohm speaker reads a little under 4 ohms, such as 3.3 ohms, while OL means an open voice coil and a reading near zero means a short (Kicker, 2026).
- Testing each source (radio, Bluetooth, USB and CD) separately shows whether a fault is in the stereo, the phone or the antenna.
Knowing how to test a car stereo saves you from replacing a radio that only needed a fuse, a setting change or a loose ground. The process below takes you from quick checks you can do in the driver’s seat to multimeter tests on the wiring, so you can find out whether the problem is the stereo itself, its power, the speakers or the source.
What You Need to Test a Car Stereo
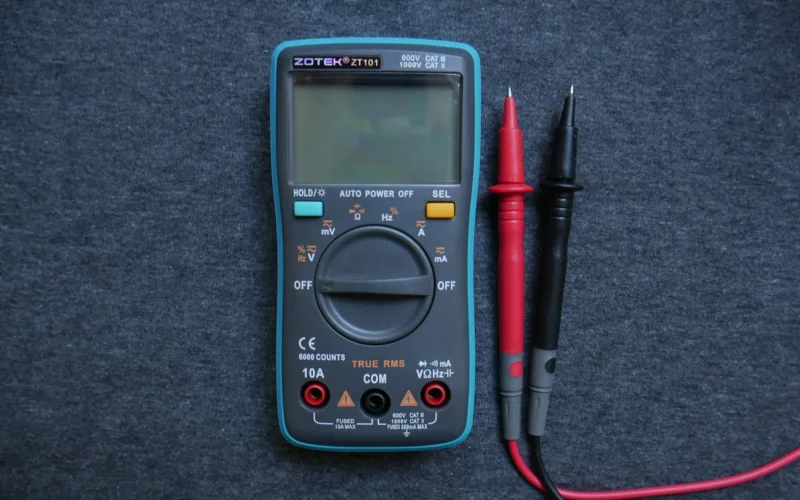
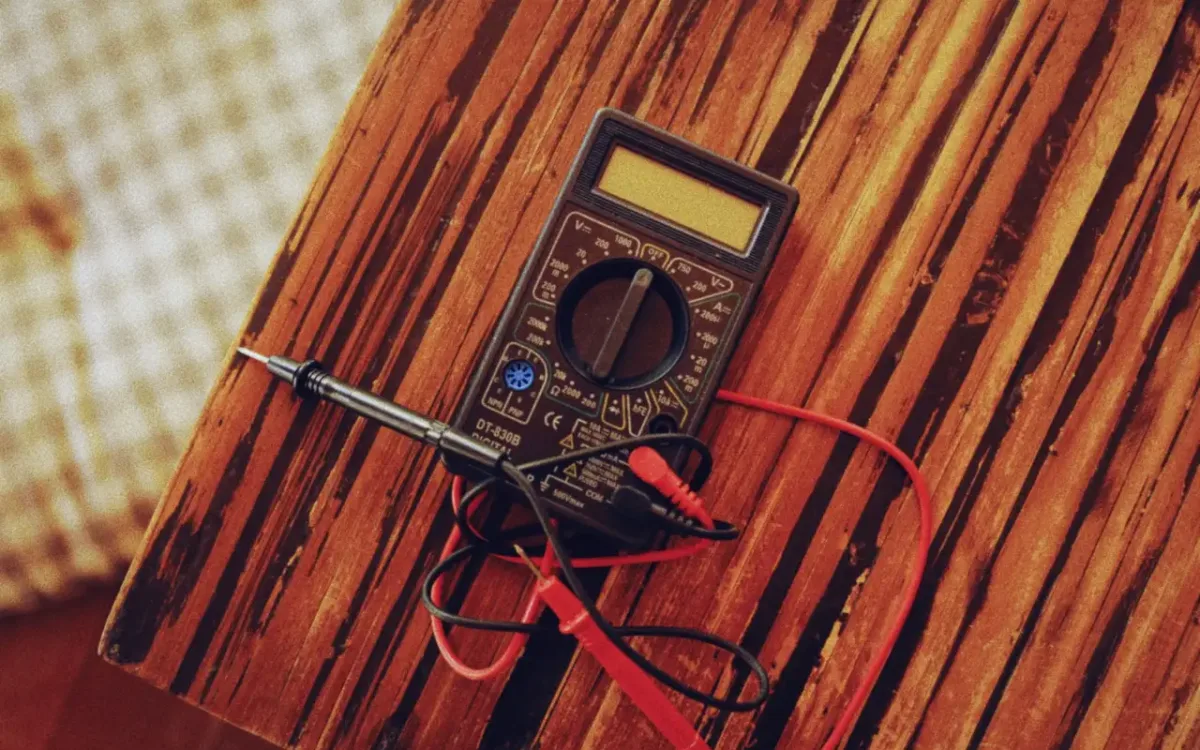
You need a digital multimeter, the stereo’s owner’s manual and a few minutes with the car parked. A multimeter with DC volts, ohms and continuity settings handles every electrical test in this guide.
- A digital multimeter with test leads.
- A fuse puller or needle-nose pliers, and spare fuses of the right rating.
- A plastic panel tool if you need to reach the back of the stereo.
- A phone with music, a USB drive or a CD you know plays well.
Step 1: Rule Out Settings and Simple Causes
Start with the settings, because many “dead” stereos are only muted or set wrong. Turn the volume up, check that mute is off, and cycle through each source.
Then center the balance and fader controls. A fader pushed fully to the rear makes the front speakers go silent, which looks like a wiring fault. If the display asks for a code after a battery change, the stereo is in anti-theft mode and needs its code before it will play; our guide on how to reset a car radio explains where to find it.
Step 2: Check the Stereo Fuses
Check the fuses next if the stereo shows no sign of life. Most cars have a radio fuse in the interior fuse box, and many aftermarket stereos also have a fuse on the back of the unit.
Pull each fuse and look at the metal strip inside, or test it on the multimeter’s continuity setting: a good fuse beeps or reads close to 0 ohms. Replace a blown fuse only with one of the same amp rating. If the new fuse blows right away, there is a short in the wiring or the stereo, and you need to keep testing before you power it up again.
Step 3: Test the Power and Ground Wires With a Multimeter
Test the three power wires at the back of the stereo to see whether the stereo is getting what it needs. Set the multimeter to DC volts, put the black probe on bare metal or the ground wire, and touch the red probe to each power wire.
| Wire | Key position | Healthy reading |
|---|---|---|
| Yellow (constant 12 V) | Key off | About 12.6 V |
| Red (switched 12 V) | Key in ACC or ON | About 12 to 12.6 V |
| Red (switched 12 V) | Key off | 0 V |
| Black (ground) | Any, ohms to chassis | Close to 0 ohms |
These colors follow the standard aftermarket code; factory wiring often uses different colors, so check a wiring diagram or the adapter harness chart before you probe (Crutchfield, 2026). A fully charged battery rests at about 12.6 volts, so a yellow wire well below 12 volts points to a weak battery or a poor connection (AutoZone, 2026).
If the yellow wire has no voltage, the stereo cannot keep its memory and may not turn on. If the red wire stays at 12 volts with the key off, the stereo will drain the battery. If the ground reads more than a few ohms, clean and tighten the ground point. The same method appears in our guide to testing a car amplifier with a multimeter.
Step 4: Test the Speakers and Speaker Wires
Test the speakers when the stereo turns on but one or more channels are silent or distorted. First, use the balance and fader to play one speaker at a time; this tells you which channel has the problem.
Then switch off the stereo, disconnect the speaker wires at the stereo or speaker, and measure resistance across each pair. A working 4-ohm speaker reads a little below its rating, such as 3.3 ohms on a Kicker CSC65, while OL means an open voice coil and a reading near zero means a short (Kicker, 2026). If a speaker reads correctly at its own terminals but not at the stereo end, the wire between them is broken or shorted.
Also check that no speaker wire touches the car body. Many aftermarket stereos shut down or go into a protection mode when a speaker wire is shorted to ground. For more detail on damaged speakers, see our guide on fixing blown car speakers.
Step 5: Test Each Audio Source
Test every source the stereo offers, because a fault in one source points to that input rather than the whole stereo. Play the radio, Bluetooth, USB, aux and CD in turn at the same volume.
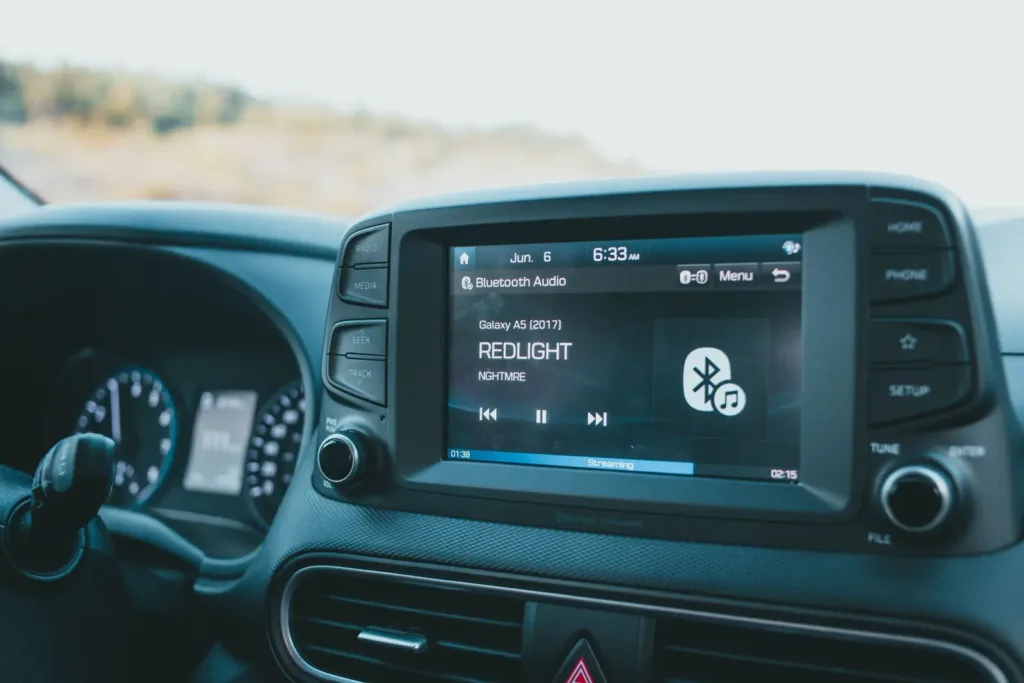
- Radio only is weak or noisy: check the antenna plug at the back of the stereo and the antenna mast.
- Bluetooth only fails: delete the pairing on both the phone and the stereo, restart both, then pair again.
- USB only fails: try another cable and a drive formatted as the manual specifies.
- CD only fails: try a clean, unscratched disc; if a disc is stuck, see how to remove a CD from a car stereo.
Step 6: Test the Stereo’s Outputs to an Amplifier
If your system uses an external amplifier, test the signal the stereo sends to it. With the stereo on, measure DC volts on the blue/white remote wire: it should read about 12 volts, which tells the amplifier to switch on.
Then play a test tone and measure AC volts between the center pin and outer shell of each RCA output. Any steady reading that rises with the volume shows the stereo is sending a signal. If the RCA outputs are dead but the speaker outputs work, check the stereo’s settings for a subwoofer output or preamp option that may be turned off.
Step 7: Bench Test the Stereo Outside the Car
Bench test the stereo when you want to know for sure whether the unit or the car’s wiring is at fault. Connect the stereo’s yellow and red wires together to the positive terminal of a 12-volt power source, the black wire to negative, and one speaker to a speaker output.
If the stereo works on the bench but not in the car, the fault is in the car’s wiring, fuses or harness. If it fails on the bench too, the stereo itself needs repair or replacement.
What Your Car Stereo Test Results Mean
Use this table to match what you found with the next step.
| Test result | Likely cause | Next step |
|---|---|---|
| No power, fuse good, no 12 V on yellow or red | Wiring or fuse box fault | Trace the wire back to the fuse box |
| 12 V on both wires, stereo still dead | Bad ground or failed stereo | Check ground, then bench test |
| Loses settings every time | No constant 12 V on yellow | Check the yellow wire’s fuse and connection |
| Power on, no sound from any speaker | Mute, protection mode or amplifier fault | Check settings and speaker wires for shorts |
| One speaker silent | Open speaker or broken wire | Measure resistance at both ends |
| Only the radio is bad | Antenna or antenna adapter | Check the antenna connection |
Once you have found the fault, our guide on how to fix car stereo problems walks through the repairs. If the stereo tests fine but lacks the features you want, consider whether to upgrade the car stereo instead.
Frequently Asked Questions About Testing a Car Stereo
How do I know if my car stereo is bad?
If the stereo has 12 volts on its yellow and red wires and a good ground but still will not turn on, or it fails the same way on a bench power supply, the stereo itself is faulty. If it works on the bench, the problem is in the car’s wiring.
How do I test a car stereo without a multimeter?
You can check the settings, fuses by eye and each source, and use the balance and fader to find a silent speaker. For power and ground problems, a multimeter or a 12-volt test light is the only reliable way to test.
What voltage should a car stereo get?
Both the yellow constant wire and the red switched wire should read about 12 to 12.6 volts with the engine off, and about 13.5 to 14.5 volts with the engine running (AutoZone, 2026).
How do I test car speakers with a multimeter?
Disconnect the speaker, set the meter to ohms and touch the probes to the speaker terminals. A 4-ohm speaker should read a little under 4 ohms; OL or 0 ohms means the speaker has failed.
Why does my car stereo turn on but make no sound?
The most common causes are mute or fader settings, a speaker wire shorted to the car body that triggers protection mode, a failed factory amplifier, or disconnected speaker wiring behind the stereo.
Can a bad ground cause car stereo problems?
Yes. A loose or corroded ground can stop the stereo from turning on, make it reset while driving, or add whining noise that rises with engine speed.
Summary: How to Test a Car Stereo
- Check settings, mute, fader and anti-theft code first.
- Test the fuses, then measure 12 volts on the yellow and red wires and a clean ground.
- Measure speaker resistance and look for wires shorted to the car body.
- Test each source separately, then bench test the stereo if the fault is still unclear.