Quick Answer
- Upgrade a car audio system in stages: front speakers or head unit first, then an amplifier, a subwoofer, sound deadening and finally a digital signal processor (DSP).
- Factory radios make about 10 to 25 watts RMS per channel (Crutchfield, 2026), which is why an amplifier is usually the step that makes new speakers come alive.
- Keeping a factory head unit is often the right call in newer cars; amplifiers with speaker-level inputs and DSPs connect to it without losing screens or steering-wheel controls.
- Plan the electrical side: a car supports roughly 11.7 watts of Class D amplifier power per amp of alternator rating (Crutchfield, 2026), and every power wire needs a fuse near the battery.
- Sound deadening is the most overlooked step; a CLD patch covering 25% of a panel cut its resonance by 16.5 dB in one independent test (ResoNix Sound Solutions, 2023).
To upgrade a car audio system, work in stages that each fix one weakness: replace the front speakers, improve or integrate the head unit, add an amplifier for clean power, add a subwoofer for bass, then deaden the doors and fine-tune with a processor. Doing it in that order means every dollar makes an audible difference, and you can stop at any step with a system that already sounds better.
Plan the Upgrade Before You Buy Anything
Start with a plan: decide what you want to fix, set a budget, and check what your car’s factory system allows. A clear goal, such as “clearer vocals” or “deeper bass,” tells you which step matters most, and knowing the factory setup avoids buying parts that do not fit.
Check three things before you shop:
- Whether the car has a premium factory system with its own amplifier, which changes how new parts connect.
- Whether the head unit is part of the dashboard screen that also runs climate, cameras or vehicle settings, which makes replacing it difficult.
- The speaker sizes and mounting depths in each location, which decide which speakers fit.
Crutchfield’s 5-step plan for upgrading a car stereo follows a similar order and notes that the steps can be done in any sequence that suits your budget.
Step 1: Replace the Front Speakers
Replace the front speakers first, because they carry most of what you hear from the driver’s seat. Factory speakers often use lightweight paper cones and small magnets, and aftermarket speakers give clearer vocals and tighter bass even on the factory radio.
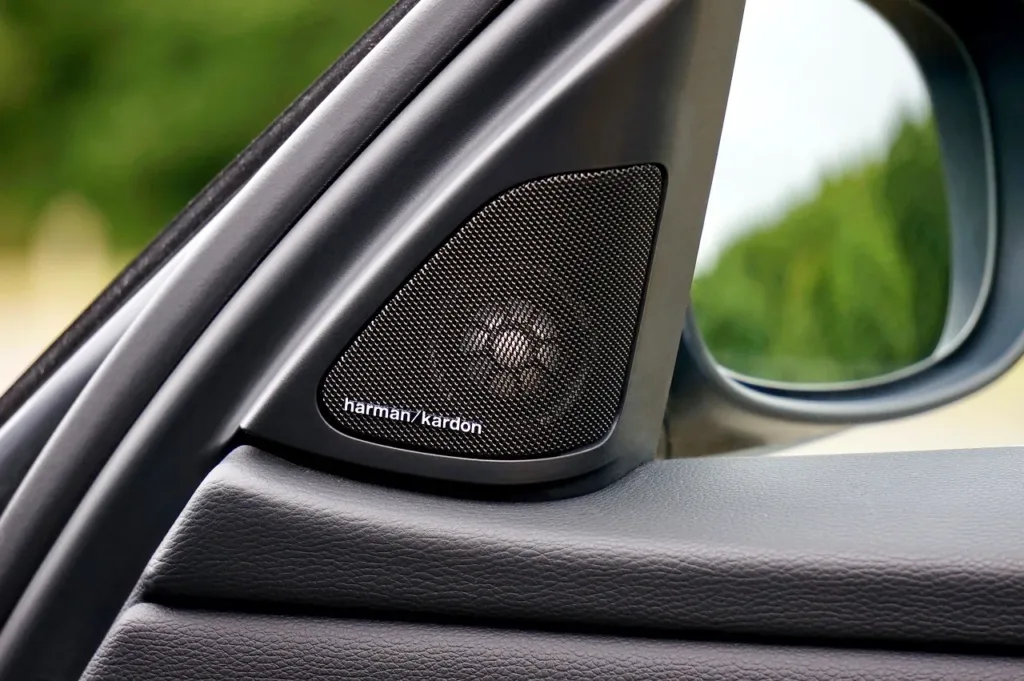
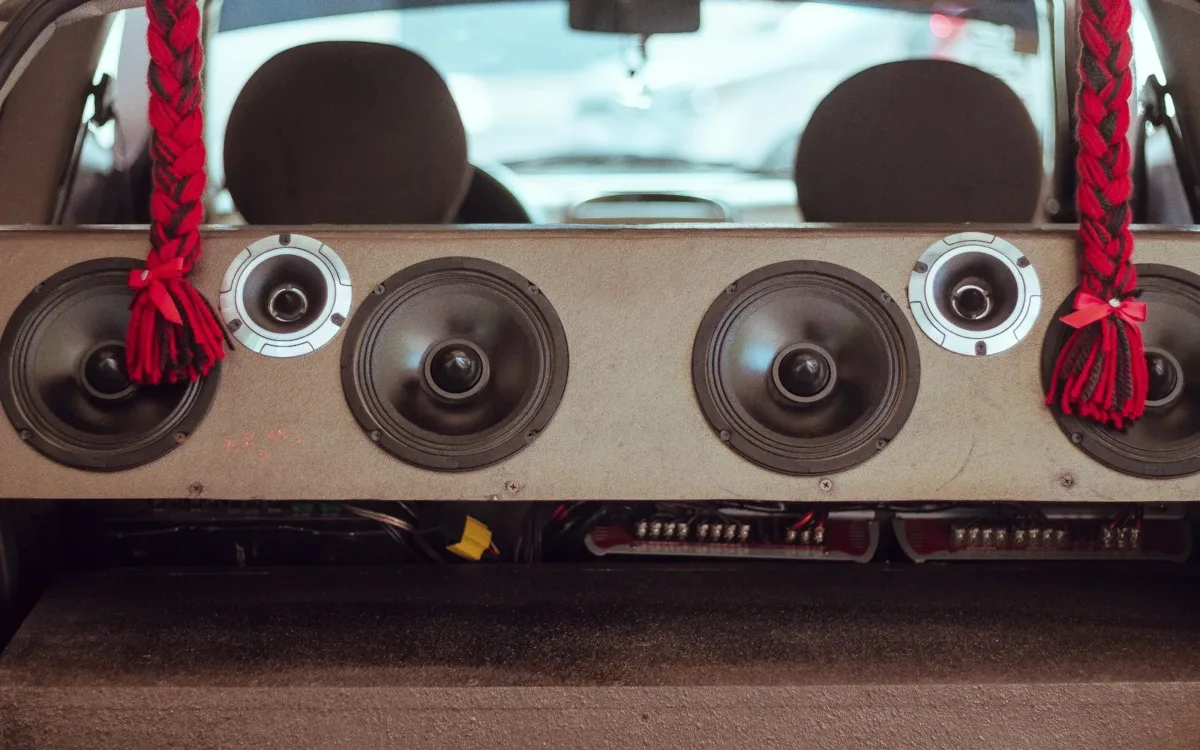
Choose component speakers, with separate tweeters and woofers, for the front if the car has a tweeter location in the door or pillar. They give a better stereo image than coaxial speakers. If you are keeping the factory radio without an amplifier, choose models rated above 90 dB sensitivity, which Crutchfield recommends for low-powered stereos (Crutchfield, 2026).
Measure before buying; factory mounting depths and bolt patterns vary. Our guide on how do you measure car speakers covers each dimension, and speaker adapter brackets solve most fit problems.
Step 2: Upgrade or Integrate the Head Unit
Replace the head unit if it is a basic radio without the features you want, such as wired Apple CarPlay or Android Auto, a usable equalizer, or preamp outputs for amplifiers. Keep it if it is built into a dashboard screen that controls other vehicle functions.
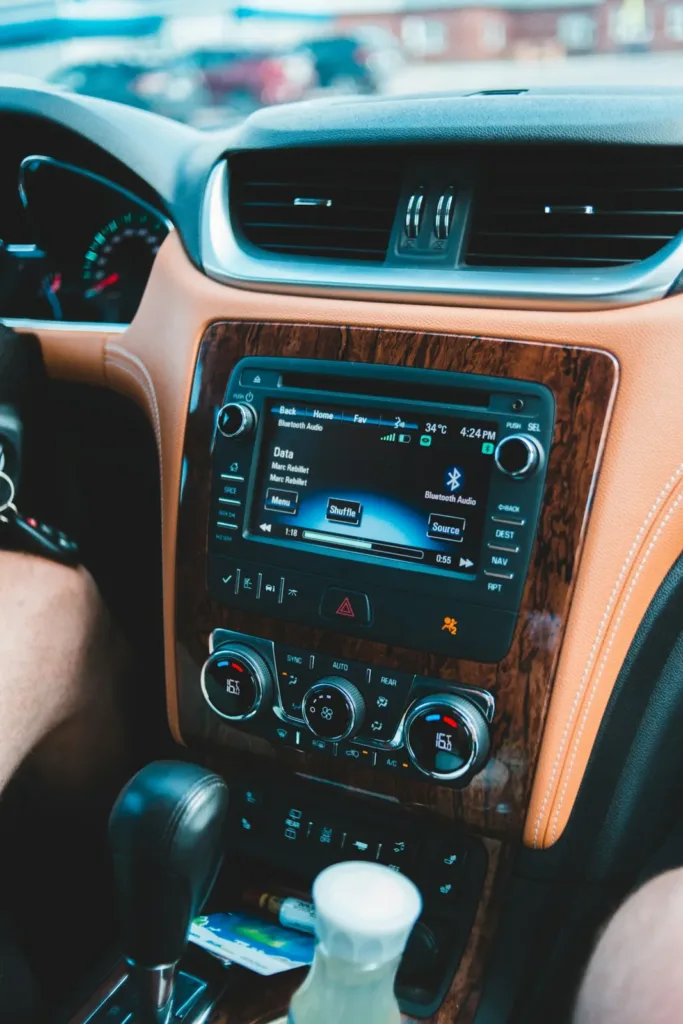
A replacement head unit usually needs three installation parts: a dash kit to fill the opening, a wiring harness adapter so you do not cut factory wires, and a steering-wheel control interface to keep the buttons on the wheel working. An antenna adapter may be needed as well. Our guide on how to upgrade a car stereo walks through choosing those parts and the wiring and installation steps.
If you keep the factory head unit, amplifiers and processors with speaker-level inputs take the signal from the factory speaker wires. That approach keeps the factory screen and controls intact, which matters more in each new model year.
Step 3: Add a Four-Channel Amplifier
Add an amplifier to give the new speakers clean power. Factory radios produce about 10 to 25 watts RMS per channel (Crutchfield, 2026), while most aftermarket speakers are rated for 50 to 100 watts. A four-channel amplifier running 50 to 75 watts per channel lets them play loud without clipping.
Match the amplifier’s RMS output to the speakers’ RMS ratings, compare ratings measured to the CTA-2006 standard, and set the gain with a test tone rather than by ear at full volume. Use a wiring kit with the gauge the amplifier’s manual specifies, and fuse the power wire close to the battery; Crutchfield’s guide to amplifier power wire fuses explains why the fuse belongs at the battery end.
An amplifier is also the first upgrade that can introduce noise if the wiring is poor. Route signal cables away from the power wire and ground the amplifier to bare metal to keep hiss and whine out.
Step 4: Add a Subwoofer
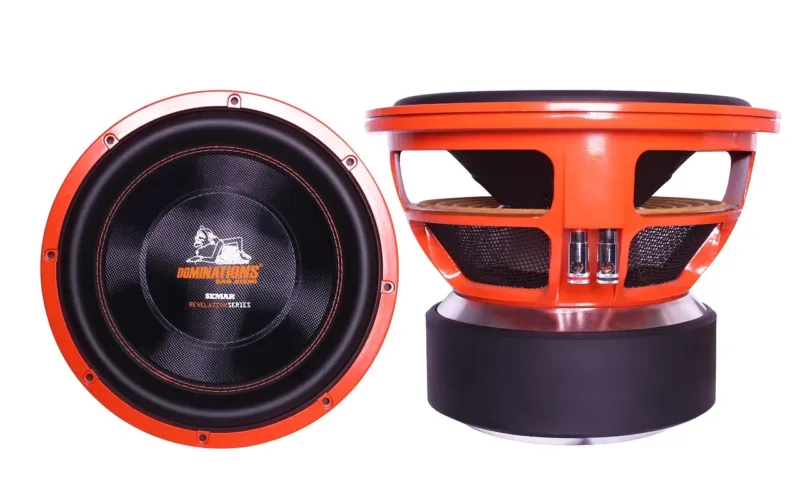
Add a subwoofer to reproduce the bottom octave of music that door speakers cannot. It also lets you filter deep bass out of the door speakers with a high-pass filter around 80 Hz, so they play louder and cleaner.
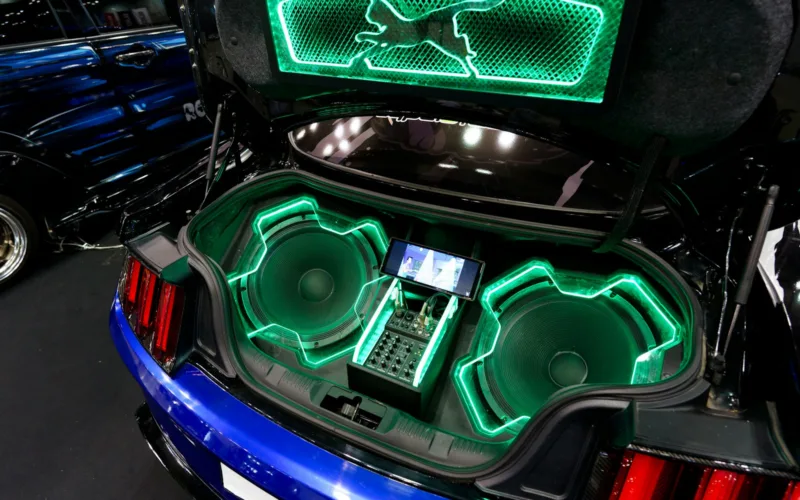
A powered subwoofer, with the amplifier built into a compact enclosure, fits under a seat or in a trunk corner and is the simplest option. A separate subwoofer and enclosure with its own mono amplifier gives more output and depth if you have the space. Set its level so bass sounds full from the driver’s seat without drawing attention to the trunk.
Step 5: Add Sound Deadening
Add sound deadening to the front doors and, if there is a subwoofer, the trunk lid. Constrained layer damping (CLD) tiles stop thin metal panels from vibrating, which improves midbass from the doors and removes rattles that appear once the system plays louder.
Full coverage is not needed. In independent testing shared by ResoNix Sound Solutions, a CLD square covering 25% of a test panel reduced its resonance by 16.5 dB (ResoNix Sound Solutions, 2023). Place tiles at the center of each flexing area, especially behind the speakers.
Step 6: Add a DSP for Final Tuning
Add a digital signal processor (DSP) last, once the hardware is in place. A DSP lets you fine-tune each speaker through advanced DSP settings, including equalization, crossover adjustments, and time alignment, to improve overall sound quality.
In cars with premium factory systems, a DSP can also undo the factory equalization before the signal reaches new amplifiers and speakers. Many amplifiers now include a built-in DSP, which combines Steps 3 and 6 in one unit.
Check the Electrical System for Bigger Upgrades
Check the charging system before adding more than a few hundred watts. Crutchfield estimates a car supports about 11.7 watts of Class D amplifier power per amp of alternator rating, so a 90-amp alternator supports about 1,053 watts RMS (Crutchfield, 2026).
If the headlights dim on bass notes, upgrade the main charging cables first. The Big 3 upgrade replaces the alternator-to-battery positive, battery-to-chassis ground and chassis-to-engine ground with heavier cable, commonly 1/0 AWG (Sonic Electronix).
DIY or Professional Installation?
Most speaker swaps and powered subwoofer installs are reasonable DIY jobs with basic hand tools, trim tools and a few hours. Amplifier wiring, head unit replacement in newer cars and DSP tuning take more time and experience, and a mistake can cause noise or damage.
A professional installer is worth considering when the car has a premium factory system, a head unit integrated with vehicle functions, or when you want the system tuned with measurement equipment. Whichever you choose, keep the factory parts in case you sell the car.
Car Audio Upgrade Path by Budget
Spend in the order that gives the biggest audible improvement, and let each step build on the last.
| Budget | Upgrade | What you gain |
|---|---|---|
| Free | Reset EQ, wired source, best streaming quality | Cleaner sound |
| Low | Front speakers, foam rings, rattle fixes | Clearer vocals, tighter bass |
| Medium | Four-channel amplifier, front door deadening | Clean volume, better midbass |
| Higher | Subwoofer and mono amplifier or powered sub | Full-range sound |
| Highest | DSP and professional tuning | Accurate imaging and balance |
If you want more volume before spending on an amplifier, our guide on how to make car speakers louder without amp covers the settings and speaker choices that help most.
Common Car Audio Upgrade Mistakes
The most common mistakes are upgrading in the wrong order and cutting corners on installation.
- Adding a large subwoofer before the front speakers, which leaves boomy bass under unclear vocals.
- Buying speakers without checking mounting depth and bolt pattern.
- Replacing a head unit that controls vehicle functions, then losing features.
- Using an undersized wiring kit or grounding to painted metal.
- Setting amplifier gain to maximum, which causes clipping and can damage new speakers.
- Skipping sound deadening, so new speakers rattle the door panels.
Frequently Asked Questions About Upgrading a Car Audio System
What should I upgrade first in my car audio system?
Upgrade the front speakers first in most cars, because they carry most of what you hear. If the head unit is a basic radio without the features you want, replace it first instead. An amplifier usually comes next.
Can I upgrade my car audio and keep the factory radio?
Yes. Amplifiers and DSPs with speaker-level inputs connect to the factory speaker wires, so you keep the factory screen, steering-wheel controls and vehicle settings. This is often the best approach in newer cars.
Do new speakers need an amplifier?
Not always. High-sensitivity speakers rated above 90 dB sound good on a factory radio. Speakers rated for 50 watts RMS or more benefit from an amplifier, since factory radios make about 10 to 25 watts RMS per channel (Crutchfield, 2026).
Is sound deadening worth it?
Yes, especially in the front doors. It stops the door from vibrating, improves midbass and removes rattles. Partial coverage is enough; one test found a patch covering 25% of a panel cut resonance by 16.5 dB (ResoNix Sound Solutions, 2023).
What is a DSP in car audio?
A DSP, or digital signal processor, adjusts the signal before it reaches the amplifiers. It adds detailed equalization, crossovers and time alignment, which correct the uneven sound and off-center image that car interiors create.
How long does a car audio upgrade take?
A speaker swap takes one to three hours for most cars. A head unit takes a few hours with the right adapters. A full system with amplifiers, a subwoofer and deadening can take a weekend or more for a DIY install.
Summary: How to Upgrade Car Audio System
- Plan around your goal, your budget and the factory system you have.
- Replace the front speakers, then upgrade or integrate the head unit.
- Add a four-channel amplifier, then a subwoofer, with correct wiring and fusing.
- Finish with sound deadening and a DSP, and check the charging system for larger systems.