Quick Answer
- A multimeter can check every input an amplifier depends on (fuses, power, ground, remote and signal) and its output, which pinpoints most faults in under 30 minutes.
- With the engine running, power (B+) to ground should read about 13.8 to 14.5 volts; anything below 11 volts is a problem (Audio Intensity, 2026).
- Ground resistance should be 0 to 0.5 ohms, and above 1 ohm points to corrosion or a bad connection (Audio Intensity, 2026); remote should read about 12 volts with the stereo on.
- Output is tested on AC volts with a test tone: a healthy channel reads close to the square root of its RMS power times impedance, such as 17.3 volts for 75 watts into 4 ohms.
- With no signal, DC voltage across a channel’s speaker terminals should be close to 0 millivolts; readings in whole volts mean a failed output stage.
To test a car amplifier with a multimeter, work through its inputs and then its outputs: check the fuses for continuity, measure DC voltage on the power, ground and remote terminals, confirm the head unit is sending a signal, then measure AC output voltage and DC offset at the speaker terminals. Each reading either clears a part of the system or points straight at the fault.
This guide covers each test, the multimeter setting to use, the reading to expect, and what to do when a reading is wrong.
What You Need Before You Start
You need a digital multimeter with DC volts, AC volts, resistance (ohms) and continuity settings, a set of test tones (0 dB tones at 1 kHz and 50 Hz), and access to the amplifier’s terminals. Alligator-clip test leads make the job easier and safer.
| Test | Multimeter setting | Where to connect |
|---|---|---|
| Fuses | Continuity or ohms | Across each fuse, removed |
| Power supply | DC volts, 20 V range | B+ terminal and GND terminal |
| Ground quality | Ohms, or DC volts for voltage drop | Amplifier GND to chassis |
| Remote turn-on | DC volts, 20 V range | REM terminal and GND terminal |
| Input signal | AC volts | RCA center pin and outer shield |
| Amplifier output | AC volts | Channel positive and negative speaker terminals |
| DC offset | DC millivolts | Channel positive and negative speaker terminals, no signal |
| Speakers and wiring | Ohms | Speaker wire pair, disconnected |
Choosing a multimeter for car audio work
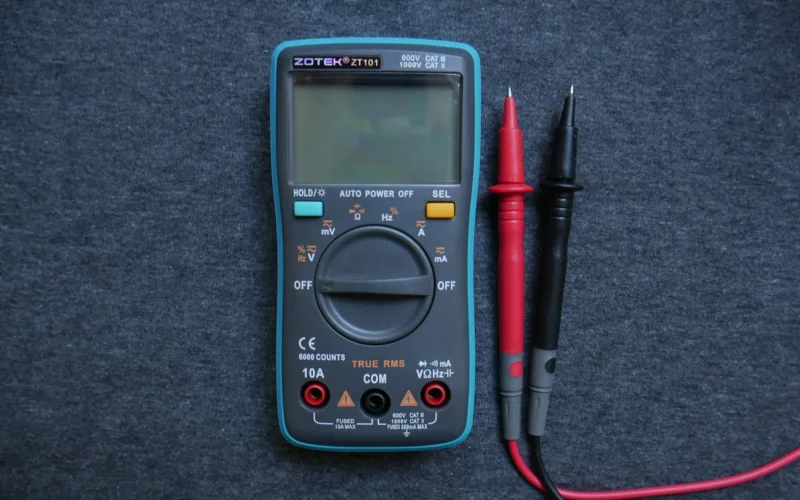
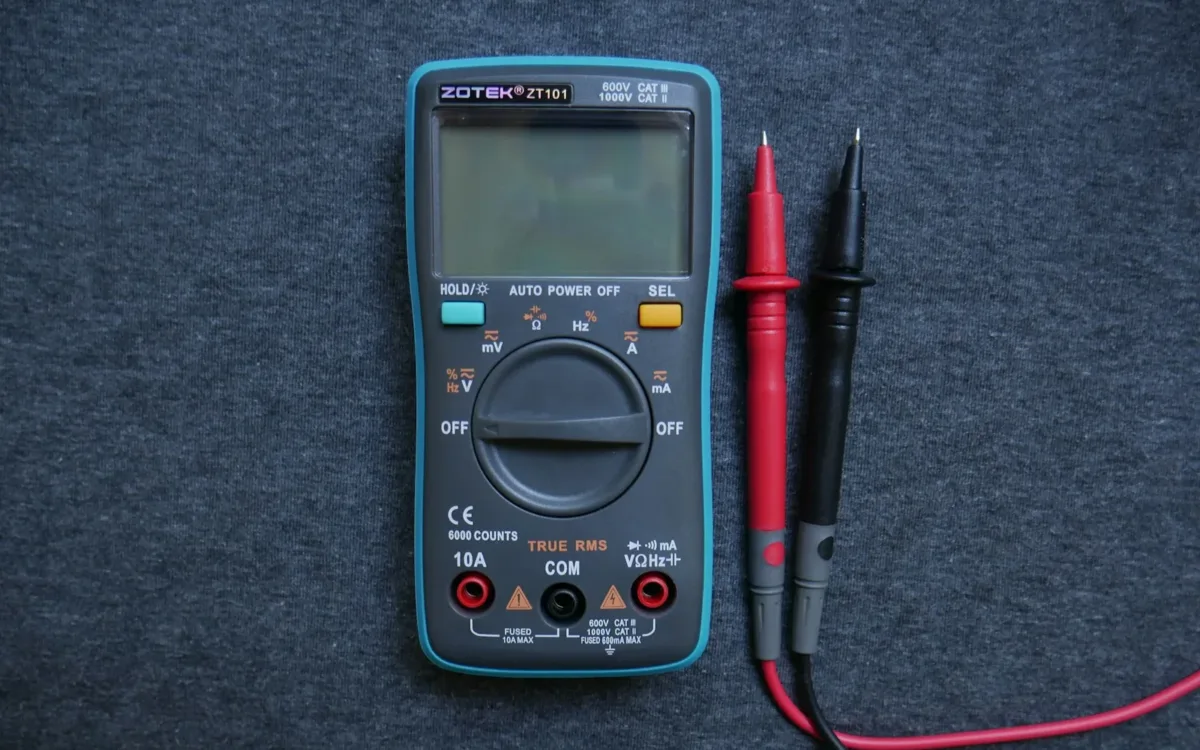
Any auto-ranging digital multimeter handles the DC and resistance tests in this guide. If you have not used one before, Crutchfield’s guide to using a multimeter covers the basic dial settings. For AC output readings, check the meter’s AC frequency range in its manual: many budget meters are only accurate on AC near 50 or 60 Hz. If yours is one of them, use a 50 or 60 Hz test tone for output and gain measurements rather than 1 kHz, and treat readings at higher frequencies as approximate.
Multimeter safety for car audio
- Never measure voltage with the red lead still plugged into the meter’s 10 A current jack; across a battery, that is a dead short.
- Remove rings and watches before working near the battery or power terminals.
- Switch the amplifier off and disconnect power before any resistance or continuity test, because an ohms test on a live circuit gives false readings and can damage the meter.
- Large capacitors hold a charge after power is removed, so treat power terminals as live until you have measured them.
Step 1: Check the Fuses for Continuity
Remove each fuse, including the amplifier’s onboard fuses and the main inline fuse near the battery, and test it on the continuity or ohms setting. A good fuse beeps or reads close to 0 ohms; a blown fuse reads OL (open line).
Test fuses out of their holders. Measured in place, a blown fuse can appear to have continuity through the rest of the circuit. If a replacement fuse blows as soon as the amplifier powers up, stop testing and see our guide on how to fix a blown car amplifier, because that usually means an internal short.
Step 2: Measure the Power (B+) Voltage
Set the meter to DC volts, put the red probe on the amplifier’s B+ terminal and the black probe on its GND terminal. With the engine running, expect about 13.8 to 14.5 volts; a reading below 11 volts is a red flag (Audio Intensity, 2026). With the engine off, a healthy battery reads around 12.6 volts.
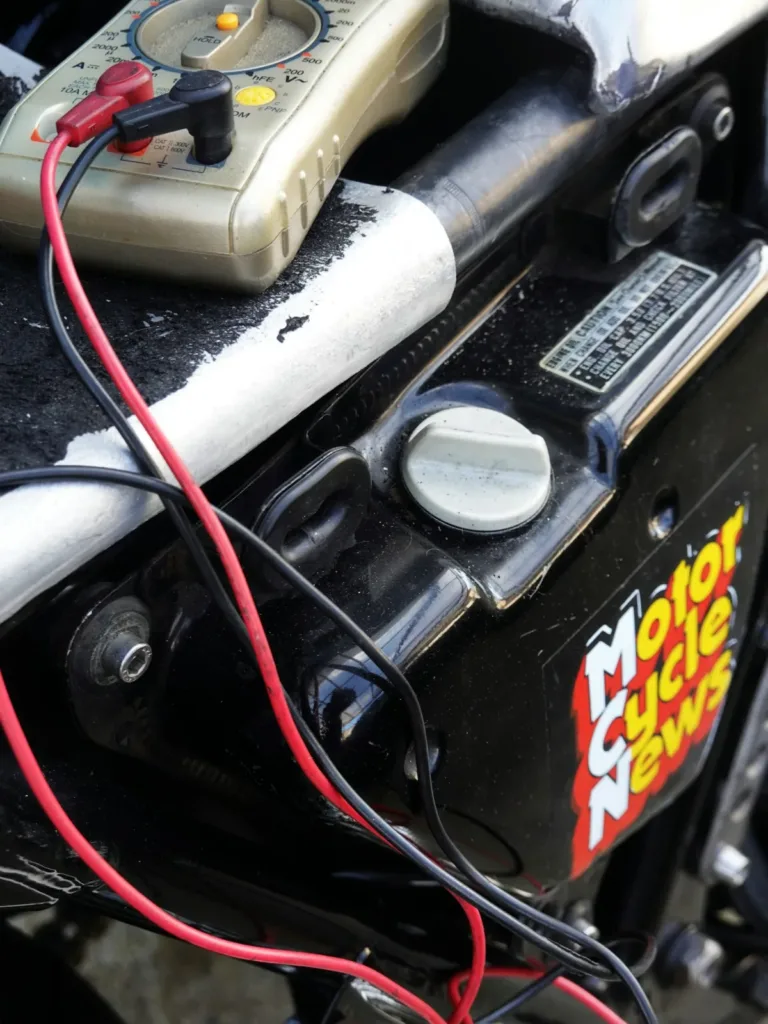
Compare the amplifier reading with the voltage measured directly across the battery posts. If the battery shows 14.2 volts and the amplifier shows 13.4 volts at idle, the wiring is losing 0.8 volts before any music plays, which usually means a loose connection, a corroded terminal or undersized cable.
Step 3: Test the Ground Connection
With the amplifier off, set the meter to ohms and measure between the amplifier’s GND terminal and a clean, bare spot on the car’s chassis. Expect 0 to 0.5 ohms; above 1 ohm usually means corrosion or a poor connection (Audio Intensity, 2026).
A voltage drop test is more reliable for grounds. With the system playing, measure DC volts between the amplifier’s GND terminal and the battery’s negative post. It should be close to zero; more than a few tenths of a volt means the ground connection is poor. Keep the ground cable short, the same gauge as the power cable, and bolted to sanded, bare metal.
Step 4: Check the Remote Turn-On Voltage
Set the meter to DC volts, put the red probe on the REM terminal and the black on GND, and turn the head unit on. You should read about 12 volts (Kaiweets, 2022). Turn the head unit off and the reading should fall to zero.
No voltage with the head unit on means the remote wire is broken, disconnected or connected to the wrong output. Voltage that stays on with the head unit off means the remote wire is on a constant 12-volt source, which keeps the amplifier on and drains the battery overnight.
Step 5: Check the Input Signal From the Head Unit
If the amplifier powers on but produces no sound, confirm it is receiving a signal. Unplug an RCA cable at the amplifier, set the meter to AC volts, play a 1 kHz test tone at moderate volume and measure between the RCA plug’s center pin and its outer shield.
Any steady AC reading shows a signal is arriving; the exact figure depends on volume and the head unit’s preamp output rating, which is often between 2 and 5 volts at full volume. No reading means the fault is in the RCA cable, the head unit’s output or its settings, not the amplifier.
Step 6: Measure the Amplifier’s Output Voltage
Disconnect the speakers, set the meter to AC volts, play a 0 dB test tone and measure across each channel’s positive and negative speaker terminals. A working channel produces AC voltage that rises as you turn up the volume.
Measure each channel the same way and compare them; a channel reading far lower than its partner has a fault. At full clean output, the reading should approach the square root of the channel’s RMS power multiplied by the speaker impedance:
| Rated output per channel | Load | Expected AC voltage at full output |
|---|---|---|
| 50 W RMS | 4 ohms | About 14.1 V |
| 75 W RMS | 4 ohms | About 17.3 V |
| 100 W RMS | 4 ohms | About 20.0 V |
| 500 W RMS (mono) | 2 ohms | About 31.6 V |
This is also how professionals set gain accurately. Our guide on how to tune your car amplifier explains the full gain-setting procedure with these target voltages.
Step 7: Check for DC Offset at the Speaker Terminals
With the speakers disconnected and no signal playing, set the meter to DC millivolts and measure across each channel’s positive and negative speaker terminals. A healthy channel reads close to 0 millivolts, and a reading under about 10 to 20 millivolts is normal (Hudson Valley HiFi, 2026).
A reading in whole volts means the output stage has failed and is sending direct current to the speaker terminals. Direct current overheats voice coils quickly, so do not reconnect speakers to a channel that fails this test.
Never connect a speaker negative to ground
Most car amplifiers use a bridged output design, so the speaker negative terminal is not ground. Measure only between a channel’s own positive and negative terminals, and never connect a speaker negative wire to the car’s chassis.
Step 8: Test the Speaker Wiring and Speaker Impedance
Disconnect the speaker wires from the amplifier and set the meter to ohms. Measure across each pair: a 4-ohm speaker normally reads a little below its rating. JL Audio’s 4-ohm 10W3v3 subwoofer, for example, has a DC resistance of 3.6 ohms (Loudspeaker Database, 2026).
Then check for shorts to the car body. Measure from each speaker wire to bare chassis metal; the reading should be OL. Any continuity to the chassis means a wire is pinched or chafed somewhere, which is a common cause of protect mode.
| Reading across a 4-ohm speaker pair | Meaning |
|---|---|
| About 3 to 3.6 ohms | Speaker and wiring are fine |
| Close to 0 ohms | Shorted wiring or a shorted voice coil |
| OL | Broken wire or open voice coil |
| Any continuity from a wire to chassis | Wire touching metal; find and repair it |
Car Amplifier Multimeter Readings at a Glance
| Test | Normal reading | Problem reading |
|---|---|---|
| Fuse | Beep or about 0 ohms | OL |
| B+ to GND, engine running | About 13.8 to 14.5 V | Below 11 V |
| GND to chassis | 0 to 0.5 ohms | Above 1 ohm |
| REM to GND, stereo on | About 12 V | 0 V, or 12 V with stereo off |
| RCA input with test tone | Steady AC voltage | No AC voltage |
| Output with test tone | AC voltage rising with volume | No or very low AC voltage |
| DC offset, no signal | Near 0 mV, under 10 to 20 mV | Whole volts |
Frequently Asked Questions About Testing a Car Amplifier With a Multimeter
What voltage should a car amp have?
With the engine running, the amplifier’s power terminal should read about 13.8 to 14.5 volts to ground, and around 12.6 volts with the engine off. A reading below 11 volts means a wiring, connection or charging problem (Audio Intensity, 2026).
How do I test if my car amp is getting power?
Set the multimeter to DC volts, place the red probe on the B+ terminal and the black probe on the GND terminal. Then measure REM to GND with the stereo on. You need about 12 volts or more on both for the amplifier to turn on.
How do I test amp output with a multimeter?
Disconnect the speakers, set the meter to AC volts, play a 0 dB test tone and measure across a channel’s positive and negative speaker terminals. The voltage should rise with volume and approach the square root of RMS power times impedance at full output.
How do I check if my amp ground is good?
Measure resistance from the amplifier’s GND terminal to bare chassis metal with the system off; it should be 0 to 0.5 ohms. For a better test, measure DC volts between the GND terminal and the battery’s negative post while music plays; it should stay close to zero.
Why does my amp have power but no sound?
The usual causes are a missing remote signal, no input signal from the head unit, the amplifier in protect mode, or a broken speaker wire. Measure REM voltage, check the RCA signal with a test tone, and test the speaker wiring for shorts and open circuits.
Summary: How to Test a Car Amplifier With a Multimeter
- Test fuses out of their holders for continuity, then measure B+, ground and remote voltage.
- Confirm the head unit is sending a signal with an AC reading on the RCA cable.
- Measure AC output per channel with a test tone and compare it with the expected voltage.
- Check DC offset near 0 millivolts, and test speaker wiring for shorts before reconnecting.