Quick Answer
- To set crossover frequency for a car audio system, find each speaker’s usable range, set high-pass and low-pass points inside that range, and use the same frequency and slope wherever two speakers hand off.
- Safe starting points are a 3,500 Hz high-pass for 1-inch tweeters, an 80 Hz high-pass for 6.5-inch door speakers and a 70 to 80 Hz low-pass for subwoofers, all at 24 dB per octave (Audio Intensity, 2026).
- Without speaker specs, Crutchfield suggests starting at 100 Hz between subwoofer and midbass and 2,000 Hz between midrange and tweeter (Crutchfield, 2026). Raise the tweeter point if your tweeter is not rated that low.
- Fine-tune by moving each crossover point to remove distortion: higher to clean up the upper speaker, lower to clear up the speaker below it (Crutchfield, 2026).
- Set crossover frequencies before gain matching and EQ, then recheck them after the EQ is done.
Here is how to set crossover frequency for car audio system tuning in eight steps, from reading speaker specs to the final listening pass. The goal is simple: each speaker plays the notes it handles cleanly, and the handoffs between speakers are smooth enough that you hear one sound instead of several speakers.
What You Need Before You Set Crossover Frequencies
You need the specs for each speaker, access to the crossover controls and a few familiar songs. A measurement microphone helps but is optional for a first tune.
- The frequency response and recommended crossover point for each speaker, from its manual or the manufacturer’s website.
- The crossover controls you will use: head unit menu, amplifier knobs, active crossover or DSP software.
- Three or four well-recorded songs you know well, with clear vocals, cymbals and kick drum.
- Optional: a real-time analyzer (RTA) app or measurement microphone and a pink noise track.
Turn off bass boost, loudness and any EQ presets before you start, and set the amplifier gains low. If you still need to learn the controls, read our guide on how to use a crossover in car audio first.
Step 1: Find Each Speaker’s Usable Frequency Range
Start with the numbers on the speaker, because a crossover point outside a speaker’s range cannot sound good. Crutchfield recommends using each driver’s frequency response specs as your first crossover points (Crutchfield, 2026).
Look for two figures in each manual. The frequency response, such as 60 Hz to 20,000 Hz for a door speaker, shows the range the speaker can play. The recommended crossover, often listed only for tweeters, shows the lowest high-pass the manufacturer allows. Never set a tweeter below that figure.
If you cannot find specs, use Crutchfield’s fallback values: 100 Hz between the subwoofer and midbass, and 2,000 Hz between the midrange and tweeter (Crutchfield, 2026). For a typical 1-inch dome tweeter, Audio Intensity starts higher, at 3,500 Hz, for extra protection (Audio Intensity, 2026).
Step 2: Decide Which Control Sets Each Filter
Choose one control for each speaker band before you turn any knob. If the head unit, the amplifier and a passive crossover all filter the same speaker, the real crossover point moves and the slope gets steeper than you intended.
Write a short plan, for example: tweeter and door speaker split by the component set’s passive crossover, door speaker high-pass on the 4-channel amplifier, subwoofer low-pass on the mono amplifier. Set every unused filter to off or Full.
Step 3: Set the Tweeter High-Pass First
Set the tweeter high-pass before anything else, because it protects the most fragile speaker in the car. Start at 3,500 Hz with a 24 dB per octave slope for a 1-inch dome tweeter, or 2,000 Hz for a horn-loaded compression tweeter (Audio Intensity, 2026).
Audio Intensity treats 3,000 Hz as the floor for most dome tweeters at real volume and warns that tweeters which last years at 3,500 Hz can fail within weeks at 1,500 Hz (Audio Intensity, 2026). If your tweeter uses a passive crossover, you cannot change this point, so skip to the next step.
Step 4: Set the Door Speaker High-Pass and Low-Pass
Set the door speaker high-pass at 80 Hz for a 6.5-inch speaker and 60 Hz for an 8-inch door woofer (Audio Intensity, 2026). This keeps deep bass out of the door, where it causes rattles and pushes the cone past its limits.
In a 2-way active system, also give the door speaker a low-pass that matches the tweeter high-pass, such as 3,500 Hz on both. Using the same frequency and slope on both sides is how the two speakers blend without a gap or a bump.
Raise the door speaker high-pass to 100 Hz if the speaker is small, runs on head unit power or the door buzzes on bass notes. You will lose a little midbass but gain clean volume.
Step 5: Set the Midrange Band-Pass in a 3-Way System
Skip this step if you have a 2-way system. In a 3-way system, the midrange gets a band-pass: a high-pass that matches the midbass low-pass and a low-pass that matches the tweeter high-pass.
| Speaker | Starting high-pass | Starting low-pass |
|---|---|---|
| 3-inch midrange | 250 Hz | 3,500 Hz |
| 4-inch midrange | 200 Hz | 3,500 Hz |
| 6.5-inch midbass | 80 Hz | 250 Hz (or 200 Hz with a 4-inch mid) |
Audio Intensity lists 250 Hz to 5,000 Hz for a 3-inch midrange and 200 Hz to 4,000 Hz for a 4-inch one (Audio Intensity, 2026). The table caps both at 3,500 Hz so the low-pass matches the tweeter high-pass from Step 3.
Step 6: Set the Subwoofer Low-Pass and Subsonic Filter
Set the subwoofer low-pass at 80 Hz for a 10-inch subwoofer, 70 Hz for a 12-inch sealed subwoofer and 60 to 70 Hz for a 15-inch subwoofer (Audio Intensity, 2026). Match the door speaker high-pass to the same frequency, or leave a small overlap only if a measurement shows a dip.
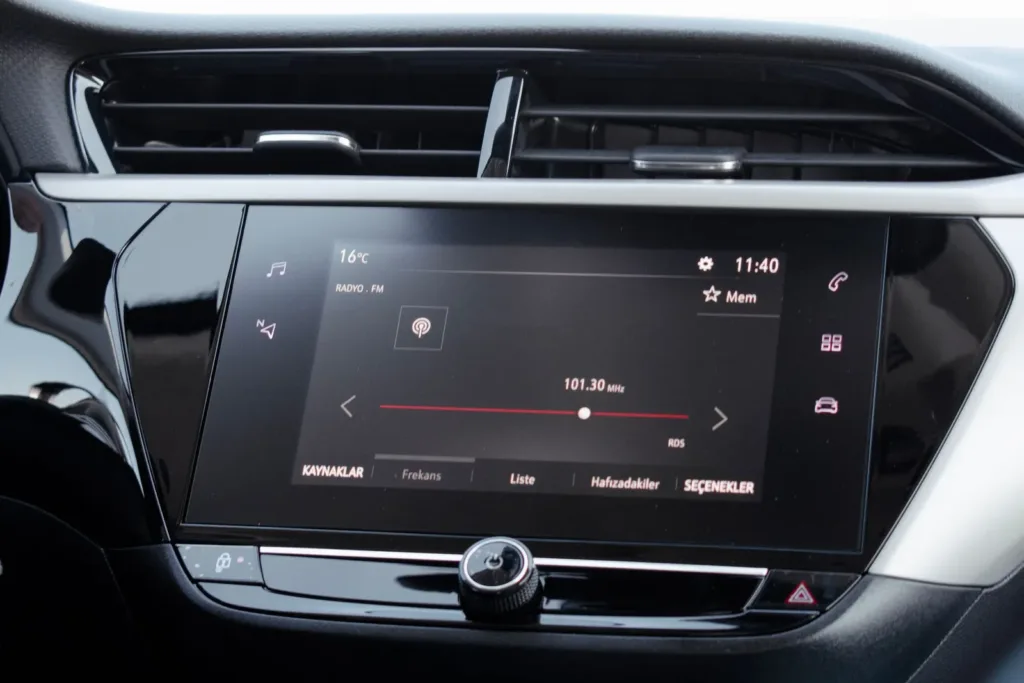
If the subwoofer is in a ported box, add a subsonic filter. Audio Intensity sets it at the box tuning frequency plus 5 Hz; setting it a few hertz below the tuning keeps more deep bass but gives a little less protection (Audio Intensity, 2026). A sealed box can run without one. For more on picking a subwoofer and box, see our guide to choosing a subwoofer for your car.
Step 7: Match Slopes and Fine-Tune by Ear
Use the same slope on both sides of every handoff, usually 24 dB per octave Linkwitz-Riley. Mismatched slopes make the transition between two speakers sound smeared (Audio Intensity, 2026).
Then listen and adjust. Crutchfield’s rule is to move a crossover point to remove distortion: if the lower speaker distorts on its lowest notes, move its high-pass up; if the tweeter sounds rough, move its point higher; if the midrange sounds unclear, move the point lower (Crutchfield, 2026).
| What you hear | Likely cause | What to change |
|---|---|---|
| Bass seems to come from the trunk | Subwoofer low-pass too high | Lower it toward 70 to 80 Hz |
| Thin sound between 80 and 150 Hz | Gap between subwoofer and door speakers | Match both filters at one frequency |
| Door rattles or distorts on bass | Door speaker high-pass too low | Raise it to 100 Hz |
| Harsh, tiring treble | Tweeter high-pass too low | Raise it by 500 Hz |
| Vocals sound hollow | Gap or mismatch at the midrange handoff | Match frequency and slope on both sides |
Step 8: Balance Levels, Then Recheck the Crossover
After the frequencies are set, balance the output levels so the highs, mids and bass play at the same volume. Crutchfield’s process sets crossover levels and amplifier gains first, applies EQ second, then adjusts the crossover again to account for the EQ changes (Crutchfield, 2026).
In a DSP, time alignment comes between the crossover and level steps. Audio Intensity’s tuning order is polarity check, crossover frequencies and slopes, time alignment, gain structure, level matching, then EQ (Audio Intensity, 2026). Our guide to the best DSP settings for car audio covers those later steps.
If you want a quick reference table instead of the full process, our guide to the best crossover settings for car audio lists starting values for every common speaker size. If the terms in this guide are new to you, read how does a crossover work for car audio, and if the crossover is not installed yet, start with installing a car audio crossover. The Crutchfield crossover glossary explains any other terms.
Frequently Asked Questions About Setting Crossover Frequency
What frequency should I set my crossover to?
For most cars, start at 80 Hz between the door speakers and the subwoofer, and around 3,500 Hz between the door speakers and 1-inch tweeters, all at 24 dB per octave. Adjust from there by ear.
How do I know if my crossover frequency is too high?
On a subwoofer, a low-pass that is too high makes the bass sound like it comes from the rear and adds boom. On a door speaker, a high-pass that is too high leaves a thin gap between the speaker and the subwoofer.
How do I know if my crossover frequency is too low?
A high-pass that is too low makes the speaker distort, rattle or sound strained on bass notes. On a tweeter it causes harsh sound and can damage the tweeter.
Should the subwoofer and door speaker crossover match?
Yes, as a starting point. Set the subwoofer low-pass and the door speaker high-pass to the same frequency and slope, such as 80 Hz at 24 dB per octave, and only add an overlap if a measurement shows a dip.
What crossover frequency is best for 6×9 speakers?
A 6×9 speaker used as a rear or front full-range speaker usually works well with a high-pass around 80 Hz when a subwoofer handles the deep bass. Raise it to 100 Hz if the speaker is powered by the head unit or rattles on bass.
Do I set the crossover before or after the gain?
Set the crossover frequencies first, then the gain. Gain and level settings depend on which notes each amplifier channel plays, so changing the crossover afterward means rechecking the gain.
Summary: How to Set Crossover Frequency for Car Audio System
- Read each speaker’s frequency response and the tweeter’s minimum recommended crossover.
- Set the tweeter high-pass first, then the door speakers, midrange and subwoofer.
- Match frequency and slope at every handoff, usually 24 dB per octave Linkwitz-Riley.
- Fine-tune by ear, balance levels, apply EQ and recheck the crossover points.