Quick Answer
- To test a car subwoofer, press the cone to feel for scraping, measure each voice coil with a multimeter, then confirm movement with a battery or a low test tone.
- A healthy coil reads a little below its rated impedance. Rockford Fosgate’s 4-ohm P1S4-12, for example, lists 3.60 ohms (Rockford Fosgate, 2011).
- OL on the meter means the coil is open, which is a burnt or broken winding (Crutchfield, 2026). A reading near zero means a short.
- On a dual voice coil subwoofer, measure each coil separately. The two readings should match.
- If the subwoofer passes, test the amplifier’s output and the wiring before you buy anything.
To test a car subwoofer, start with the checks that need no tools: listen for distortion, look at the cone and surround, and press the cone gently to feel whether the voice coil rubs. Then disconnect the subwoofer and measure its resistance with a multimeter, which tells you whether the coil is intact. A battery or a low-frequency test tone confirms that the cone moves. If all of that checks out, the fault is in the amplifier, the wiring or the box.
Signs a Car Subwoofer Needs Testing
A failing subwoofer usually tells you by sound. Rockford Fosgate describes a damaged speaker as making scratching or buzzing sounds, usually around the pitch of the note it is trying to play, and a fully blown one as making no sound (Rockford Fosgate, 2022).
| Symptom | What it suggests |
|---|---|
| No bass at all | Open voice coil, or an amplifier or wiring fault |
| Scratchy, strangled sound | Overheated or rubbing voice coil |
| Buzzing or rattling on bass notes | Torn surround, loose part or a box fault |
| Burnt smell | Thermal damage to the coil |
| Weak bass from two subwoofers | One wired in reverse polarity |
A burnt varnish smell and sound that cuts in and out are signs of thermal failure (Carvin Audio, 2016).
This guide covers testing only. For the full troubleshooting path through fuses, settings and the amplifier, see our guide on how to fix a subwoofer in a car.
What You Need to Test a Subwoofer
You need very little. A digital multimeter does most of the work.
- Digital multimeter
- A 1.5-volt AA or 9-volt battery and two short test leads
- A screwdriver, to remove the subwoofer from its box if needed
- A phone with a 50 Hz test tone
- A flashlight
Turn the system off before you touch the wiring.
Step 1: Look at the Subwoofer
A visual check finds mechanical damage in a minute. Shine a light on the cone and work around it.
- Surround. Look for tears or places where the rubber or foam has come away from the cone or the frame. Rockford Fosgate lists a damaged surround as a cause of bad sound (Rockford Fosgate, 2022).
- Cone and dust cap. Look for cracks, dents and a dust cap that has lifted.
- Lead wires. The braided wires from the terminals to the cone should be attached at both ends and not frayed.
- Terminals. Check for loose connections and corrosion.
- Heat. Technicians judging warranty claims look for signs that the coil former has been hot (BestCarAudio, 2023). Dark discoloration and a burnt smell point to an overheated coil.
Step 2: Do the Push Test
The push test checks whether the voice coil moves freely in its gap. Do it with the system off.
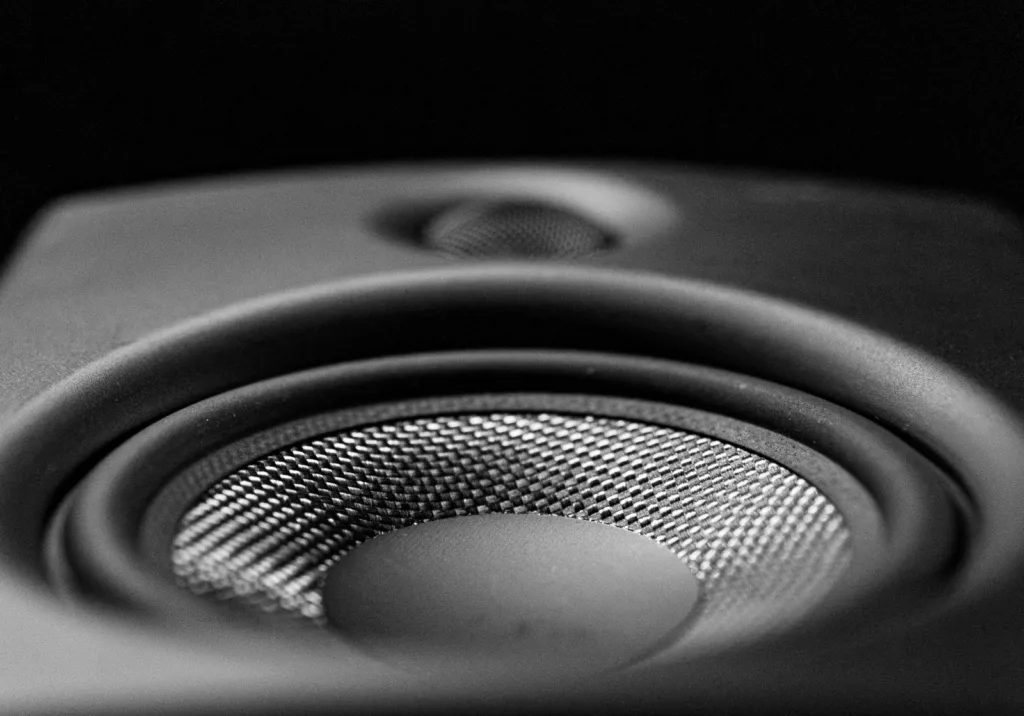
Press the cone inward with your fingers spread evenly around the dust cap, then let it return. Carvin Audio’s instruction is to press on opposite sides so the cone does not tilt (Carvin Audio, 2016). Tilting the cone makes a healthy coil rub and gives a false result.
| What you feel or hear | Meaning |
|---|---|
| Smooth travel, springs back, silent | Suspension and coil are fine |
| Scraping or scratching | Voice coil rubbing in the gap |
| Will not move, or feels stuck | Seized or badly deformed coil |
| Moves with no resistance | Detached spider or surround |
Step 3: Test the Voice Coil With a Multimeter
The resistance test shows whether the coil is electrically intact. Disconnect the speaker wires from the subwoofer or from the box’s terminal cup first.
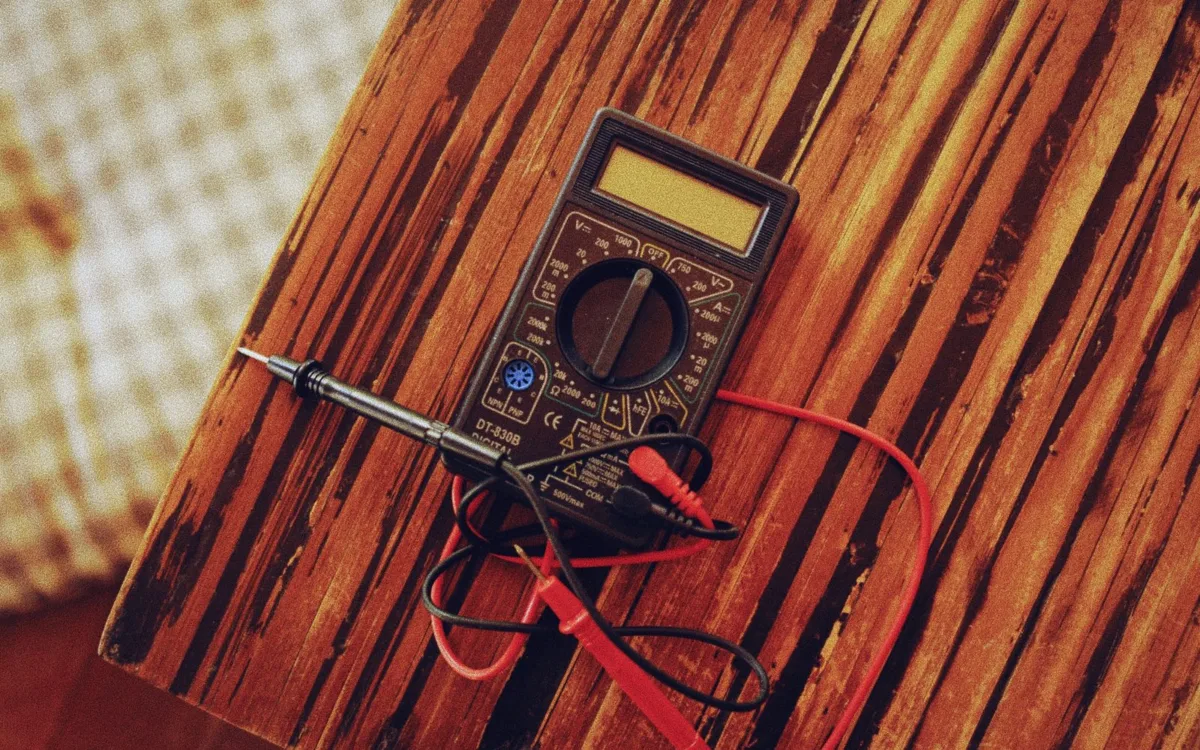
- Set the multimeter to ohms, on its lowest range.
- Touch the probes together and note the reading. Fluke puts test lead resistance at 0.2 to 0.5 ohms (Fluke, 2026). Subtract it, or use the meter’s relative mode.
- Put the red probe on the positive terminal and the black probe on the negative terminal (Crutchfield, 2026).
- Read the display.
Crutchfield notes that the reading will be a little lower than the speaker’s rated impedance (Crutchfield, 2026). Manufacturer figures show how much lower:
| Subwoofer | Rated | DC resistance |
|---|---|---|
| Rockford Fosgate P1S4-12 | Single 4 ohms | 3.60 ohms |
| Kicker CompR 12 (48CWR122) | Dual 2 ohms | 3.80 ohms, coils in series |
| Rockford Fosgate P3D4-12 | Dual 4 ohms | 6.40 ohms, coils in series |
These are from the makers’ specifications (Rockford Fosgate, 2011; Kicker, 2026; Rockford Fosgate, 2026). The two dual voice coil figures only make sense with both coils wired in series, which works out to about 1.9 ohms and 3.2 ohms per coil.
| Meter reading | Meaning |
|---|---|
| A little below the rated impedance | Coil is intact |
| OL | Open coil: burnt or broken winding |
| Close to 0 ohms | Shorted coil |
| Reading jumps as you press the cone | Failing lead wire or a broken coil turn |
Crutchfield explains the two failure readings: a burnt-out coil reads OL, and low resistance means there is a short somewhere (Crutchfield, 2026). Crutchfield’s guide on how to use a multimeter covers the meter settings in more detail.
Step 4: Test a Dual Voice Coil Subwoofer
A dual voice coil subwoofer has two coils and four terminals, so it needs two measurements. Remove any jumper wires between the terminals first, then measure each coil’s pair of terminals separately and compare the readings (Audio Intensity, 2026).
The two coils should read within a few tenths of an ohm of each other. If one coil reads OL and the other reads normally, the subwoofer has lost a coil.
Then check the wiring you removed. Kicker’s manual gives the totals: dual 4-ohm coils make 2 ohms in parallel and 8 ohms in series, and dual 2-ohm coils make 1 ohm in parallel and 4 ohms in series (Kicker, 2016). A reading at the terminal cup that does not match one of those means the coils are wired incorrectly. Our guide on how to install a subwoofer in a car has the wiring table.
Step 5: Do a Battery Test
A battery shows that the cone moves and which way. Crutchfield describes it: disconnect the speaker wires and momentarily touch a battery of 9 volts or less across them. If the wires and speaker are good, you will hear the speaker click (Crutchfield, 2026).
A 1.5-volt AA battery is enough and is gentler. Axiom Audio notes that the driver should click and move in or out depending on polarity (Axiom Audio, 2026).
The direction tells you the polarity. With the battery’s positive on the subwoofer’s positive terminal, the cone moves outward (BestCarAudio, 2023). Touch the battery for a moment only, and never while the subwoofer is connected to the amplifier.
A cone that does not move with a battery, on a coil that measured OL, confirms a dead subwoofer.
Step 6: Play a Test Tone
A test tone finds faults that only appear when the cone is moving. Reconnect the subwoofer, set the volume low and play a single low note.
Kicker offers free 50 Hz tones at several levels (Kicker, 2026). Start with the quietest one.
Crutchfield describes what to listen for: a clean sine wave sounds like a pure hum, and when it distorts, you can clearly hear it buzz (Crutchfield, 2026). A buzz or scrape at low volume, where the amplifier is nowhere near its limit, points to the subwoofer.
A slow sweep from about 20 Hz to 80 Hz also shows up rattles. If the noise comes from the trunk lid or a panel and not from the cone, see our guide on stopping vibration from a subwoofer.
Step 7: Rule Out the Amplifier, Wiring and Box
A subwoofer that passes every test is not the problem. Check the parts around it.
| Check | How | Good result |
|---|---|---|
| Amplifier output | Meter on AC volts across the speaker terminals, with a test tone | A steady AC voltage |
| Amplifier power | Meter on DC volts, ground to power and ground to remote | About 12 volts on both |
| Speaker wire | Continuity end to end, and none to the car’s body | Unbroken, no short |
| Protect light | Look at the amplifier | Off |
| Enclosure | Inspect joints, terminal cup and screw holes | Airtight |
Crutchfield’s guide says the amplifier’s output on a test tone can read anywhere from below 12 volts to, in exceptional cases, almost 30 volts (Crutchfield, 2026). Voltage at the terminals with a silent subwoofer points back at the wiring.
A protect light is a clue. Rockford Fosgate’s manual says it is a sign of a possible short in the speaker connections, and that too low a speaker impedance may also light it (Rockford Fosgate, 2015). Crutchfield adds that no part of the speaker wiring should touch the vehicle’s metal body (Crutchfield, 2026).
For the box, Kicker’s rule is that all the joints and walls in an enclosure should be airtight, including screw holes and wire holes (Kicker, 2026). Our guide on testing a car amplifier with a multimeter covers the amplifier checks step by step.
How to Test a Powered Subwoofer
A powered subwoofer hides its amplifier and driver in one case, so you test from the outside in. Kicker’s Hideaway manual gives the order (Kicker, 2011):
- Power LED off: check for +12 to +16 volts at the power terminal, then the remote terminal and the fuses.
- LED on but no output: check the input connections, and look for signal on the audio cable with the meter on AC volts.
- Red LED: the supply voltage is outside 10 to 16 volts.
Check the turn-on setting too. These units switch on from a remote wire or by sensing the speaker signal, and the wrong setting leaves them silent.
Frequently Asked Questions About Testing a Car Subwoofer
How do I know if my subwoofer is blown?
It makes no sound, scratches or buzzes on bass notes, or scrapes when you press the cone evenly. A multimeter reading of OL confirms an open coil.
What should a 4-ohm subwoofer read on a multimeter?
A little under 4 ohms. Rockford Fosgate’s P1S4-12 lists 3.60 ohms (Rockford Fosgate, 2011). Allow for 0.2 to 0.5 ohms of test lead resistance (Fluke, 2026).
What does OL mean when testing a subwoofer?
The coil is open, so no current can flow. It means a burnt or broken voice coil (Crutchfield, 2026).
How do I test a dual voice coil subwoofer?
Remove any jumpers, then measure each coil’s two terminals separately. Both readings should be close to each other and a little below the coil’s rating.
How do I tell if the problem is the amplifier or the subwoofer?
Play a test tone and measure AC volts at the amplifier’s speaker terminals. If voltage is present and the subwoofer is silent, the fault is in the wiring or the subwoofer.
Can a blown subwoofer be repaired?
Sometimes. Recone kits are sold for some models (Sonic Electronix, 2026). For most subwoofers, replacement costs less than the repair.
Summary: How to Test a Car Subwoofer
- Inspect the cone, surround and lead wires, then press the cone evenly to feel for scraping.
- Disconnect the subwoofer and measure each voice coil: a little below the rated impedance is healthy, and OL is an open coil.
- Confirm cone movement with a brief battery touch or a quiet 50 Hz tone.
- If the subwoofer passes, test the amplifier output, the wiring and the box.