TL;DR
- Subwoofer size is the nominal diameter of the frame, so measure the outside of the metal basket edge to edge, through the center; a “12-inch” driver usually measures about 12 to 12.5 inches across.
- To buy a replacement or build a box, you need four numbers: overall diameter, cutout diameter, mounting depth and the bolt circle.
- The cone itself is smaller than the label: a JL Audio 12W3v3 has 520 square centimeters of cone area, which works out to an effective diameter of about 10.1 inches (Loudspeaker Database, 2026).
- Measure box volume on the inside: multiply internal length, width and height in inches and divide by 1,728 to get cubic feet.
- A tape measure works, but a straight edge and a ruler held across the frame give more accurate depth readings.
To measure sub size, lay a tape measure across the front of the subwoofer from the outer edge of the frame to the opposite outer edge, passing through the center of the dust cap. That number, rounded to the nearest standard size (8, 10, 12, 15 or 18 inches), is the size the industry uses. If you plan to replace the driver or build a new box, you also need the cutout, mounting depth and screw pattern, and this guide shows how to take each one.
What “Subwoofer Size” Actually Measures
Subwoofer size is the nominal outside diameter of the frame (also called the basket), not the diameter of the cone. Manufacturers round it to a standard number, so a driver sold as 12 inches can measure a little over 12 inches across the frame and well under 12 inches across the moving cone.
Here is how the published dimensions of two real 12-inch and 10-inch drivers compare with their labels:
| Driver | Sold as | Overall diameter | Cutout diameter | Mounting depth | Effective cone diameter |
|---|---|---|---|---|---|
| JL Audio 10W3v3-4 | 10-inch | 267 mm (10.5 in) | 230 mm (9.06 in) | 151 mm (5.94 in) | about 8.2 in |
| JL Audio 12W3v3-2 | 12-inch | 318 mm (12.5 in) | 281 mm (11.06 in) | 169 mm (6.65 in) | about 10.1 in |
Source: JL Audio parameters published by Loudspeaker Database (2026). Effective cone diameter is calculated from each driver’s Sd (effective cone area) of 345 and 520 square centimeters.
That gap between label and cone is normal. It is also why two “12-inch” subwoofers from different brands can need different cutouts and different boxes.
Check the Model Number Before You Measure
Before you pick up a tape measure, look for a model number. Most subwoofers print it on a label on the magnet, on the back of the frame or on the terminal cup. The manufacturer’s spec sheet for that model lists every dimension in this guide, measured more accurately than you can manage by hand.
Model numbers usually encode the size. A JL Audio 12W3v3-4 is a 12-inch driver from the W3v3 line with a 4-ohm coil, and a Kicker 48CWCD124 is a 12-inch CompC with a dual 4-ohm coil. If the label is gone or the driver is unbranded, measure it using the steps below.
What You Need to Measure a Subwoofer
You need a tape measure, a straight edge longer than the subwoofer (a steel ruler or a flat piece of wood), a second ruler for depth, and a notepad. A set of digital calipers helps for the bolt circle but is optional.
- A tape measure with a stiff blade for diameter and box measurements.
- A straight edge at least 16 inches long to lay across the frame for depth readings.
- A small ruler or the depth rod on a set of calipers.
- A screwdriver or hex key if the subwoofer has to come out of its box.
If the subwoofer is still in an enclosure, you can measure the overall diameter and mounting height in place, but mounting depth and cutout are far more accurate with the driver removed.
Step 1: Measure the Overall Diameter
Measure straight across the front of the subwoofer from the outer edge of the frame to the outer edge on the opposite side, passing through the center of the dust cap. Round to the nearest standard size to get the nominal size: 8, 10, 12, 15 or 18 inches.
The overall diameter is usually equal to the nominal size or up to about half an inch larger. Kicker lists its CompC 10 at exactly 10 inches overall, while the JL 12W3v3 measures 12.5 inches across (Kicker, 2026; Loudspeaker Database, 2026). If your reading falls between sizes, such as 13 inches, check for an oversized trim ring or gasket, or a less common 13.5-inch driver.
How to measure a square subwoofer
Square subwoofers, such as Kicker’s L7 series, are measured side to side across the flat edges of the frame rather than corner to corner. Their cutouts are square too, so record both the width and the corner radius of the hole. A round replacement will not fit a square cutout without a new baffle.
An alternative quick method is to measure from the center of one mounting screw to the center of the screw directly opposite. That bolt-circle figure will be slightly smaller than the frame diameter and is useful when you check whether a new driver will line up with existing holes.
Step 2: Measure the Cutout Diameter
The cutout diameter is the size of the hole the subwoofer drops into. Measure it on the enclosure baffle, edge to edge through the center, after removing the driver. If the box is gone, measure the outside of the basket just below the mounting flange instead.
Cutout matters more than overall diameter when replacing a driver. Kicker lists its CompC 10 at a 9 1/8-inch cutout and its CompC 12 at an 11-inch cutout (Kicker, 2026). If a new driver’s cutout is smaller than your hole, it will fall through; if it is larger, you will need to enlarge the hole with a jigsaw or router.
A new cutout can be cut larger, but it cannot be made smaller without adding a new baffle ring or a mounting adapter. Write the number down to the nearest 1/16 inch.
Step 3: Measure the Mounting Depth
Mounting depth is the distance from the back of the mounting flange (the surface that sits on the baffle) to the rearmost point of the magnet or motor. Lay the subwoofer face down, place a straight edge across the back of the flange, and measure from it to the highest point of the magnet.
This is the number that decides whether a driver fits a shallow box or a tight spot behind a truck seat. If yours is under about 4 inches, look at dedicated shallow-mount subwoofers instead. Published depths vary widely even within one size: the Kicker CompC 12 needs 5 3/8 inches, while the JL 12W3v3 needs 6.65 inches (Kicker, 2026; Loudspeaker Database, 2026).
Add at least half an inch of clearance behind the magnet for the pole vent and for cone travel. A driver that touches the back wall of its box will lose output and can overheat, because the vent in the pole piece needs space to move air.
Step 4: Measure the Mounting Height and Bolt Pattern
Mounting height is how far the subwoofer sticks out above the baffle once installed, including the surround at rest. Measure it from the front face of the flange to the highest point of the surround or dust cap. It matters for grilles, floor-mounted boxes and anything that sits in front of the driver.
For the bolt pattern, count the mounting holes and measure the bolt circle (center of one hole to the center of the directly opposite hole). Many 12-inch drivers use 8 holes, but spacing differs between brands, so plan on drilling new pilot holes when you switch brands.
Subwoofer measurements at a glance
| Measurement | Where to measure | Why it matters |
|---|---|---|
| Overall diameter | Outer frame edge to opposite edge | Gives the nominal size you shop by |
| Cutout diameter | Baffle hole edge to edge | Decides whether a new driver drops in |
| Mounting depth | Back of flange to back of magnet | Decides whether it fits the box and the car |
| Mounting height | Front of flange to top of surround | Decides grille and clearance fit |
| Bolt circle | Screw center to opposite screw center | Tells you whether existing holes line up |
Subwoofer Size Chart: Real Measurements by Nominal Size
The chart below shows the published dimensions for one complete product line, so you can see how cutout, depth and box volume scale as the nominal size goes up. Use it as a sanity check for your own measurements, then confirm against the spec sheet for your exact model.
| Nominal size | Cutout diameter | Mounting depth | Recommended sealed box | Recommended vented box |
|---|---|---|---|---|
| 8-inch (Kicker CompC 8) | 7 in | 3 7/8 in | 0.5 to 1.2 cu ft | 0.66 to 1.2 cu ft |
| 10-inch (Kicker CompC 10) | 9 1/8 in | 4 13/16 in | 1.0 to 2.4 cu ft | 1.25 to 1.75 cu ft |
| 12-inch (Kicker CompC 12) | 11 in | 5 3/8 in | 1.25 to 3.5 cu ft | 1.75 to 2.25 cu ft |
| 15-inch (Kicker CompC 15) | 13 3/4 in | 7 in | 2.25 to 5.0 cu ft | 3.0 to 4.0 cu ft |
Source: Kicker CompC 12 specifications and the matching 8, 10 and 15-inch spec pages (Kicker, 2026).
Two patterns stand out. Cutout grows in step with nominal size, staying roughly 1 to 1.25 inches smaller than the label on this line. Mounting depth grows faster, which is why a 15-inch driver is so much harder to fit behind a seat than a 12.
How to Measure the Cone to Work Out Real Cone Area
To measure effective cone size, measure from the middle of the rubber or foam surround on one side to the middle of the surround on the opposite side. Halve it to get the radius, then multiply the radius squared by 3.14 to get the effective cone area, known as Sd.
An 8.25-inch measurement on a 10-inch driver, for example, gives a radius of 4.125 inches and an Sd of about 53 square inches (345 square centimeters). Manufacturers usually publish Sd, so check the spec sheet first, but this measurement is useful for unmarked or older drivers.
Sd is a better guide to output than the size on the label. More cone area moves more air for the same excursion, which is why the jump from a 10 to a 12 gives about 51% more cone area in the JL examples above.
How to Measure Your Subwoofer Box Volume
Measure the inside of the box, not the outside. Take the internal length, width and height in inches, multiply them, and divide by 1,728 to get cubic feet. If you can only reach the outside, subtract twice the wall thickness from each dimension first.
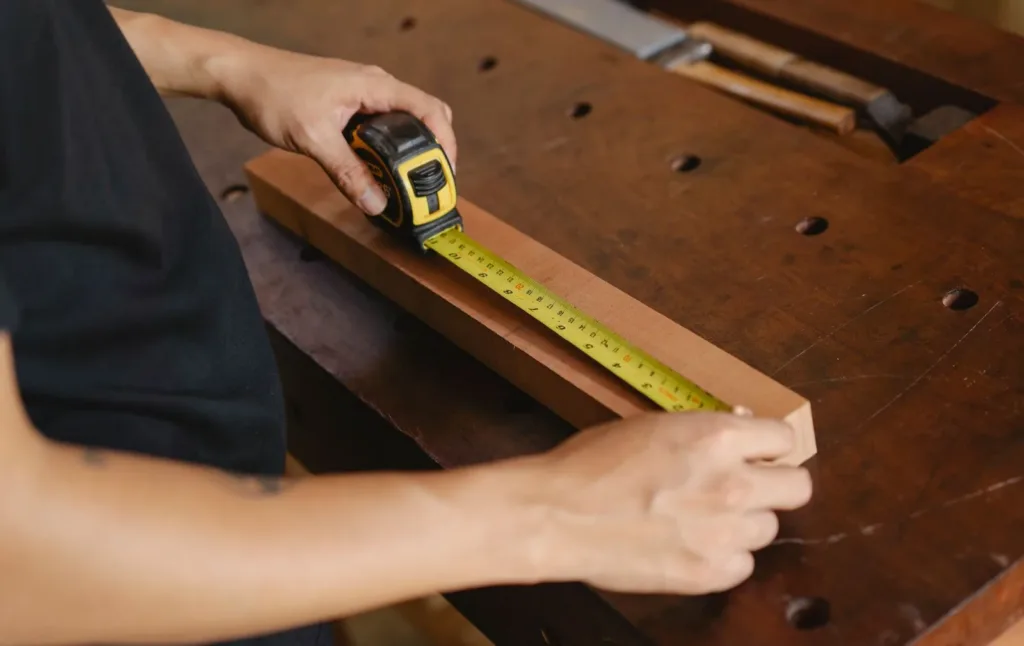
A sealed box that measures 24 x 14 x 14 inches outside, built from 3/4-inch MDF, has internal dimensions of 22.5 x 12.5 x 12.5 inches. That is 3,515.6 cubic inches, or 2.03 cubic feet gross.
From that gross figure, subtract the driver’s displacement (usually listed on the spec sheet, often around 0.1 cubic feet for a 12), any internal bracing and, on a ported box, the port itself. The result is the net volume, which is the number to compare against the manufacturer’s recommended range.
What if the box is wedge-shaped?
For a wedge box (common behind truck seats and in trunks with sloped rear seats), average the top and bottom depths, then multiply by the width and height. A box that is 8 inches deep at the top and 14 inches deep at the bottom has an average depth of 11 inches.
Converting Metric Spec Sheets to Inches and Cubic Feet
Many spec sheets, especially from European and Asian brands, list dimensions in millimeters and box volume in liters. Convert them before you compare against your own measurements, or you will mix units and get the wrong answer.
- Divide millimeters by 25.4 to get inches. A 281 mm cutout is 11.06 inches.
- Divide liters by 28.32 to get cubic feet. A 35-liter box is 1.24 cubic feet.
- Divide square centimeters by 6.45 to get square inches when comparing cone area (Sd).
How to Measure Your Car for a New Subwoofer
Measure the space where the box will go at its narrowest points: width between the wheel wells, depth from the seat back to the trunk lip, and height to the underside of the parcel shelf or trunk lid. Then check the opening the box has to pass through.
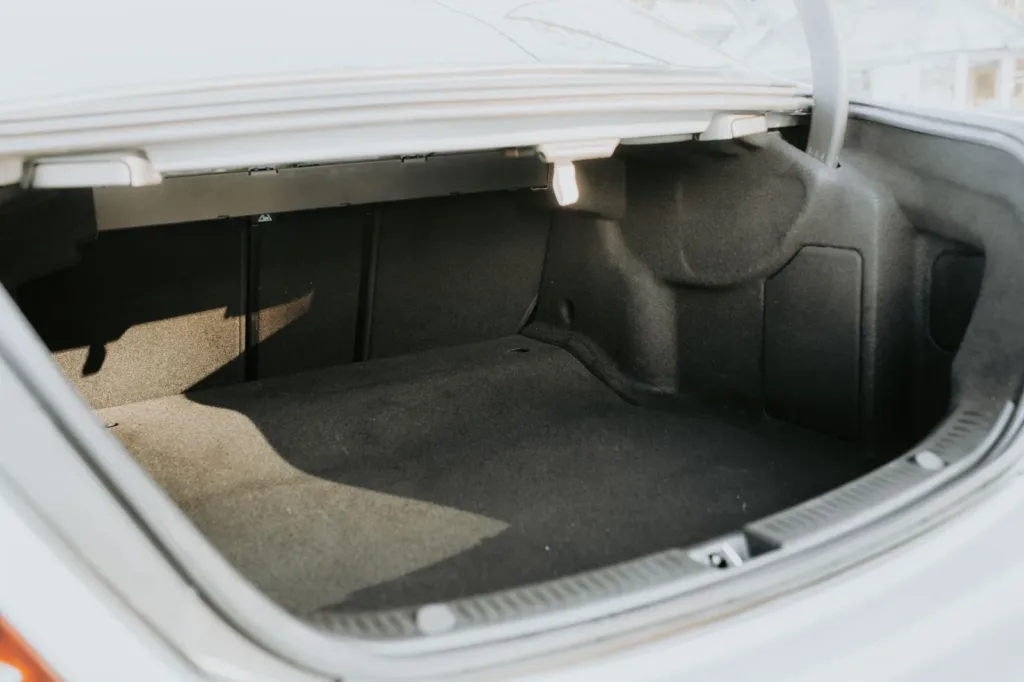
That last step catches a lot of people out. A box that fits the trunk floor may not clear the trunk lid opening, and a box for behind a pickup seat must pass through the door. Compare your space against the recommended box volumes in our guide on how to choose a subwoofer for your car, and see our 10, 12 or 15-inch subwoofer size comparison for how each size sounds once it fits.
Common Mistakes When Measuring Subwoofer Size
The most common mistake is measuring the cone and calling it the subwoofer size. The nominal size refers to the frame, so a cone measurement will make a 12-inch driver look like a 10.
- Measuring the cone instead of the frame, which understates the nominal size by roughly 2 inches.
- Measuring mounting depth from the front of the driver instead of from the back of the flange.
- Forgetting the gasket or trim ring, which can add a quarter inch to the overall diameter.
- Measuring box volume from the outside and forgetting to subtract wall thickness.
- Ignoring driver displacement and port volume, which leaves a box smaller than it looks.
- Assuming every 12-inch driver shares the same cutout. Check the new driver’s spec sheet before cutting.
If your subwoofer is making odd noises while you have it out, it is worth a quick inspection. Our guide on how to fix a subwoofer in your car covers surround tears, voice coil tests and wiring faults.
Frequently Asked Questions About Measuring Subwoofer Size
How do you measure a subwoofer size?
Measure across the front of the subwoofer from the outer edge of the frame to the opposite outer edge, through the center of the dust cap. Round the result to the nearest standard size of 8, 10, 12, 15 or 18 inches to get the nominal size.
Do you measure a subwoofer from the cone or the frame?
Measure the frame. Subwoofer sizes refer to the nominal outside diameter of the frame. The moving cone is smaller: a 12-inch driver usually has an effective cone diameter of about 10 inches.
How do I know what size my car subwoofer is without removing it?
Measure the visible outside edge of the frame or trim ring across the center while it is still in the box. For a better answer, look for a model number on the magnet label or the terminal cup and check the manufacturer’s spec sheet.
What is the cutout size for a 12-inch subwoofer?
Most 12-inch subwoofers need a cutout between about 10.9 and 11.2 inches. The Kicker CompC 12 lists 11 inches and the JL Audio 12W3v3 lists 11.06 inches (Kicker, 2026; Loudspeaker Database, 2026). Always use the figure for your exact model.
What is subwoofer mounting depth?
Mounting depth is the distance from the back of the mounting flange to the rearmost point of the magnet. It tells you how deep the box or mounting space must be. Leave at least half an inch of extra clearance behind the magnet.
How do I measure a subwoofer box in cubic feet?
Multiply the internal length, width and height in inches, then divide by 1,728. Subtract the driver displacement, bracing and any port volume to get the net volume that the manufacturer’s recommendations refer to.
Summary: How to Measure Sub Size Correctly
- Measure the frame edge to edge through the center and round to the nearest standard size.
- Record the cutout, mounting depth, mounting height and bolt circle before buying a replacement.
- Use the surround-to-surround cone measurement to estimate real cone area (Sd).
- Measure box volume on the inside and subtract displacement to get net cubic feet.