TL;DR
- Subwoofer vibration in a car comes from three places: body panels resonating, loose parts buzzing against each other, and the subwoofer box itself moving or leaking.
- Find each source with a slow 20 to 80 Hz sine sweep and a helper pressing on panels, then fix only what actually buzzes.
- Constrained layer damping (CLD) tiles covering about 25% of a panel’s center control most panel resonance; in one independent test, a 25% patch cut resonance by 16.5 dB (ResoNix Sound Solutions, 2023).
- Foam tape, rubber washers and a trunk striker adjustment fix most license plate, taillight and trunk lid rattles for a few dollars.
- Strap the box down, seal its seams and turn off bass boost, because a box that moves or a subwoofer driven into distortion creates vibration no deadener can stop.
To stop vibration from a subwoofer in your car, find exactly which panel or part is buzzing, then damp, secure or decouple that part. Most rattles come from the trunk lid, license plate, rear deck, taillights and door panels, and the fixes are cheap: sound deadening tiles, closed-cell foam tape, rubber washers and a firmly mounted box.
Feeling bass through the seat is normal and is part of what a subwoofer is for. The problem is buzzing, rattling and panel noise, which adds distortion and hides the bass you paid for. This guide covers how to find and fix each source, in the order that gives the fastest result.
Why Your Subwoofer Makes the Car Vibrate
Your subwoofer makes the car vibrate because low-frequency sound waves carry enough energy to set large, thin panels moving. Every panel has a resonant frequency, and when a bass note lands on it, the panel flexes, buzzes against its neighbors or rattles on its fasteners.
Car interiors make this worse. Bass wavelengths are longer than the cabin, so pressure builds up inside it; below roughly 70 to 90 Hz, that cabin gain adds about 12 dB per octave (CarAudioHelp, 2025). The same pressure that makes a small car sound bass-heavy also pushes hard on the trunk lid, roof and doors.
Vibration usually has one of three sources:
- Panel resonance, where a large sheet-metal area such as the trunk lid or roof flexes on its own.
- Loose parts, where two pieces touch and buzz: the license plate against the bumper, a trim clip, a taillight housing or objects in a door pocket.
- The subwoofer box itself, when it slides, rocks, leaks air through a seam or has a loose driver screw.
Each source needs a different fix, which is why finding the source comes first.
Step 1: Find the Source With a Test-Tone Sweep
Find vibration by playing a slow sine sweep from 20 to 80 Hz at moderate volume, on repeat, with the car parked and the engine off. Listen for where in the sweep each buzz appears, then have a helper press firmly on likely panels while the sweep plays. When the noise stops, you have found the source.
Work from the trunk forward. Start at the subwoofer box and the trunk lid, then move to the license plate, taillights, rear deck, rear seat backs, doors and finally the dashboard and mirrors. Write down each rattle and the frequency where it is worst, because that tells you whether a later crossover or EQ change can help.
Playing music instead of a sweep makes this much harder. Music moves through frequencies too fast to pin a rattle to a panel. Our panel-by-panel guide to finding rattles and buzzes lists the usual suspects in order.
Is it vibration or electrical noise?
If the noise stays when you unplug the subwoofer’s RCA cables at the amplifier with the engine running, it is electrical, not mechanical. A whine that rises with engine speed is usually a ground or signal problem; our guide on how to kill alternator whine covers that instead.
Step 2: Secure and Seal the Subwoofer Box
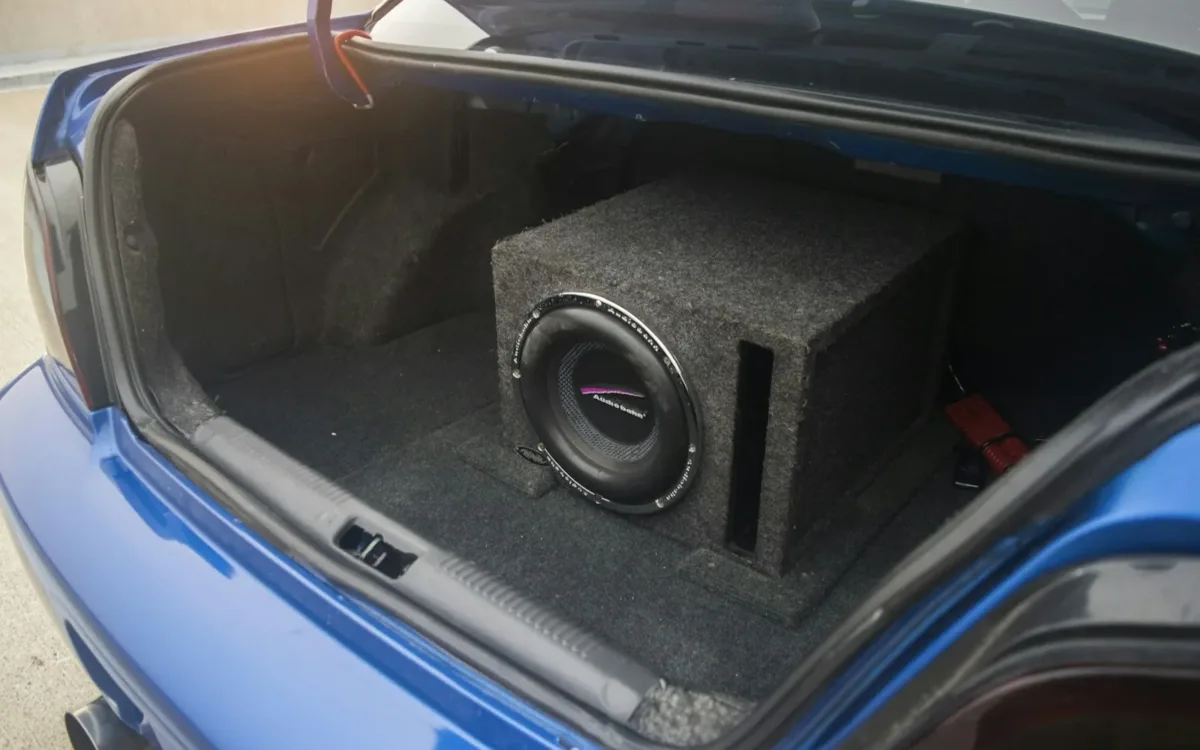
Secure the subwoofer box so it cannot slide or rock, then check that the box itself is not buzzing. A box that moves turns the whole trunk floor into a drum, and a leaking seam or loose driver screw produces a flutter that sounds like a panel rattle.
- Bolt or bracket the box to the trunk floor or a cargo tie-down point, or use two ratchet straps. Hook-and-loop strips alone are rarely enough for a 12-inch box.
- Put a thin rubber or closed-cell foam pad under the box so it does not sit hard against bare metal or plastic trim.
- Tighten the driver’s mounting screws evenly in a star pattern, the way you tighten wheel nuts, rather than working around the circle.
- Run a bead of silicone or wood glue along the inside seams if the box is homemade or the joints look open.
- Check the terminal cup and port for gaps; air whistling out of either sounds like a rattle.
If the box is well built but still buzzes, press on its largest wall while the sweep plays. A flexing wall needs an internal brace, usually a length of 3/4-inch MDF or a wooden dowel glued between the two largest panels.
Step 3: Apply Sound Deadening to the Trunk Lid and Panels
Apply constrained layer damping (CLD) tiles to the center of any sheet-metal panel that resonates: the trunk lid, trunk floor, rear quarter panels, roof and door skins. CLD is a thin butyl rubber layer bonded to aluminum foil. It adds mass and turns panel movement into a small amount of heat, so the panel stops ringing.
You do not need to cover whole panels. In independent testing shared by ResoNix Sound Solutions, a 5.5 x 5.5-inch CLD square covering 25% of the test panel reduced resonance by 16.5 dB, while a single 100-square-inch layer of a budget mat reduced it by 9 dB (ResoNix Sound Solutions, 2023). Material quality mattered more than raw coverage.
The full sound deadening coverage test breaks down weight and layer comparisons. The practical takeaway is to place good-quality tiles at the center of each flexing area first, then add more only if the panel still rings.
How to apply CLD tiles properly
- Clean the metal with isopropyl alcohol so the butyl bonds to bare, grease-free paint.
- Tap the panel with a knuckle to find the area that sounds most hollow; that is where the tile goes.
- Peel and place the tile, then roll it firmly from the center outward with a hard roller until the foil pattern flattens.
- Tap the panel again. It should sound like a dull thud instead of a ring.
Use butyl-based CLD rather than asphalt-based roofing products. Asphalt mats can soften and smell in a hot trunk and bond poorly over time.
How much sound deadener does a trunk need?
Less than most kits suggest. Treating a sedan trunk lid and floor at 25% to 50% coverage, with tiles placed at the center of each flexing area, stops most resonance, and doors need only a few tiles each on the outer skin. Buy for the panels your sweep test identified rather than a whole-car kit.
Step 4: Fix the License Plate, Taillights and Trunk Latch
The license plate, taillight housings and trunk latch cause more subwoofer rattles than any other parts of the car. Each has a simple fix that costs a few dollars and takes minutes.
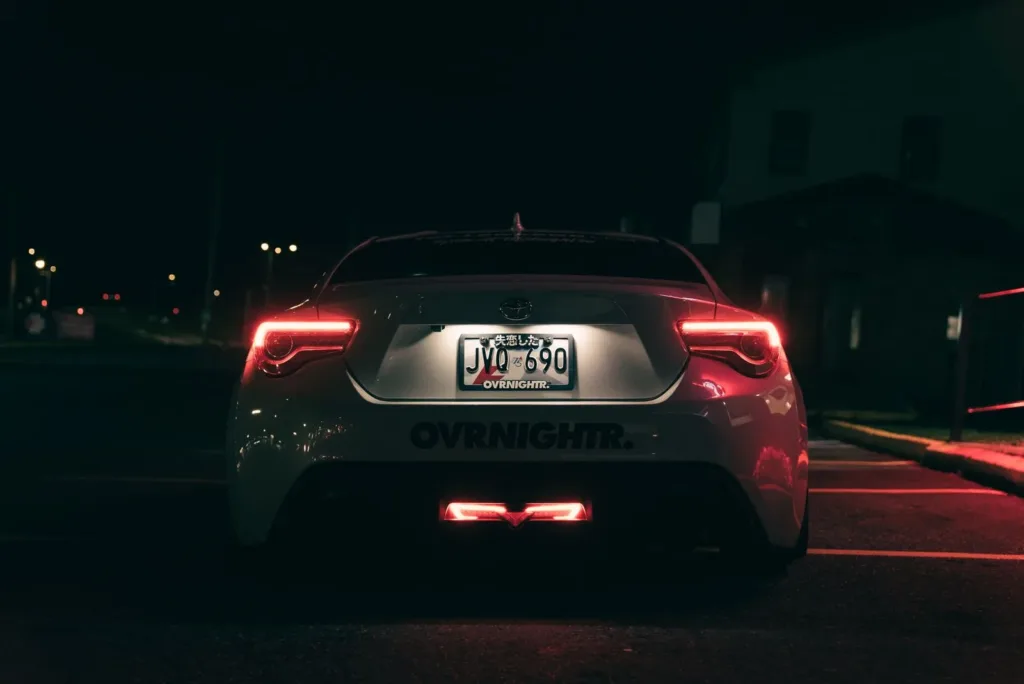
For the license plate, put strips of closed-cell foam tape on the back of the plate and frame, and use rubber or nylon washers under the screws. If the plate frame is metal, swap it for a silicone frame or remove it. Tighten the screws firmly but do not crack the plastic mounting inserts.
For taillights, open the trunk trim and check that each housing’s mounting nuts are tight. Add foam tape where the housing touches the body or trim, and tie off any loose wiring harnesses with zip ties so they cannot slap against metal.
For the trunk lid, adjust the latch striker so the lid closes tighter against its weatherstrip. On most cars, loosening the striker bolts, moving it slightly down and retightening is enough. Replace flattened weatherstripping and adjust the rubber bump stops so the lid sits under light tension.
Step 5: Quiet the Doors, Mirrors and Interior Trim
Rattles away from the trunk usually come from door panels, rear deck trim and loose objects rather than from the subwoofer directly. Remove the obvious causes first: coins, sunglasses and bottles in door pockets and cup holders.
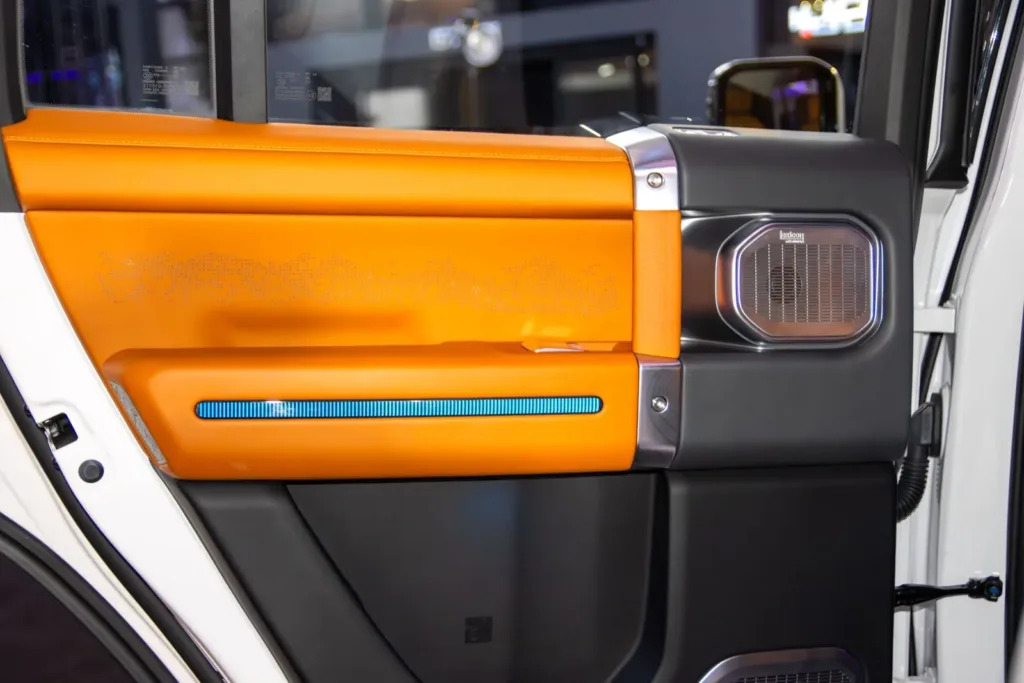
For door panels, pull the trim and replace any broken clips; a missing clip is the most common cause of a door-card buzz. Add felt or foam tape where plastic trim touches plastic trim, and apply a few CLD tiles to the outer door skin behind the speaker.
The rear deck (parcel shelf) in sedans sits directly above the subwoofer’s output. Check the third brake light housing, seat belt guides and the deck’s own clips. On hatchbacks and SUVs, the cargo cover and rear hatch trim are the equivalent suspects.
Mirrors that shake on bass notes are usually picking up movement from the roof or windshield frame. Damping the roof skin with CLD reduces this; you can also check that the mirror’s mount screw is tight.
Step 6: Adjust Crossover, Subsonic Filter and Bass Boost
Adjust your amplifier settings so the subwoofer is not driven into distortion or asked to play frequencies that excite panels for no benefit. Turn bass boost off, set the low-pass filter between 60 and 80 Hz, and use a subsonic filter below the box’s tuning frequency.
Bass boost is a common cause of vibration because it lifts one narrow band, usually 40 to 45 Hz, which often matches a large panel’s resonance. A subsonic filter set to about 80% of a ported box’s tuning, for example 28 Hz for a 35 Hz box, stops the cone flapping on notes the box cannot use (AudioControl, 2026).
If your sweep test showed one frequency that rattles far worse than the rest, a small EQ cut of 2 to 3 dB at that frequency can calm it without hurting the overall sound. Our guide on how to get deep bass from a car subwoofer walks through gain, crossover and subsonic settings step by step.
Step 7: Try a Different Subwoofer Orientation
Turning the box changes how much upper bass hits nearby panels. In a measured trunk test, output below 40 Hz varied by only about 2 dB across every position, but output at 90 Hz differed by more than 20 dB between the best and worst placements (BestCarAudio.com, 2024).
That means a box firing straight into the trunk lid or the license plate area can excite those panels harder in the upper bass without giving you more deep bass. Try facing the subwoofer toward the rear seats or into a trunk corner and repeat the sweep. Read the sedan subwoofer location test for the measured results by position.
What Not to Do When Fixing Subwoofer Vibration
Avoid fixes that trap moisture, add weight without damping, or damage trim. Several popular shortcuts create new problems.
- Do not fill door or quarter-panel cavities with expanding spray foam. It can block drain holes, trap moisture against metal, and is very hard to remove.
- Do not stuff towels or blankets behind panels. They absorb some high-frequency noise but do nothing for low-frequency panel resonance.
- Do not overtighten plastic trim screws. Cracked mounting bosses rattle worse than loose ones.
- Do not raise the gain to overcome the rattle. More distortion excites panels harder.
Subwoofer Vibration Troubleshooting Table
| Symptom | Likely source | Fix |
|---|---|---|
| Buzz from the back of the car on deep notes | License plate or frame | Foam tape behind plate, rubber washers, silicone frame |
| Low drone or “boom” from the trunk lid | Trunk lid panel resonance | CLD tiles at the lid’s center, adjust striker |
| Sharp rattle near rear window | Rear deck trim or third brake light | Replace clips, foam tape, tighten housing |
| Flutter or chuffing from the box | Air leak or loose driver screws | Seal seams, tighten screws in a star pattern |
| Whole trunk floor buzzing | Box sliding or sitting on bare metal | Bracket or strap the box, add a rubber pad |
| Door buzz on bass notes | Broken door-card clip or loose speaker | Replace clips, tighten speaker, CLD on door skin |
| Rattle only at one frequency | Panel resonance at that note | Damp the panel, small EQ cut at that frequency |
If the noise sounds like it comes from the subwoofer itself, such as a scraping, crackling or popping sound even at low volume, the driver may be damaged. Our guide on how to fix a subwoofer in your car covers surround tears, voice coil rub and wiring faults.
Frequently Asked Questions About Subwoofer Vibration in a Car
Is it normal for a subwoofer to make a car vibrate?
Feeling bass through the seat and floor is normal. Buzzing, rattling or a droning panel is not; those are signs of loose parts or panel resonance. Fix the buzz and the bass will sound cleaner and deeper at the same volume.
How do I stop my trunk from rattling from bass?
Find the rattle with a 20 to 80 Hz sine sweep, then apply CLD sound deadening to the center of the trunk lid, add foam tape behind the license plate, tighten the taillight housings and adjust the trunk latch striker so the lid closes tighter.
Does sound deadening stop subwoofer vibration?
Yes, for panel resonance. CLD tiles on the center of a flexing panel stop it ringing; one test found a 25% coverage patch reduced resonance by 16.5 dB (ResoNix Sound Solutions, 2023). Sound deadening does not fix loose parts, which need foam tape, clips or tighter fasteners.
Can subwoofer vibration damage my car?
High bass levels over long periods can loosen trim clips and fasteners, crack brittle plastic mounts and wear weatherstripping faster. Ordinary listening levels in a properly secured system do not damage the car’s structure. Check fasteners after the first few weeks of a new install.
Why does my rearview or side mirror shake with bass?
Mirrors pick up movement from the roof, windshield frame or door skin when those panels resonate. Damping the roof or door skin with CLD tiles reduces the shake, and checking that the mirror mount is tight removes any extra play.
Is spray foam good for stopping car rattles?
No. Expanding foam can block drain holes and trap moisture against metal, and it is very difficult to remove later. Use CLD tiles for panel resonance and closed-cell foam tape between parts that touch.
Will a different subwoofer box stop the vibration?
Sometimes. A sealed box that is well built, braced and firmly secured vibrates less than a loose, thin-walled box. Changing the box’s direction can also reduce upper-bass energy hitting nearby panels. It will not fix a rattling license plate or trunk lid on its own.
Summary: How to Stop Subwoofer Vibration in Your Car
- Use a slow 20 to 80 Hz sweep and a helper to find each rattle before buying anything.
- Strap or bracket the box, seal its seams and tighten the driver screws evenly.
- Put CLD tiles on the center of resonating panels; about 25% coverage handles most of it.
- Foam-tape the license plate, tighten taillights, adjust the trunk striker and replace broken trim clips.
- Turn off bass boost and set sensible crossover and subsonic filters so the subwoofer stays clean.